Creating Modules in Folios
Prerequisites: Users require folio administrator+ permissions
for the folio to complete this task.
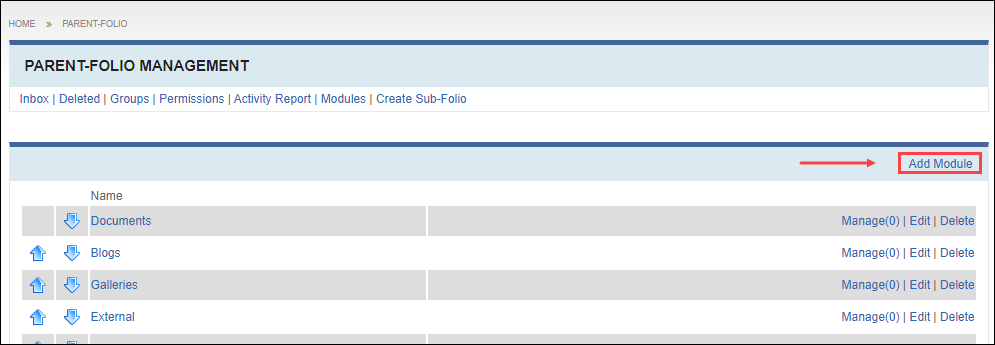
Select Modules from the Folio Management menu to add child modules to the current folio.
To create a module:
Select Modules from the Folio Management menu to add child modules to the current folio.

| Sharing Permission | Description |
|---|---|
| Inherited | Inherits the sharing level from its parent folio. |
| Public | Allows anyone see the folio and its contents, including viewers who are not logged in to Cartella. |
| Logged In | Displays the content only to logged-in users. |
| Specific Groups and Users | Displays the content only to selected groups or individual members. Note If you select this sharing level, a
form for selecting users and groups displays. |
| Private | Displays the folio and its contents only to the folio creator. |
| Connections | Displays content only to user connections of the creator. |
| Restriction | Description |
|---|---|
| Read Only | Prevents everyone except administrators from editing folio content.
Note Users can view the Read Only
folio. |
| Locked | Prevents users from creating sub-items or comments. Note Users can view the locked folio. |
| Auto Approve | Automatically approves all sub-items and lower-level items of the site structure. |
