Creating Parameterized Reports
Those with administrative permissions can define a named parameter to qualify the
XPath expression in the report.
To create a parameterized report:
- Navigate to AdministrationReports.
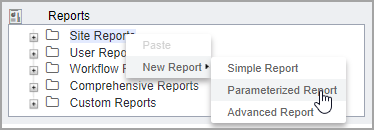
- Right-click one of the first-tier folder in the reports tree.
- Select New Report > Parameterized Report.

- Complete the following fields, which are identical to those found in a simple report.
- Documents to Be Queried: The XML documents against which
the query will run. These documents are combined into a single meta-document
before the query runs. NoteWhen the number of documents involved increases, report generation may slow down.
- Query: The XPath query to run against the combined XML document.
- Setup Results Table Columns: The table in which report data will be returned. Use the Attribute Name checkboxes to determine which attributes to show in the table. Use the Column Label fields to set the names of table columns. Use the Data Type drop-down menus to select the format of the data to be displayed. And use the Width field to set the width of each table column.
- Documents to Be Queried: The XML documents against which
the query will run. These documents are combined into a single meta-document
before the query runs.
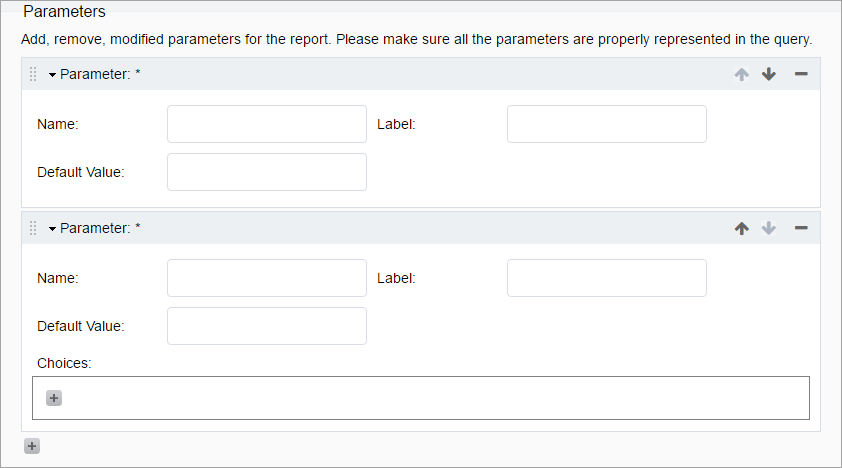
- Add one or more parameters in Parameters:
- Click the "+" button.
- Select Add New Text Parameter or Add New
Drop-Down Parameter.

- If you choose Add New Text Parameter, you'll need to enter a name and label, and you'll have the option of entering a default value as well.
- If you choose Add New Drop-Down Parameter, you'll also need to add choices and input a Choice Value and Choice Label for each of them.
NoteThere is no way to dynamically populate a drop-down parameter. The choices must be hard-coded.
- Decide if you want to schedule your parameterized report. If so, see Scheduling Reports. In short, in the Schedules view, you'll need to complete the Execution Parameters section.
Related Topics
