Configuring OAuth Identities


Prerequisites: Ingeniux CMS 10.6 must be installed. See CMS Statistics to check the site version.

Create and use OAuth identities for authentication purposes within Ingeniux CMS 10.6. Administrators can use OAuth identities for the authentication of automated tasks, WebAPI controller tasks, applications such as the Oxygen Desktop Plugin, etc.

Each OAuth identity provides a client ID and client secret for an individual user. When users go through an authentication process that requires OAuth identities, the system will require this information.

Tip
Administrators can exclusively reserve user accounts for OAuth Identities. The system prevents these reserved users from logging in to the CMS application, as these users' sole purpose consists of carrying out operations and tasks. See Creating User Accounts for details about the For OAuth Identity use only (cannot log in to CMS) checkbox. This checkbox is optional for OAuth identities.

To configure an OAuth identity:
  1. Navigate to Administration > System Options > CMS > OAuth Identities.

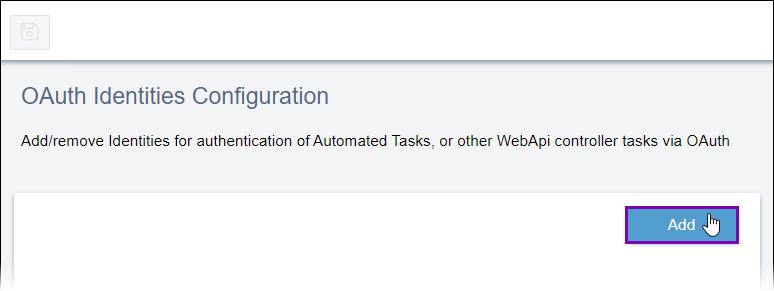
    Add OAuth Identity

  2. Select Add in the OAuth Identities Configuration area to create a new OAuth identity.
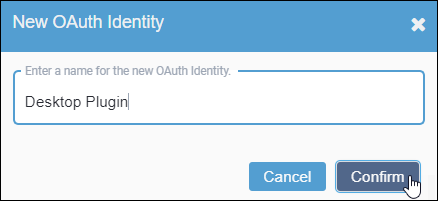
    The New OAuth Identity dialog displays.

    New OAuth Identity Dialog

  3. Complete the following fields.
    FieldDescription
    NameEnter an arbitrary name for the OAuth identity in the field.
    NotesProvide notes that help you to remember your purpose for creating the OAuth identity.
    Note
    You can change these field values at any time.
    The identity displays in the OAuth Identities Configuration area.
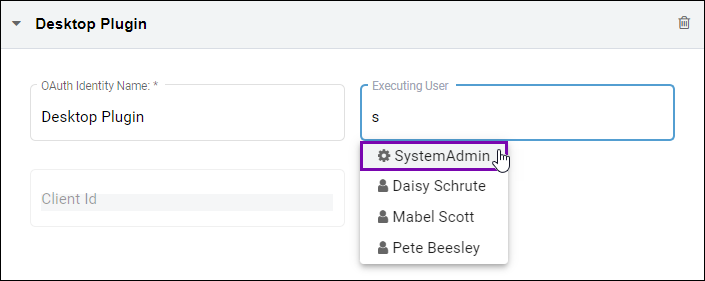
  4. Enter the name of the user to associate with the identity in the Executing User field, and select the user from the drop-down list that displays.
    Note
    If a user has the For OAuth Identity use only (cannot log in to CMS) checkbox selected for their account in Administration > Users/Groups, then the gear icon displays next to their user name in the Executing User drop-down list. The system prevents you from changing the Executing User field value after you click Save.

    Complete Executing User Field

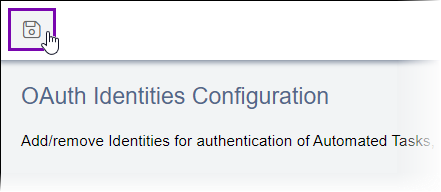
  5. Select Save to generate the OAuth identity.

    Save OAuth Identity

    The Alert dialog displays the client ID and client secret associated with the new identity.
    Tip
    If you create multiple OAuth identities before saving, then the Alert dialog displays the client ID and client secret of each new identity.

    Alert Dialog with Client Id and Client Secret

  6. Select the Copy button to copy the Client Secret value to your clipboard, and use or store the secret as needed.
    Caution
    If you plan to use the client secret more than once or want to reference the secret in the future, then store the Client Secret value in a safe place, as the client secret only displays once. While you can view the client ID at any time in the OAuth identity details, the system prevents administrators from viewing the client secret after closing this Alert dialog. If you forget the Client Secret value, then see Resetting Client Secrets for details.
  7. Select Dismiss to close the dialog.
  8. Select the Copy button to copy the Client Id value in the OAuth identity details area, and use the ID as needed.
    You can view and copy the Client Id value at any time. Unlike the Client Secret, the system never hides the Client Id value.

    Copy Client Id Button