Replacing Files in Existing Assets


Users can upload a file to an existing asset item by clicking the Upload New tool in the asset's Overview tab. The system associates the uploaded file with the currently checked-out asset version.
Version Notes: CMS 10.0–⁠10.3 vs. CMS 10.5+

In CMS 10.0–⁠10.3, users can upload a file to an existing asset only if the file extension matches the original asset item's extension.

In CMS 10.5+, users can upload any file as long as the asset's schema allows the extension. See Creating Asset Schemas for details about allowed extensions.

For example, if the current asset item contains a .jpg file, then the asset will only accept uploaded .jpg files in CMS 10.0–⁠10.3. If you upload a .png file to the existing asset in CMS 10.5+, then the asset item will accept the new file extension (as long as the associated schema allows the file extension). The system will replace .jpg with the .png extension.

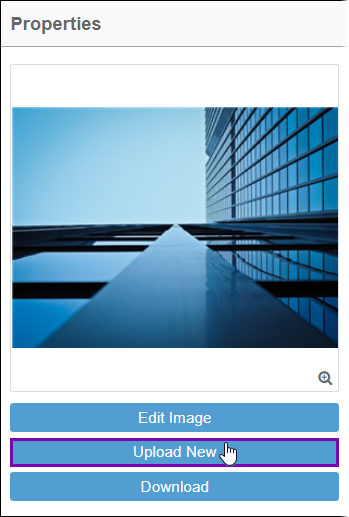
To replace a file in an existing asset item:
  1. Navigate to Assets > Assets Tree.
  2. Select and check out the asset item in the Assets Tree.
    The asset's Overview tab displays in the main pane by default.

    Upload New

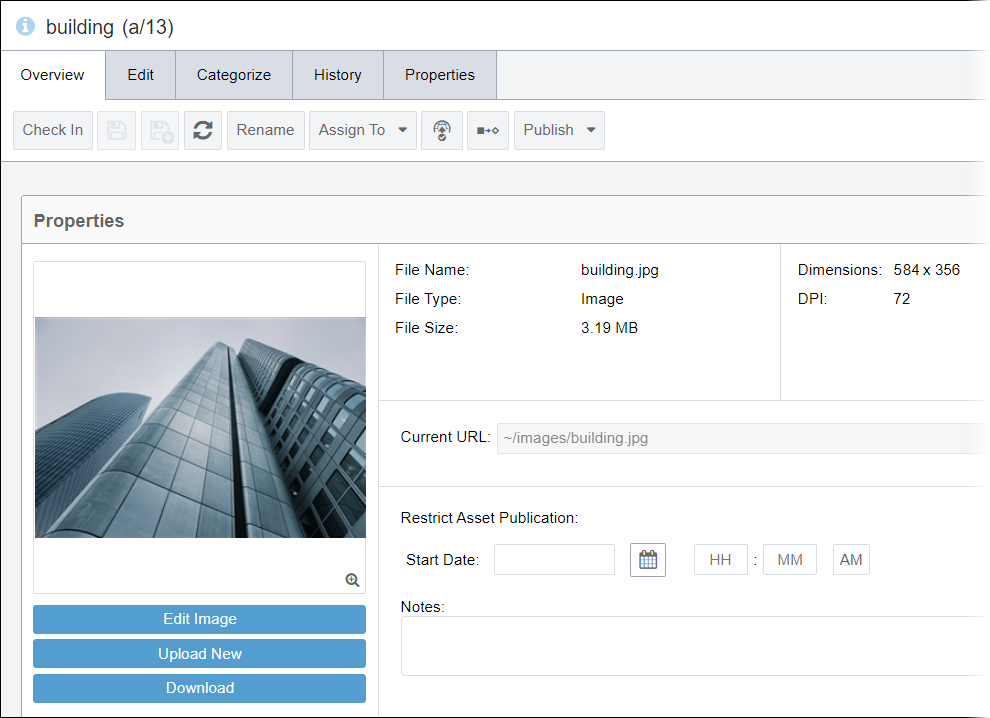
  3. Click Upload New in the Properties area of the Overview tab.
    • Version Notes: CMS 10.6
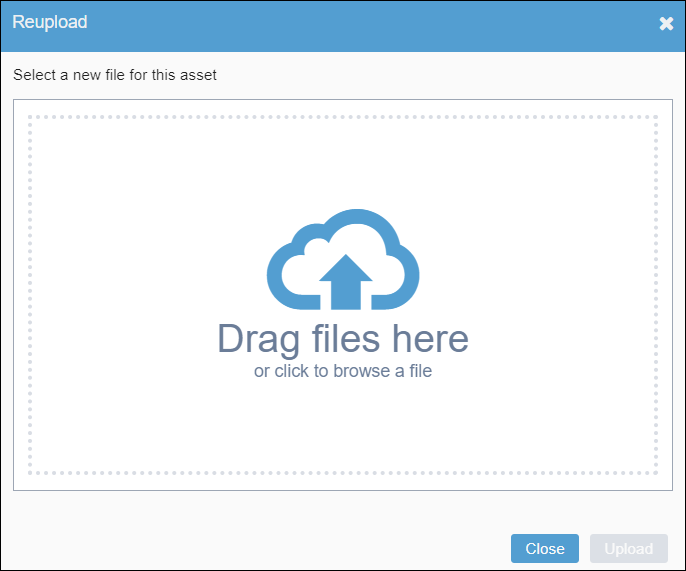
      The Reupload dialog displays in CMS 10.6.

      CMS 10.6 Reupload Dialog

    • Version Notes: CMS 10.0–⁠10.5
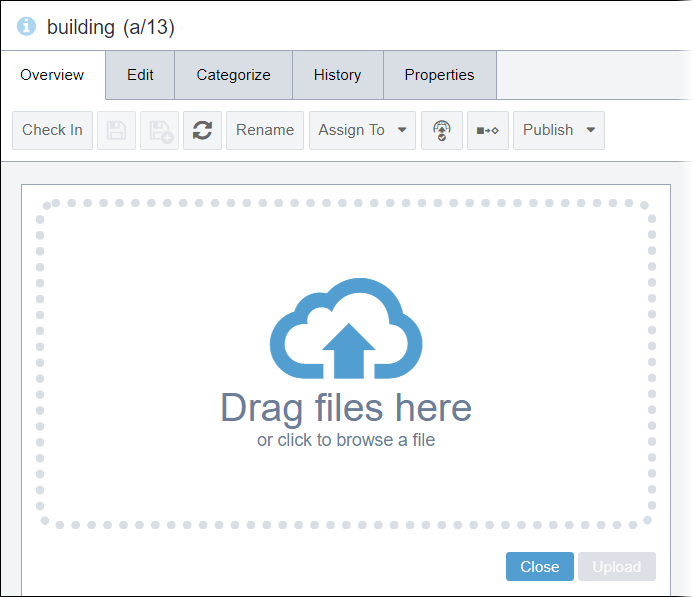
      The asset uploader displays within the Overview tab in CMS 10.0–⁠10.5.

      CMS 10.0–⁠10.5 Asset Uploader

  4. Choose one of the following steps.
    • Drag the asset from your system’s file explorer to the asset uploader area.
    • Click the asset uploader area to browse and to select the asset from your system’s file explorer.
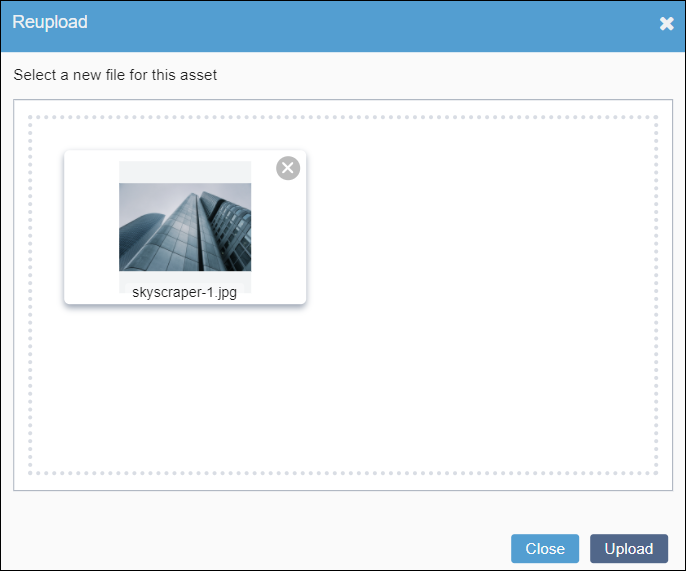
    The asset displays in the uploader area.

    New File in CMS 10.6 Reupload Dialog

  5. Click Upload.
    The system uploads the new asset to the existing a/ID. When you upload a file to replace the old one, the following occurs:
    • The system associates the new file content and the file extension with the asset item. To undo this replacement, you can execute the Undo Checkout action.
    • The system maintains the asset item's original ID.
    • The asset's descriptive metadata remains untouched.
    • The system maintains the name of the original image for the asset name. To change the name, click Rename in the asset Overview tab toolbar.
    • The asset's thumbnail image updates to reflect the new file (when applicable).

    Asset Item Overview Tab

  6. Check in the asset after completing your changes.
    When you check in the asset item, the system creates a new version of the asset to contain the file.
    Note
    The previous asset item version contains the original file before the replacement. Users can revert to the previous version by using the revert tool in the asset's History tab. See Assets History for details.