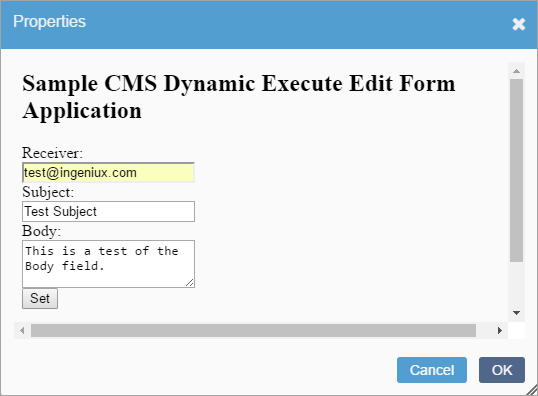
Testing the Custom Edit Form
To test the Custom Edit form:
- Navigate to Administration > Schema Designer > Management > Component Types.
- Create a copy of DEX - SMTP Emailer Component.
- Provide default values in schema fields.
- Save the new component as the
DEXlocalSMTPschema. - Create a test page schema that contains a Dynamic Execute element.
- Add a new Dynamic Execute element to the page schema.
- Set the Template Schema field to
DEXlocalSMTP. - Set the Override Edit Form field to
Apps/SampleApp/DynamicExecuteUI. NoteThe custom edit form's URL is formatted as followsApps/[app folder name]/[app controller name]/[app action name], where "app action name" defaults to "index" when not specified.
 - Save the page schema.
- Create an instance of the new page schema.
- Before the form displays in the CMS, you need to open IIS Manager and refresh your site's application pool.
- Create a page with the new page schema. You will see the
following field:

- Click Properties to invoke the custom UI.

