New Asset Elements on the Edit tab in CMS 10.x
The addition of the asset system brings new field types to work with. First off, when you upgrade to Ingeniux CMS 10.x, your Document, Image, and Media fields are converted to Asset fields. Fields to select multiple assets at once have been introduced, which include: Asset Link Set, Asset Navigation, and Asset Taxonomy Navigation.
Asset
The Asset field allows you to browse for an asset in the asset system. CMS administrators can limit the types of assets that can be chosen during creation of the schema.

- Click Select. The Select an Asset
dialog displays.

- Click the asset to select it.

- Click Select and the field is updated to display your
selection.NoteThe Asset field looks slightly different depending on the type of asset that's selected. Thumbnails can be updated by administrators.

Asset Link Set

- Click Select and the Select an Asset
dialog displays.

Asset Navigation
The Asset Navigation indexes all the items in a folder or in a collection of folders that all live under a parent folder. As with a normal Navigation element, you can use Max Depth to change how deeply you would like to navigate and Max Nodes to limit the number of items that will be returned.

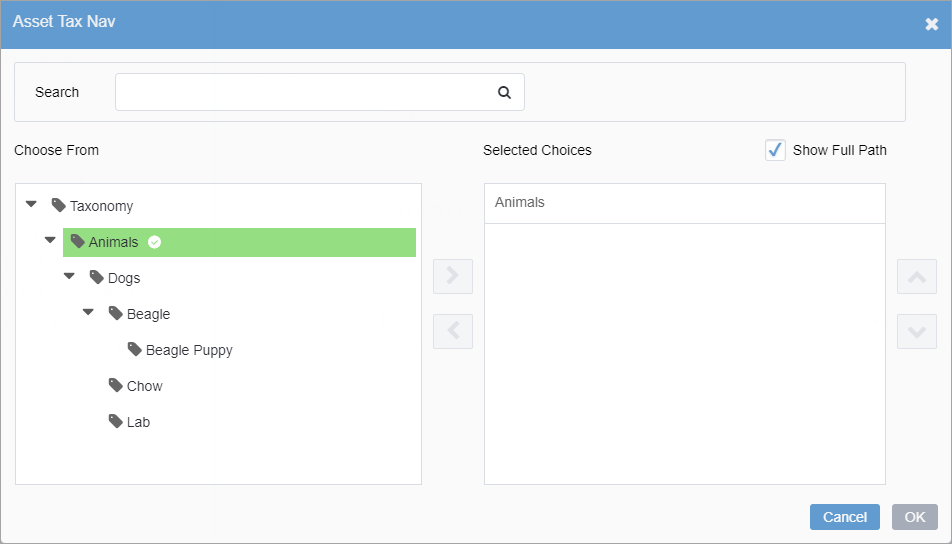
Asset Taxonomy Navigation
You can apply the Asset Taxononmy Navigation element.

- Click the Pick button. A dialog displays providing access
to the taxonomy categories.
- In the Depth drop-down menu, select how many descendant
levels that you want to display from the selected category node(s).

Related Topics