Installing a DSS Instance
To install a DSS instance, you will need to run the DSS Setup Wizard on the server that will host the DSS. The DSS Setup Wizard installs and deploys an instance of the DSS. (Note: If the CMS system is installed with a license key that doesn't license a DSS, the DSS can't be installed.)
To start the DSS installation process, navigate to [disk]\Ingeniux\CMS90\Installers\DSS and run the IGX_DSS_Installer. The DSS Setup Wizard opens.
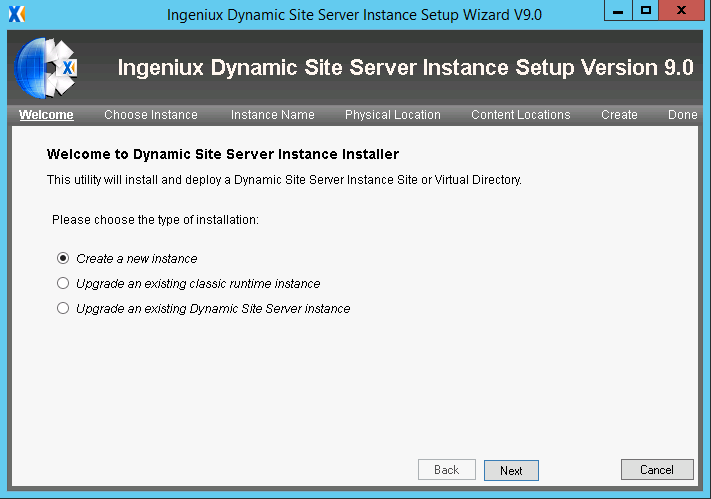
Select Create a new instance. Click Next. The Setup Wizard prompts you to install either a virtual directory or a site.
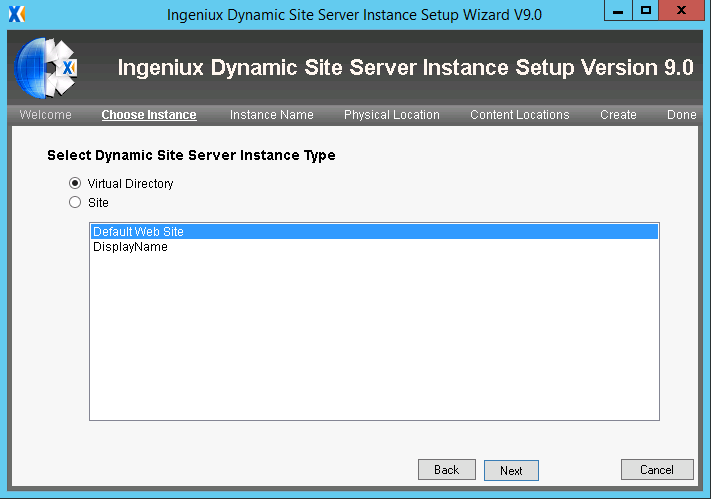
Installing the DSS as a Virtual Directory
To set up a virtual directory, leave Virtual Directory selected, and select the IIS website under which you want to create the virtual directory.
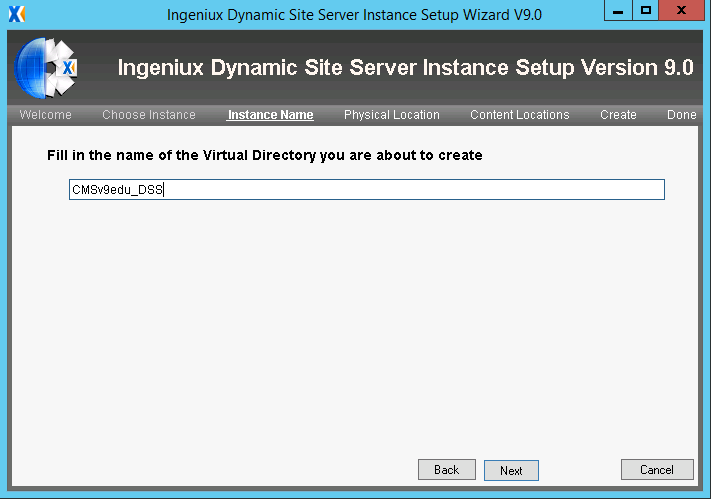
Type a name for the virtual directory, and then click Next.
Installing the DSS as a Site
If you choose to set up the DSS as a site, you are prompted to enter a host name for the site.
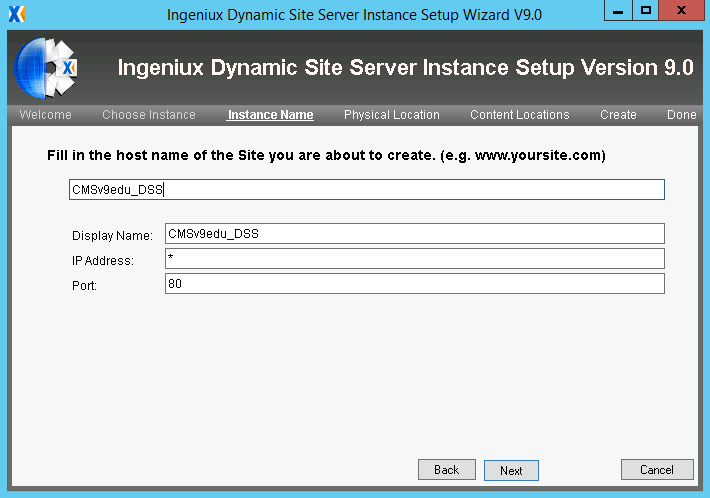
The host name represents the DNS value associated with the website. This value must be registered with the appropriate DNS server so that the host name is associated with the designated IP address. The host name should follow the syntax www.hostname.com.
By default, the IP address is set to a value of *, which indicates the IP address of the local server. The port is set to 80.
Type a host name for the site, make any necessary changes to the IP address and port (in most cases you won't need to change these values), and click Next.
Finishing the DSS Installation
Regardless of whether your DSS is installed as a virtual directory or as a website, you need to enter a physical location for the DSS instance.
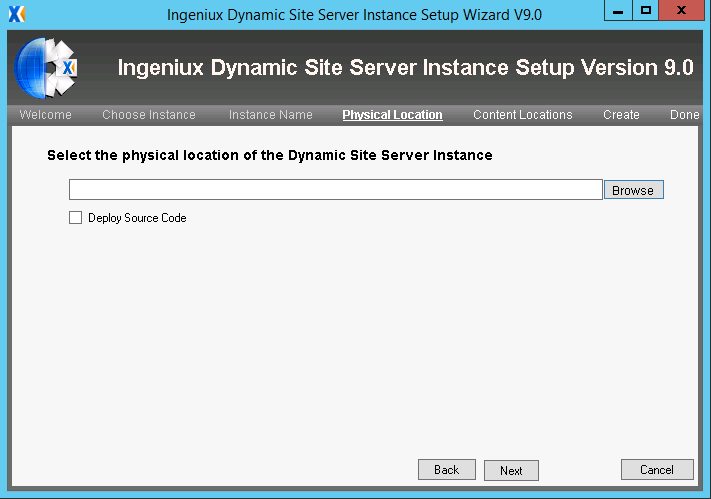
The physical location is the path to the site on the disk (for example, C:\igxsites\CMSv9edu_DSS). Click Browse and select a physical location for the site.
If you select Deploy Source Code, a sample ASP.NET MVC solution is deployed with the installation. For legacy installations using an XSLT runtime, and for installations deploying an existing MVC solution, this option should not be selected. Because most installations fall into one of these two groups, Deploy Source Code should not be selected in most cases.
However, if you plan to build a new MVC solution, you can deploy the source code and use that as the framework for your project.
When you're finished configuring the physical location and the source code option, click Next. The Setup Wizard prompts you to select a location for the CMS published content folder and a location for the Design-Time assets folder.
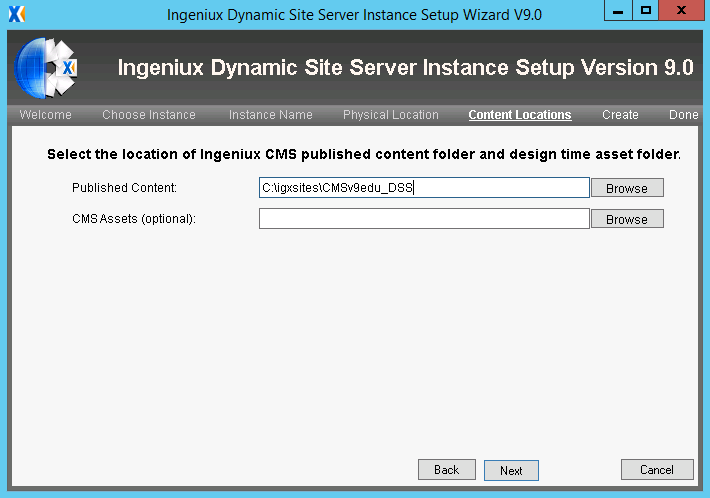
The Published Content folder is the folder to which the CMS replicates content. The DSS then displays content from this folder on the live website. (To configure replication, log on to the CMS, open a publishing target, and configure values on the Replication tab.)
The Design-Time Assets folder points to an assets folder on the DSS.
Use the Browse buttons to select a Published Content folder and (optionally) a Design-Time Assets folder. Then click Next.
The Setup Wizard creates a DSS instance.