Asset Elements
Users can reference asset items within asset elements in pages or components. For image assets, the element provides options to edit the image and, depending on site implementation, alter the image's layout, spacing, and size.
To complete an asset element:
- Navigate to Site > Site Tree.
- Select a page or component that contains the asset element.
- Check out the content item, and expand the asset element in the
Edit tab.

- Click the
Select in the asset element.
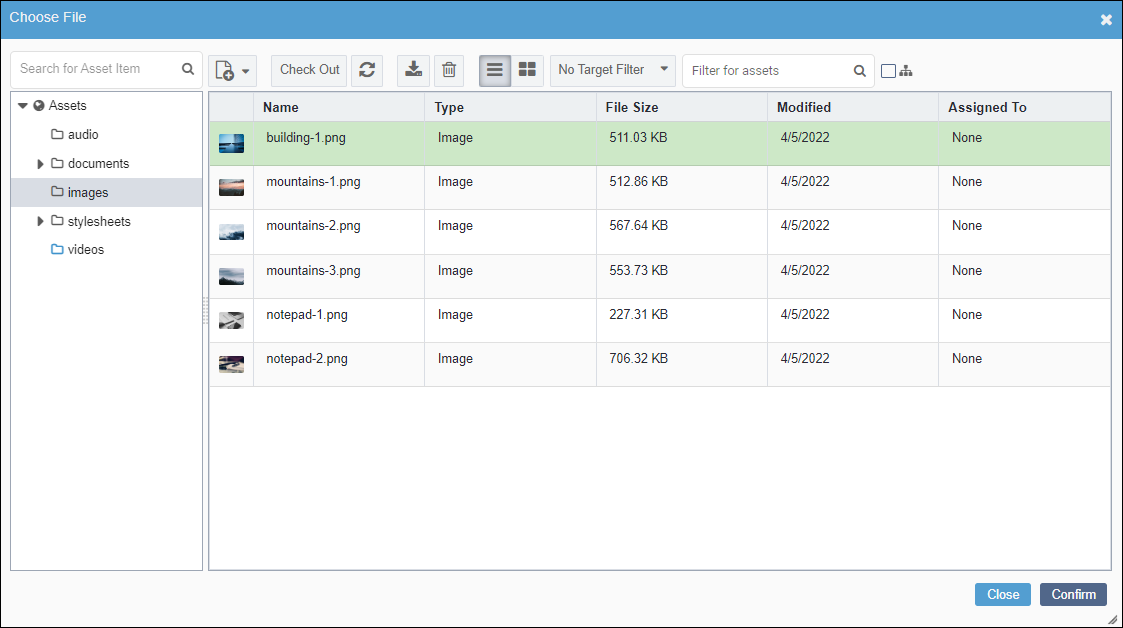
The Choose File dialog displays. See Choose File Dialog for details about the dialog UI.

- Browse for and select the asset to insert from the Assets Tree.
- Click
Confirm.
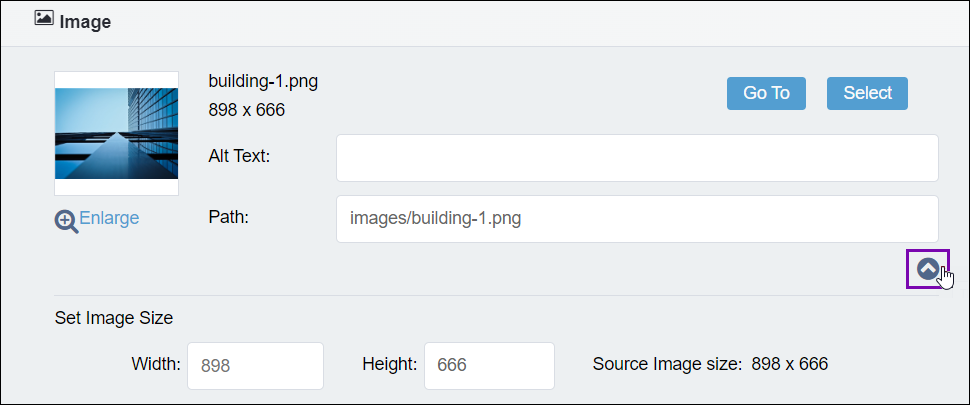
The selected asset displays in the asset element.
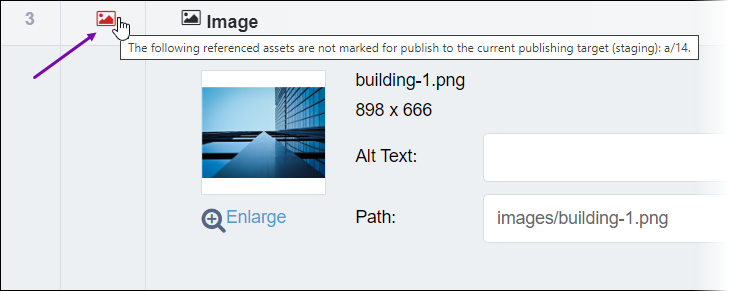
Version Notes: CMS 10.6CMS 10.6 displays the unpublished assets icon when asset elements contain the following:
Asset items not marked for publish.
Asset items marked for publish but have never been published.
The unpublished assets icon displays next to the asset element in the Edit tab. See Unpublished Assets Icon for details.

- Optional: If you chose an image asset, you can use additional fields.

Field
Description
Alt Text
Provide alternative text for the image.
Path
The path to the asset file in the CMS Assets Manager. This field populates automatically and displays for all asset types.
Width
Provide a width value for this image. Click the arrow icon to expand Set Image Size settings and access this field.
Height
Provide a height value for this image. Click the arrow icon to expand Set Image Size settings and access this field.
- Click
Save in the
Edit tab toolbar.
Tip
To navigate to the a/ID referenced within the asset element, click Go To.
