Configuring SAML in Azure Active Directory Account
This article provides administrators with steps to configure SAML in your organization's Azure Active (AD) account and to set up Ingeniux CMS with SAML authentication.
Description
With Security Assertion Markup Language (SAML), you can authenticate users when they log in to Ingeniux CMS.
Step-by-Step
To configure SAML in your organization's Azure Active Directory (AD) account and to set up Ingeniux CMS with SAML authentication:
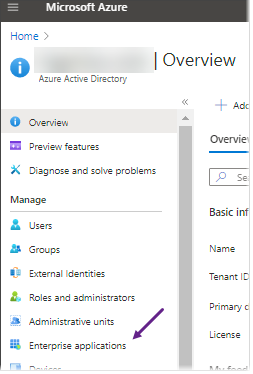
- Log in to your Azure AD Account, and navigate to Enterprise applications in the Manage list.
- Select New application.

- Choose Create your own application.
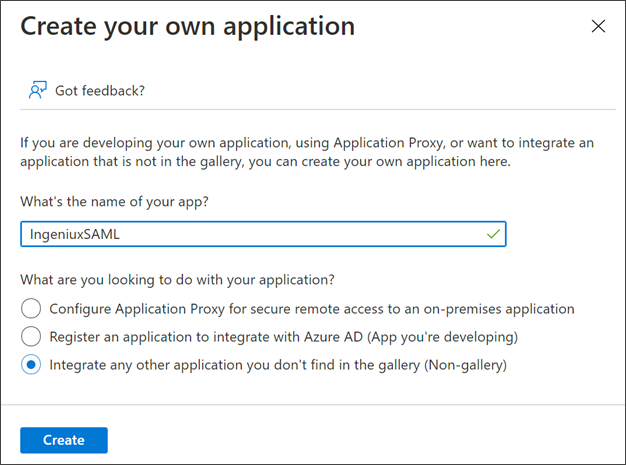
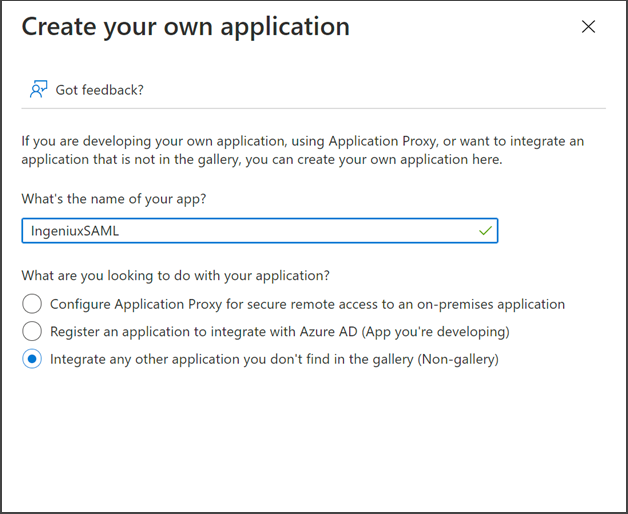
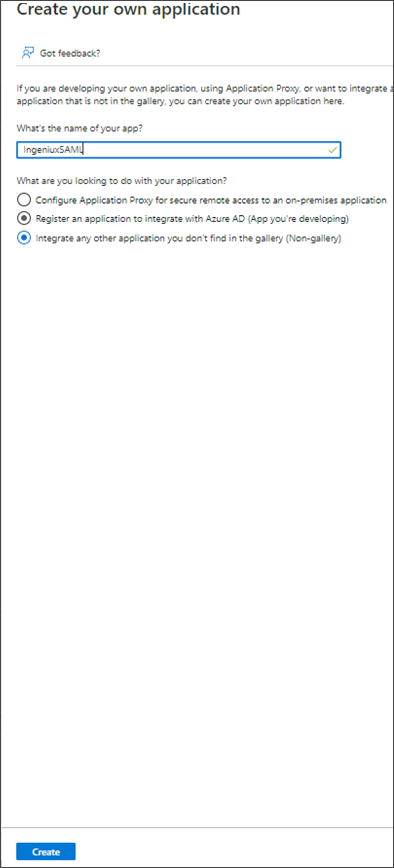
- Enter a friendly name for your application, and select Integrate any other application you don’t find in the gallery (Non-gallery).
- Click Create at the bottom of the pane.
- Select Single Sign-on from the Manage list, and then select SAML to open the Basic SAML Configuration settings.
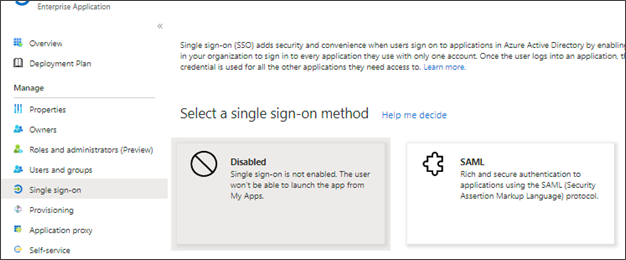
- Click Edit (pencil icon) in the Basic SAML Configuration area.

- Enter the Identifier (Entity ID).
Note
This value is your CMS URL.
- Enter the Reply URL (Assertion Consumer Service URL).
Note
This value is your CMS URL appended with /SAML/AssertionConsumerService.
- Enter the Sign on URL.
Note
This value should match the Reply URL (Assertion Consumer Service URL) in the step above.
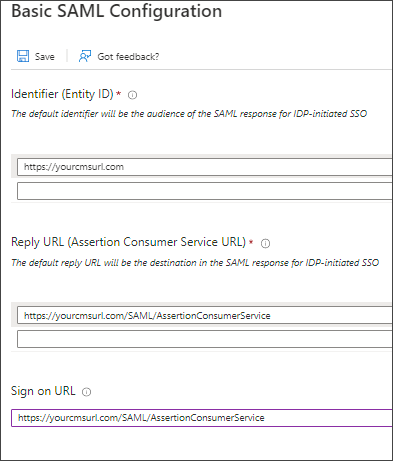
- Click Save at the top of the Basic SAML Configuration area.
- Navigate to the SAML Signing Certificate.
- Download Certificate (Raw).
Note
You will need to deploy this certificate to the Ingeniux CMS server.

- Copy the Azure AD Identifier URL and Login URL.
Note
These URLs will be used to populate saml.config in the Ingeniux CMS.

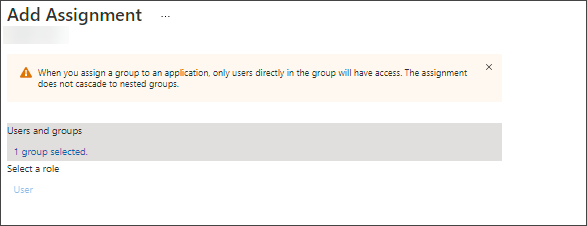
- Optional: Navigate to Users and groups in in the Add Assignment area. Here, you can define your organization's users who are authorized to interact with Ingeniux CMS.
- Log in to the Ingeniux CMS Server.
- Open the saml.config file in a text editor.
- In saml.config, update the following values:
- Name: The EntityID defined in Step 8 (i.e., the value of Identifier (Entity ID)).
- AssertionConsumerServiceURL: The value defined in Step 9 (i.e., the value of Reply URL (Assertion Consumer Service URL)).
- PartnerIdentityProviderName: The value defined in Step 14 (i.e., the value of Azure AD Identifier).
- PartnerCertificateFile: Thecertificate you downloaded on Step 13 (i.e., Certificate (Raw)).
- SingleSignOnServiceURL: The value defined Step 14 (i.e., the Login URL).

- Save changes to saml.config.
- Open the local-membership.config file in a text editor.
- In local-membership.config, add a SAML Provider.
Note
The idpPartner is the Azure AD Identifier URL provided in Step 14.

- Save changes to local-membership.config.
- Recycle the Ingeniux CMS Application Pool.
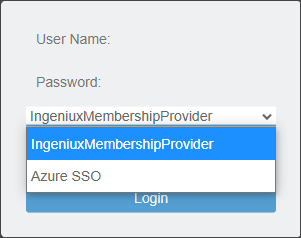
- Navigate to the Ingeniux CMS login screen. Select the new Membership Provider in the drop-down list created in Step 18.

There are no comments yet.