Activating robots.txt in Ingeniux CMS
Steps to activate robots.txt in Ingeniux CMS.
Description
Websites use the robots.txt text file to communicate with web crawlers and other automated agents, such as search engine bots. This file resides in the root directory of a website to provide instructions on which parts of the site should not be crawled or indexed by search engines. CMS Administrators use robots.txt to prevent external search engines from indexing pages they do not want to appear in search engine results.
Requirements
Create a robots.txt file.
See Google's guide for developers, Basic guidelines for creating a robots.txt file, if you need help creating the robots.txt file.
Step-by-Step
To activate your robots.txt in Ingeniux CMS:
- Navigate to Assets > Assets Tree in the CMS.
- Upload the robots.txt file to a folder in the Assets Tree.
- Create a folder if one does not exist in the Asset Tree.
- Right-click the new folder, then select New from the drop-down menu.
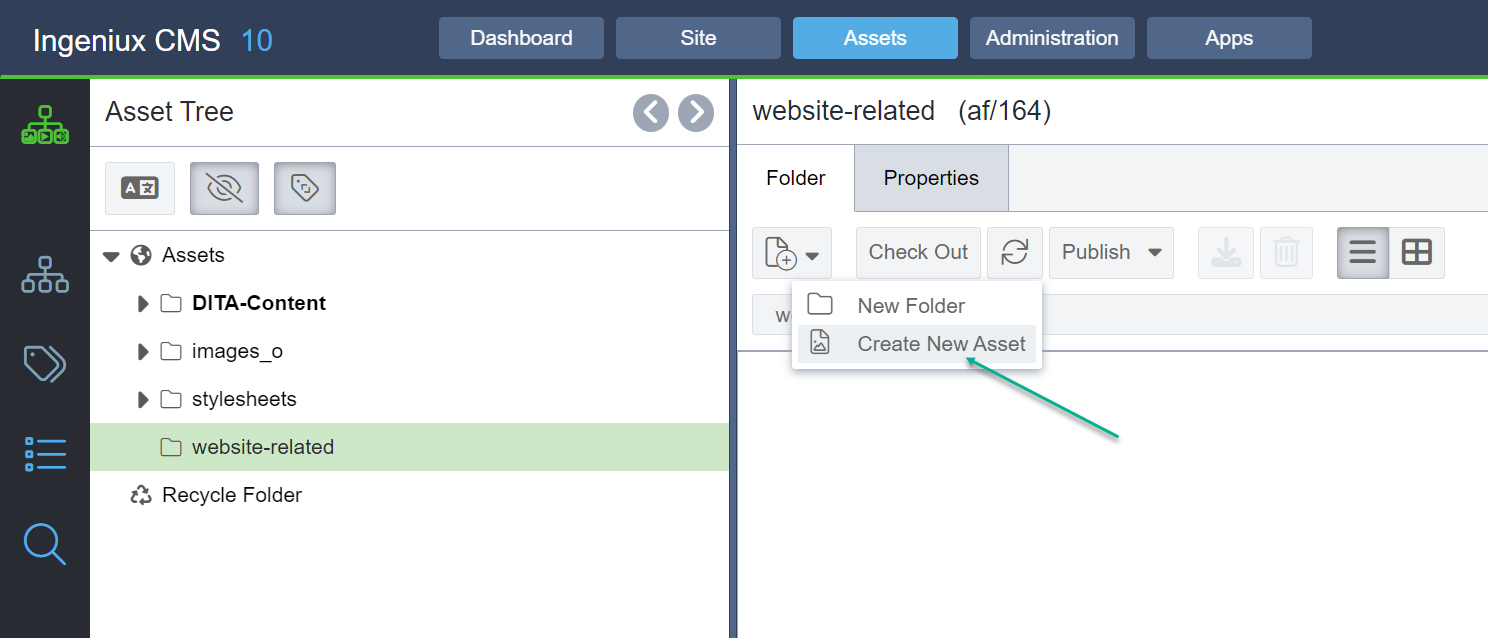
- Drag your robots.txt to the Create New Asset dialog.
- Click Create Asset.
- Check in robots.txt.
- Right-click robots.txt, then select Check in from the context menu.

The Check in assets to be published dialog displays.
- Optional: Add a description of the check-in action in the field provided.
- Complete the check-in operation by clicking Confirm.
- Right-click robots.txt, then select Check in from the context menu.
- Mark robots.txt for a publishing target.
- Right-click the robots.txt file, then select Mark for Publish from the context menu.
- Select the target(s) that will include robots.txt via the Change Content Publish Marking dialog.
- Provide robots.txt with a custom URL.
- Right-click robots.txt, then select Properties from the context menu.
- Select the URL Management option in the Properties dialog.
- Click Add.
- Enter the following value in the New Custom URL Path field:
/robots.txt - Click Add.
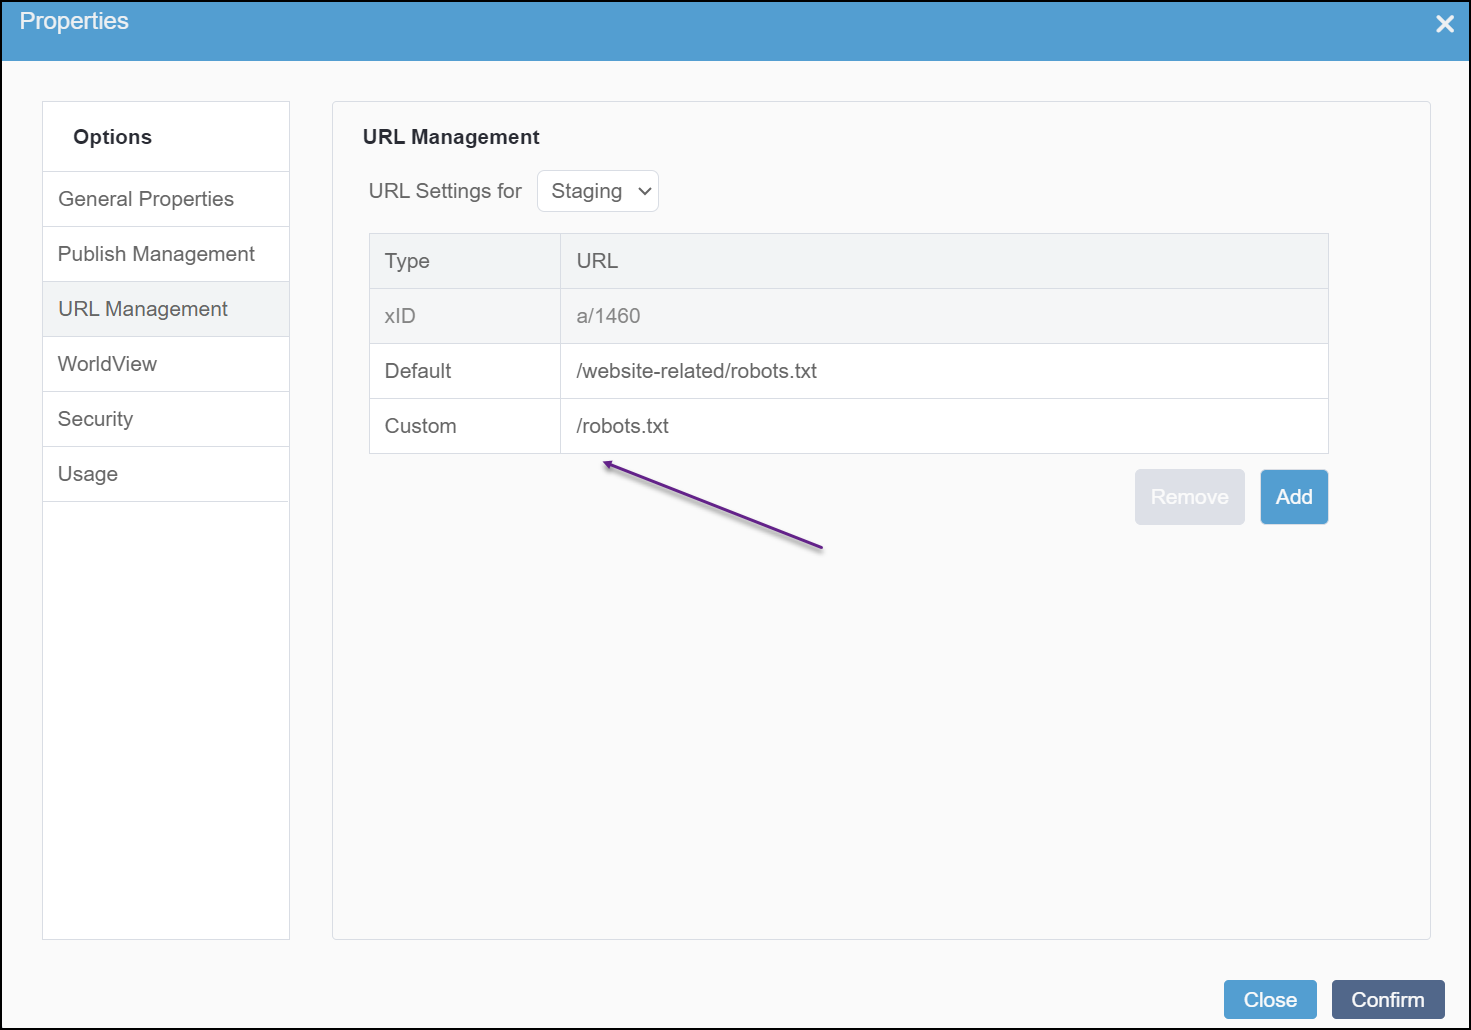
The new custom field displays.
- Click Confirm to close the Properties dialog.
- Publish the robots.txt asset to the appropriate publishing target(s).
See Publishing Assets for the steps to publish an asset.
There are no comments yet.