
Replacing CMS 9.0-10.3 Site Instances
Replacing a site merges a CMS site export into an existing IIS-hosted CMS instance.
When you replace a site, the following occurs:
- The existing CMS database merges with the new contents.
- The replacement overwrites matching items in the database and adds any new items.
- The export contents overwrite DSS Preview, which upgrades to the wizard's software version.
- Select the appropriate size in the Batch Size drop-down
list.NoteThis field configures how many documents the system imports per batch. Higher values speed up site creation but increase memory use.
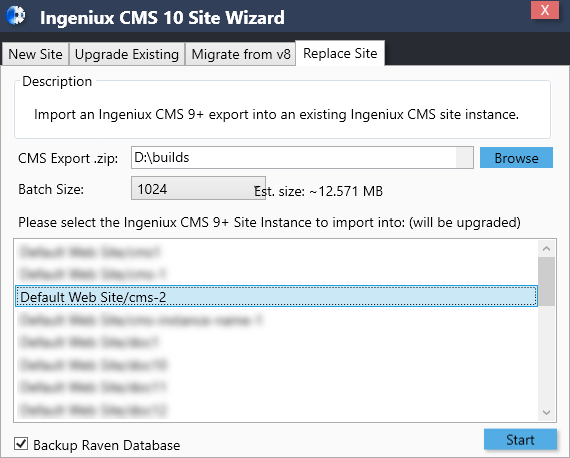
- Click Start.The Welcome dialog displays.
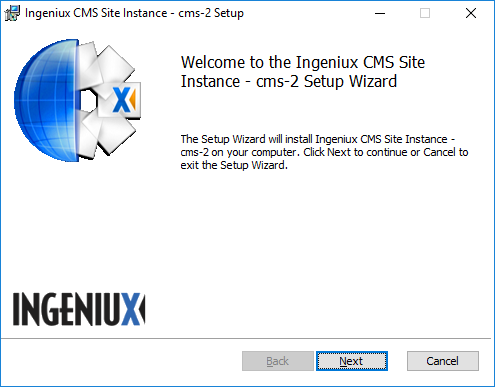
- Click Next.The Confirm Import screen displays.
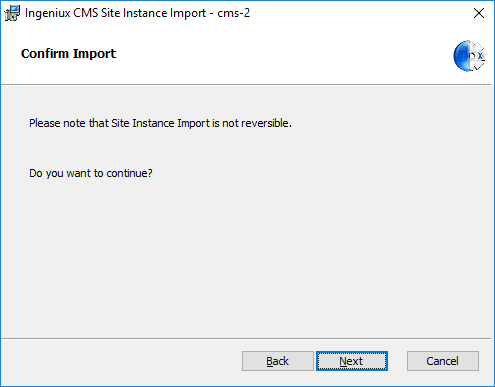
- Click Next to confirm your import settings.The Administrative User Configuration screen displays.
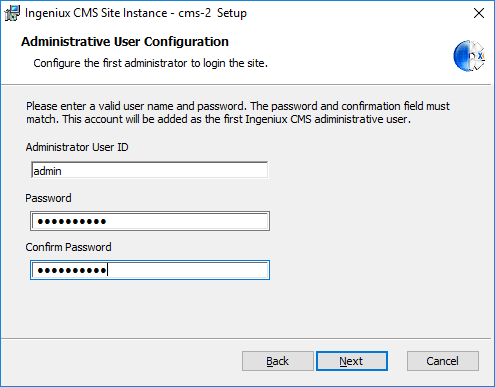
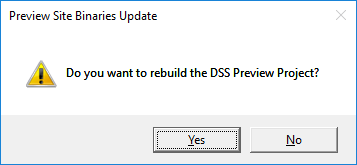
- To rebuild the DSS Preview Project, click Yes.
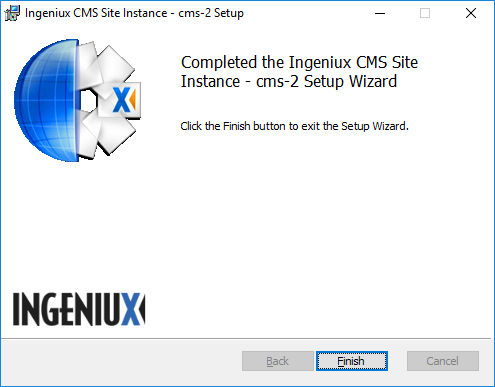
- When the instance replacement setup completes, click Finish.
Next Steps: After the site replacement completes, the CMS automatically enters a content freeze, where only administrator-specified user groups and users can access the CMS client. Only administrators can deactivate the content freeze. Before ending the content freeze, verify the replacement completed as expected and run post-upgrade tests.
To deactivate the content freeze, navigate to , then click Cancel Content Freeze in the bottom-right corner of the Content Freeze pane. Confirm the cancellation in the dialog to end the content freeze for all users.
See Setting Up Content Freeze for more details about content freezes behavior, scheduling, and deactivation.