Creating a Group
To create a new group, click the Groups tab on the Users/Groups Manager. Then click New Group.

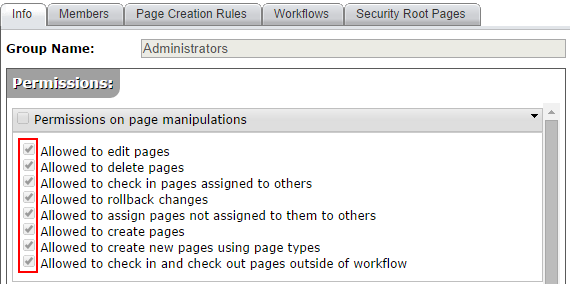
On the Info tab, enter a name for a group. Below the name field is a list of permissions that can be assigned to the group. For each permission you want to assign to the group, click the corresponding check box.

Upon creating a group, the following minimum permissions are applied automatically. You can revoke these permissions if desired.
- Allowed to edit pages.
- Allowed to assign pages not assigned to them to others.
- Allowed to create pages.
- Allowed to checkin and checkout pages outside of workflow.
- Allowed to reorder pages in the tree.
- Allowed to see the tree in the authoring client.
- Allowed to reorder pages in the tree that are assigned to others.
- Allowed to transition pages assigned to others.
- Allowed to categorize pages and components.
When you're finished, click Save.
You can also add users to the group, assign the group Page Creation Rules and workflows, and set its security root pages.
This section includes:
