Adding Elements to Schemas
Prerequisites: See Schema
Designer Prerequisites for details.
Use elements in schemas to display content on associated pages, components or assets.
To add elements to a schema:
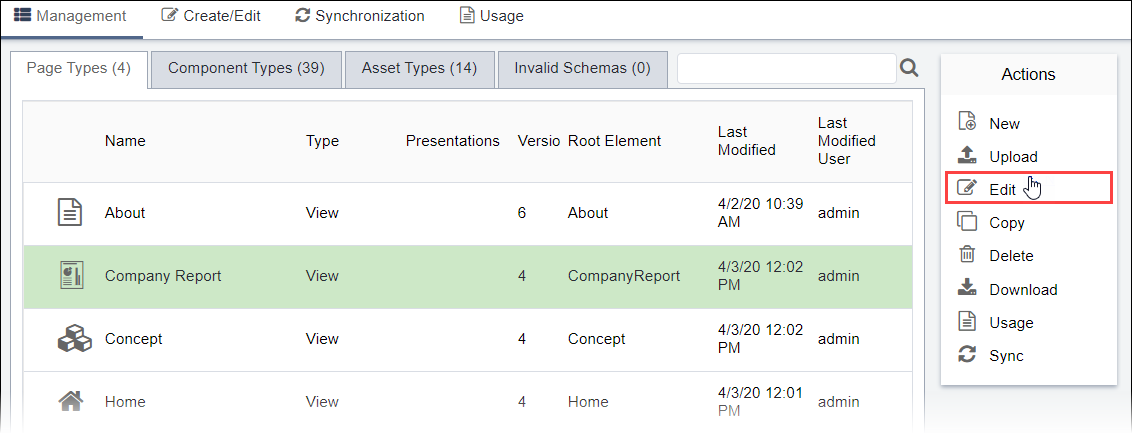
- Navigate to Administration > Schema Designer.
- Select the schema from the appropriate tab in the Management
view.

- Click Edit in the Actions menu. The Create/Edit view displays.
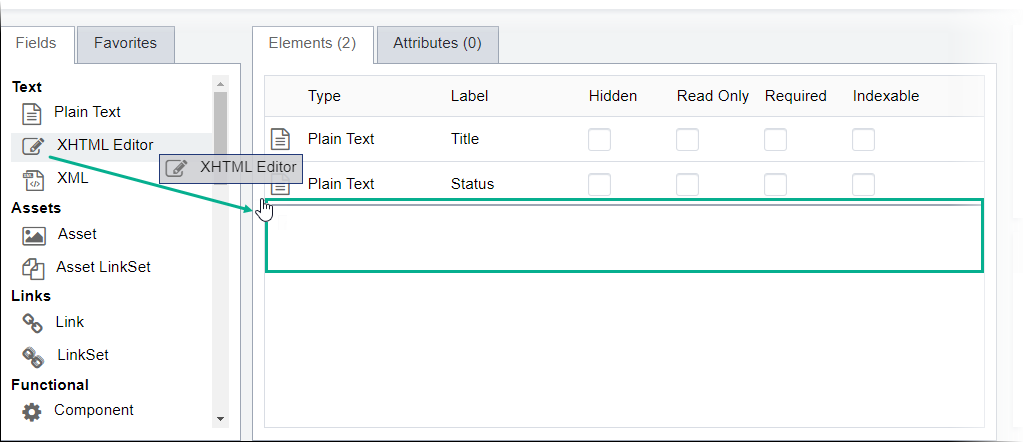
- Drag the element from the Fields tab to the
Elements tab. Use
Ctrl+Click to drag multiple elements.

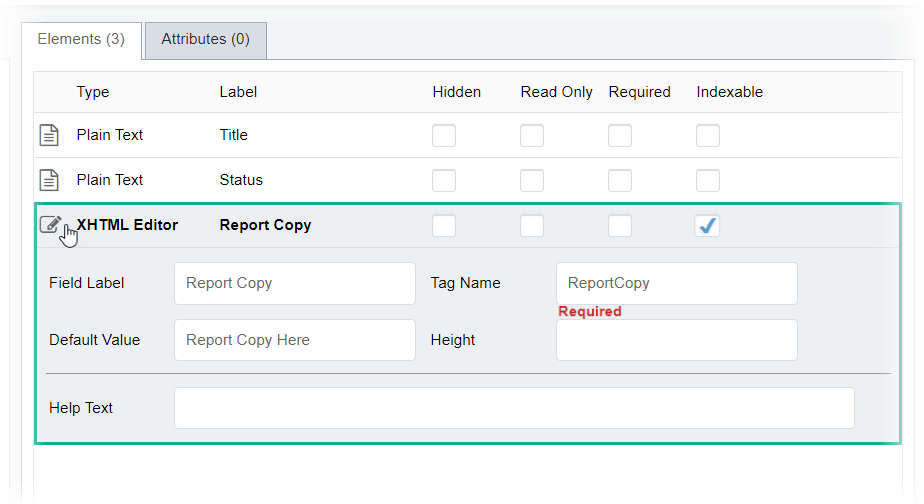
- Click the element to expand fields.

- Select or clear the following options:
Option Description Hidden If selected, the element is obscured from groups that lack permission to view hidden elements. Read Only If selected, the element is visible and inaccessible to groups that lack permission to modify read-only elements. Required If selected, associated items cannot be checked in without entering an element value. Indexable If selected, the element can be added to the index. - Enter field values. Each element (except the Group End
element) contains the following fields:
Field Description Field Label (optional) The element's friendly name. Tag Name The element's name as it displays in the schema. Help Text (optional) Administrator-entered instructions for how to complete an element. Help text displays when users mouse over the question mark icon. NoteAfter administrators add or modify help text, users must refresh their CMS clients before the new help text displays.Additional InformationElements available for page and component schema types differ from asset schema types. Each element contains respective fields. See Page and Component Schema Type Elements or Attribute Schema Type Elements for details.NoteAn asterisk (*) in the Elements tab indicates unsaved changes. - Click Save in the Schema Actions menu
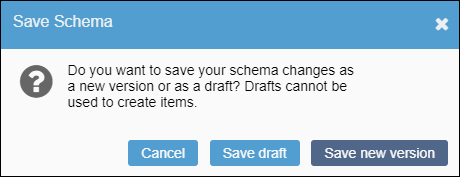
when finished. The Save Schema dialog displays.

- Choose one of the following steps:
- Click Save Draft. Schema Designer saves the schema as a
draft.ImportantIf you save the schema as a draft, element edits don't apply to new pages, components, or assets associated with schema. Save the draft as a new version to apply element edits.
- Click Save new version. Schema Designer saves the
schema as a new version.NoteTo display the new schema elements in existing associated instances, see Syncing Schemas for details.
- Click Save Draft. Schema Designer saves the schema as a
draft.
