Configuring Preview Settings


Prerequisites:


To accommodate .NET technology, the Publishing System features a Preview Provider drop-down menu where administrators can select the preview rendering method.

To set a preview provider:

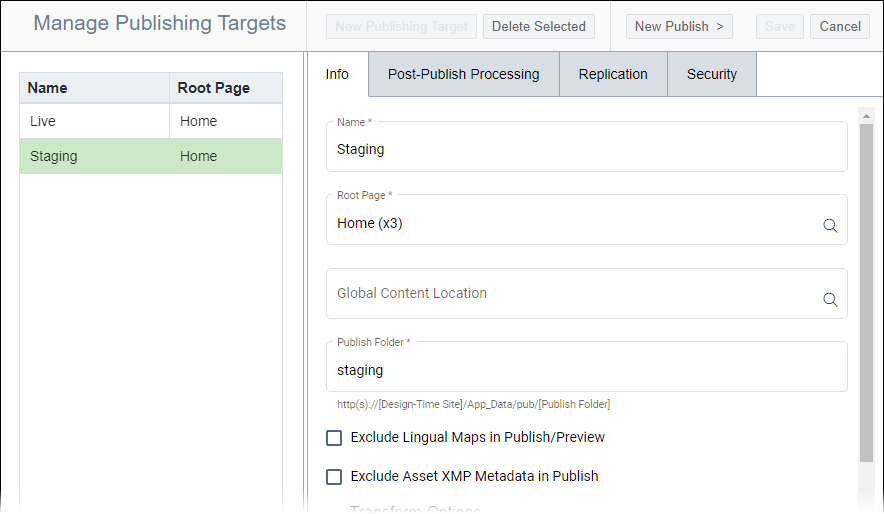
  1. Navigate to Administration > Publishing System > Publishing Targets.
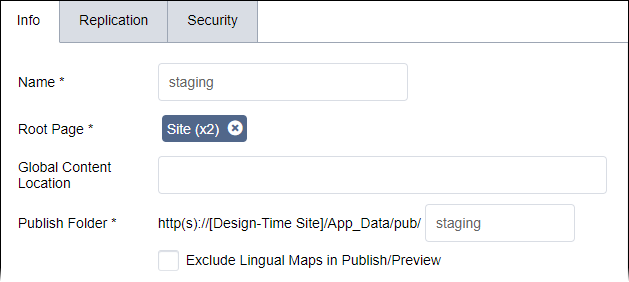
  2. Select the appropriate publishing target from the Managing Publishing Targets list. The Info tab displays.
  3. Select one of the following preview options from the Preview Provider drop-down list.
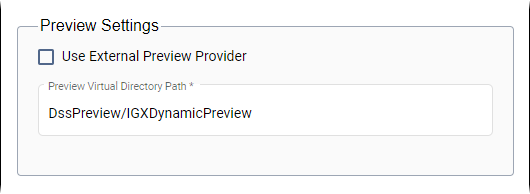
    • Select Dynamic Site Server to use, for example, the sample MVC solution included with the CMS. The Preview Virtual Directory Path field displays.

      DSS Preview Settings

      • Complete the following field:
        Field Description
        Preview Virtual Directory Path Enter the path to the preview virtual directory. To prevent cross-site scripting, the virtual directory must be within the CMS installation or under the parent site of the CMS. The path starts with a slash (/) and may be several levels deep (e.g., /preview/dsspreview).

        Note: To use the sample MVC solution as the preview provider, leave the default value, DssPreview, as the value of the Preview Virtual Directory Path field.

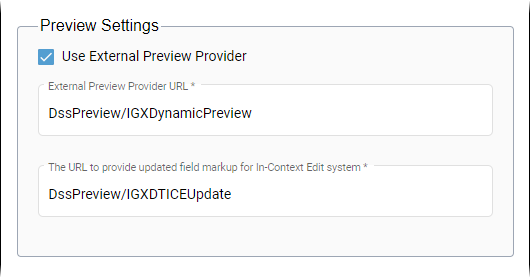
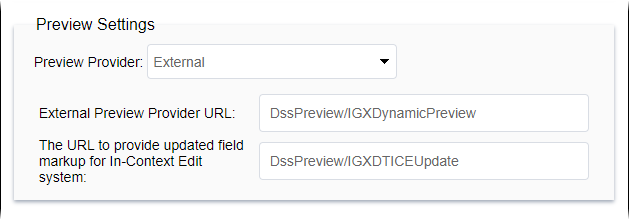
    • Select External to enable the external preview system. Use this option to edit Multi-Format Output (MFO) content via the ICE (In-Context Editing) system. The External Preview Provider URL and The URL to provide updated field markup for In-Context Edit system fields display.

      External Preview Settings

      • Complete the following fields:

        Note: After entering the correct URLs for the External provider, users with permissions can preview MFO content in the Edit tab's In-Context Edit View mode and the Preview windows.

        Provider Description
        External Preview Provider URL Enter the preview URL, which is a child of the CMS site. The external preview feature supports URLs starting with a slash (/), meaning the preview URL can use the path relative to the default site root. It's usually a good idea to use a relative path in this field.
        The URL to provide updated field markup for In-Context Edit system Enter the URL that replaces the built-in previewpage.asp file. The URL that you provide for the ICE system will receive updated element values and will return rendered markup.
  4. Click Save in the top right corner of the publishing target view.

Next Steps: Choose one of the following steps.