Creating and Sending Newsletters
Newsletters 9.0 is similar to older versions of the module, but with a more fluid user experience and a more modern design. The processes of creating and sending newsletters should feel familiar.
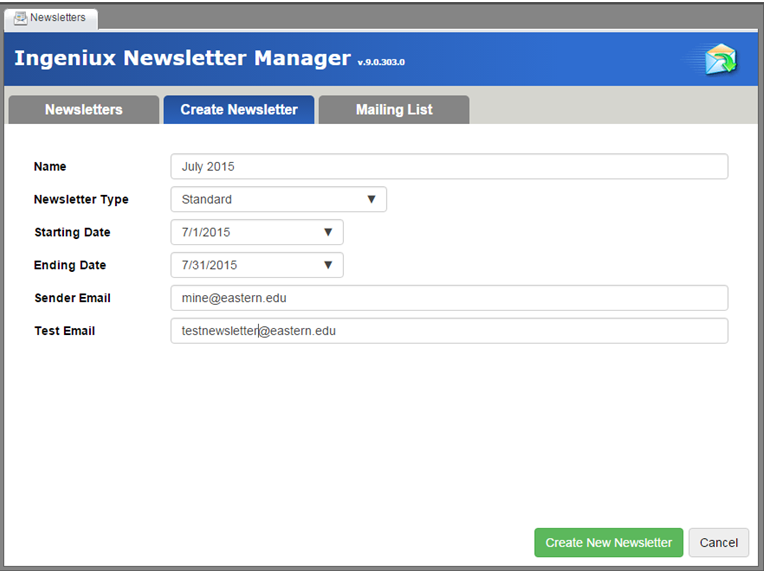
Creating a new newsletter
- Click the Create a Newsletter button.
- This takes you to the Create Newsletter tab and the newsletter edit form. Complete the fields on this form: name, newsletter type, start date, end date, sender email, and test email. The Test Email field is important: you should test the newsletter first before sending it to all recipients.
- Click Create New Newsletter. A dialog asks whether you want to edit this newsletter right away:
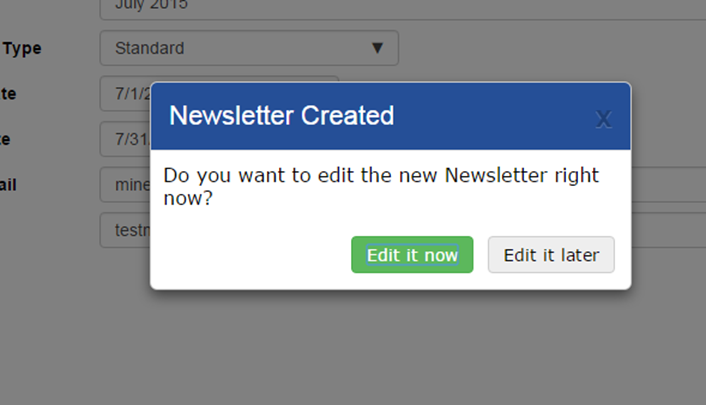
Clicking Edit Now takes you to the newsletters edit form. Clicking Edit Later displays the newly created newsletter on the Newsletters tab.
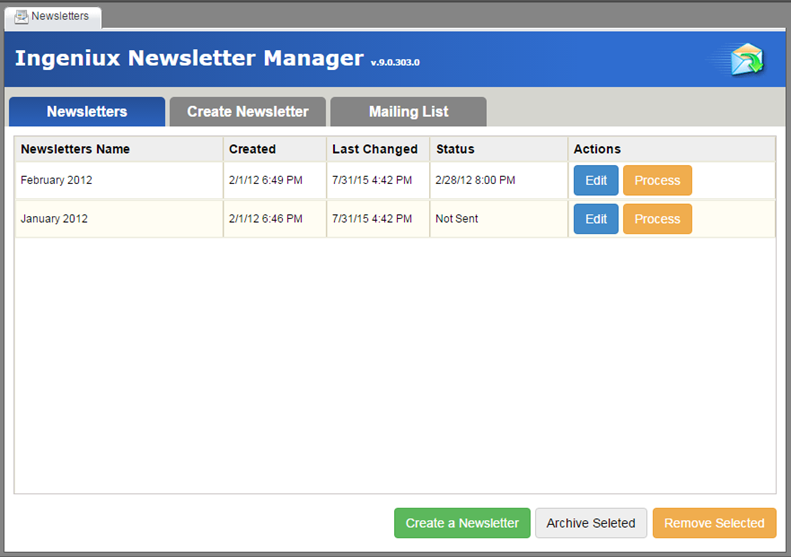
Sending a newsletter
- On the Newsletters tab, select the newsletter you want to send. Click Process.
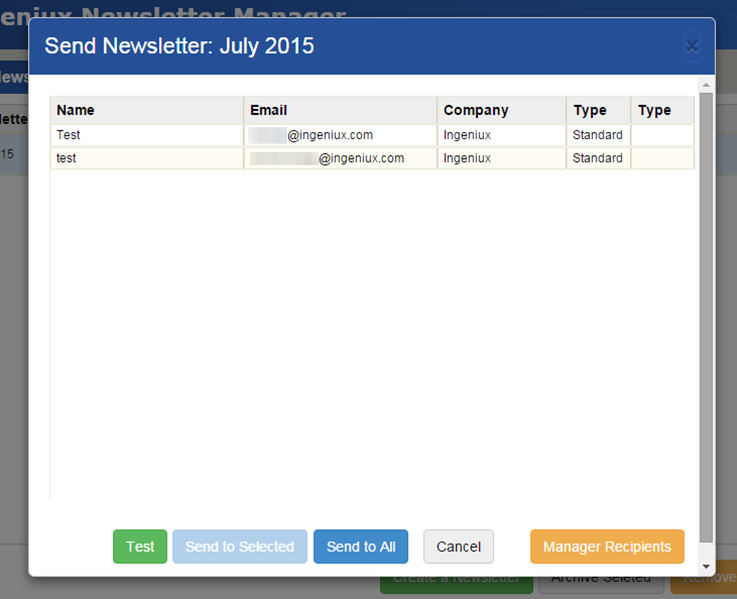
- The Send Newsletter dialog opens. It contains the following options:
- Test: Sends a test email to the address specified in the Test Email field.
- Send to Selected: Sends the newsletter to only the selected recipients.
- Send to All: Sends the newsletter to all recipients.
- Cancel: Cancels sending the newsletter.
- Manage Recipients: Configure who receives the newsletter.
- After selecting the newsletter's recipients and sending the newsletter, a progress bar displays how many newsletters are sent.