Implementing InSite Search During a Site Upgrade
Implementing InSite Search during a site upgrade should happen after upgrading your previous-generation CMS instance to CMS 10.0 (see the Upgrades section of the online documentation) but before upgrading your DSS site.
- Rebuild the DSS_Preview solution.
- Navigate to [siteRoot]\DSS_Preview and open the DSS_Preview solution file in Visual Studio.
- On the Solution Explorer, open the References node and check for any missing assembly references (they're marked with an exclamation point).

- You also need to replace the legacy
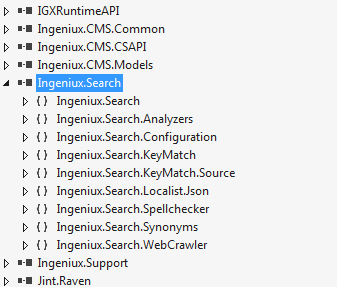
IgxSiteSearchassembly with the newIngeniux.Searchassembly. - Locate the controllers, and update their
usingdirectives. There should be nousingdirectives that reference Cartella; for instance,Cartella.Searchshould be replaced withIngeniux.Search. - Right-click the solution file on the Solution Explorer, and select Rebuild.
- Verify configuration files are properly set.
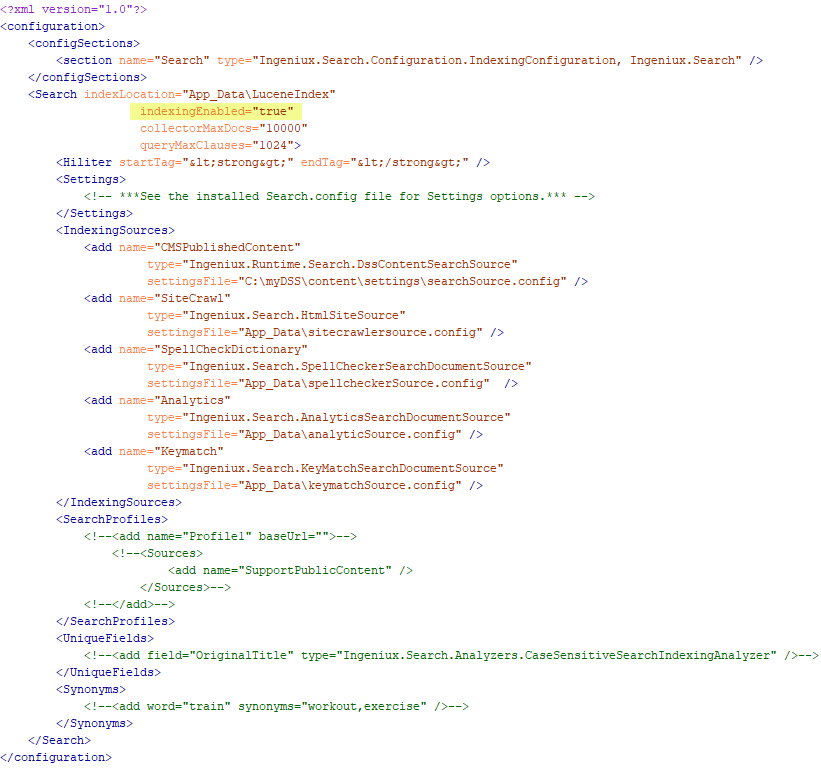
Make sure that Search.config references SearchSource.config, which has been moved from the DSS directory location and now exists in the CMS instance pub folder: \[CMS instance pub folder]\Settings\SearchSource.config. You should verify that the correct values are noted in any other important elements as well.
For [DSS file path]\Search.config:

- Verify that the path in the Search node points to the LuceneIndex directory.
- Verify that the path in the IndexingSources node points to the SearchSource.config file within the CMS instance publish folder.
For [DSS file path]\SearchSource.Config:
<?xml version="1.0" encoding="utf-8"?> <configuration> <configSections> <section name="Search" type="Ingeniux.Search.Configuration.IndexingSourceConfig, Ingeniux.Search" /> </configSections> <Search> <Settings> <add name="documentComponents" value="BinaryDocument" /> </Settings> <DefaultFields > <add name="documents" includeInSearchResults="true" boost="2" /> </DefaultFields> <Types /> </Search> </configuration>- Allowing to index through asset content is set by default and no longer needs to be declared in DefaultFields
name. Thus, the old fulltext value no longer needs to be declared. - Page names are indexed. By default,
nameis added as a default field on publish. - Performing a publish (either incremental or full) rolls back this configuration file back to its default settings.
- The BinaryDocument value on the documentComponents node specifies that BinaryDocument components will be indexed. It also attaches the document asset as part of the component's searchable text.
- Verify that the Adobe Reader iFilter Package and the Microsoft Office iFilter package are installed on the DSS. If not, follow these instructions:
- To enable indexing of PDFs if applicable, refer to Adobe Reader iFilter. Download the appropriate executable for your operating system:
- To enable indexing of Microsoft Word documents if applicable, refer to Microsoft Office iFilter package:
- To download the Microsoft 2010 filters.
Note: Before installation, read the installation instructions on the Microsoft site.
- After installing the initial filters, install the Filter Pack SP2 update.
- To download the Microsoft 2010 filters.
- Run a full publish and make a backup of the DSS web.config file.
- Upgrade your DSS instance to DSS 9.0.
- After the upgrade completes, diff the new DSS web.config against the one you backed up. Any customization to the DSS web.config gets overwritten during upgrade, so merge these changes from the old file to the new file.
- The final step is dumping the search index. Open IIS and stop the application pool. Then navigate to [DSS directory]\App_Data\LuceneIndex and delete all the files inside it. Restart the application pool.
