Adding Images to the XHTML Editor
Some pages may have predefined image elements; an image element controls the position of the image on the page. When more flexible positioning is called for, or when there's no predefined image element for the image you want to include, you can add an image via the XHTML Editor.
Images have to be uploaded to the Images directory on the web server before they are available through the XHTML Editor. Once an image is uploaded and selected, you can configure attributes to control the display of the image in the page.
To insert an image:
- Click in the desired image location in the XHTML Editor.
- Click Insert/Edit Image.
The Insert/Edit Image dialog appears.
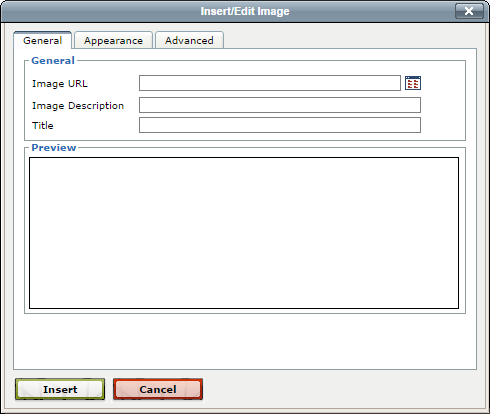
- Click the Browse icon (to the right of the Image URL field). The Asset Manager dialog appears, on the Images folder.
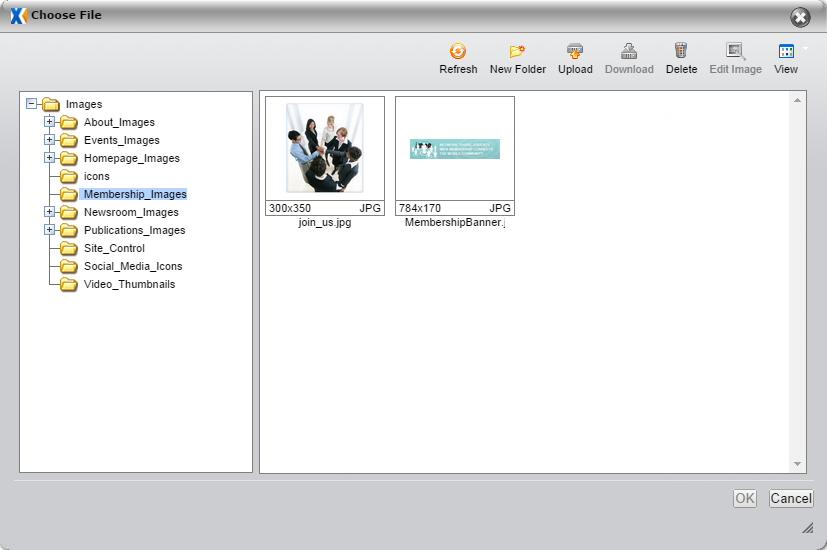
- Use the folder structure on the left to navigate to the image you want to include.
- Select a file on the right and click OK.
- Set image attributes, as desired.
- Click Insert.