Asset View
Assets can be opened from the Assets Tree with a single click or from the folder view with a double click. From the Asset view, you can get and work with all the meta data, categorization, and history of the asset.
Overview
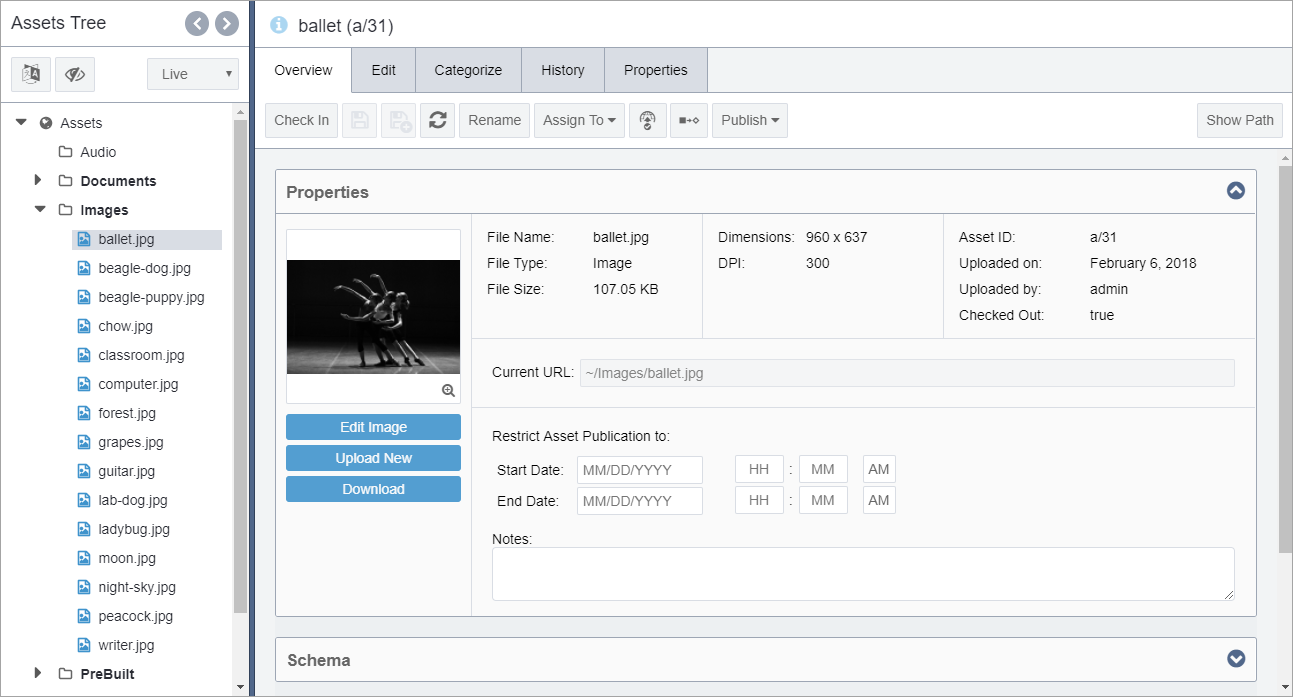
In the Overview tab, you can access the Properties, Schema, Taxonomy, and, if the asset is an image, Related Images.
Overview Toolbar
The Overview toolbar contains options for working with the selected asset.

The options on the toolbar are:
- Check In/Check Out: Toggles between Check In and Check Out, with the icon changing the direction of the arrow to match.
- Save: Overwrites the temporary content save for the selected item.
- Save As: Saves the content as a separate asset.
- Refresh: Reloads the edit form with the latest viewable version.
- Rename: Allows for changing of the name of the selected item.
- Assign To: Allows for changing of the assignment of the selected item to yourself, another user, or another group.
- Mark/Unmark for Publish: Marks whether or not items are ready for publish.
- Advance in Workflow: Toggles between Add to Workflow for selected items that are not in workflow and Advance for items that are in workflow.
- Publish: Provides options to publish this asset or site to publishing target(s).
Properties
The Properties area of the Overview tab displays meta data about the asset. Much of this data is descriptive of the asset, but some of the content can be changed.
There are a base set of properties for all types of assets, as well as specific properties for the three distinct types of assets: images, documents, and media.
All assets have a thumbnail and button to upload a new version of the asset.
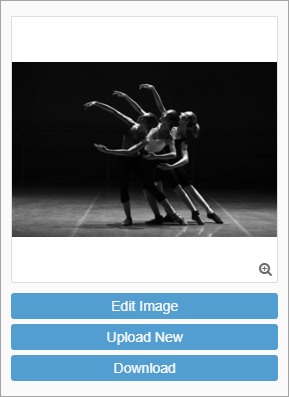
You can upload a new file and download asset(s). On images, the Edit Image button displays.
To edit an image asset:
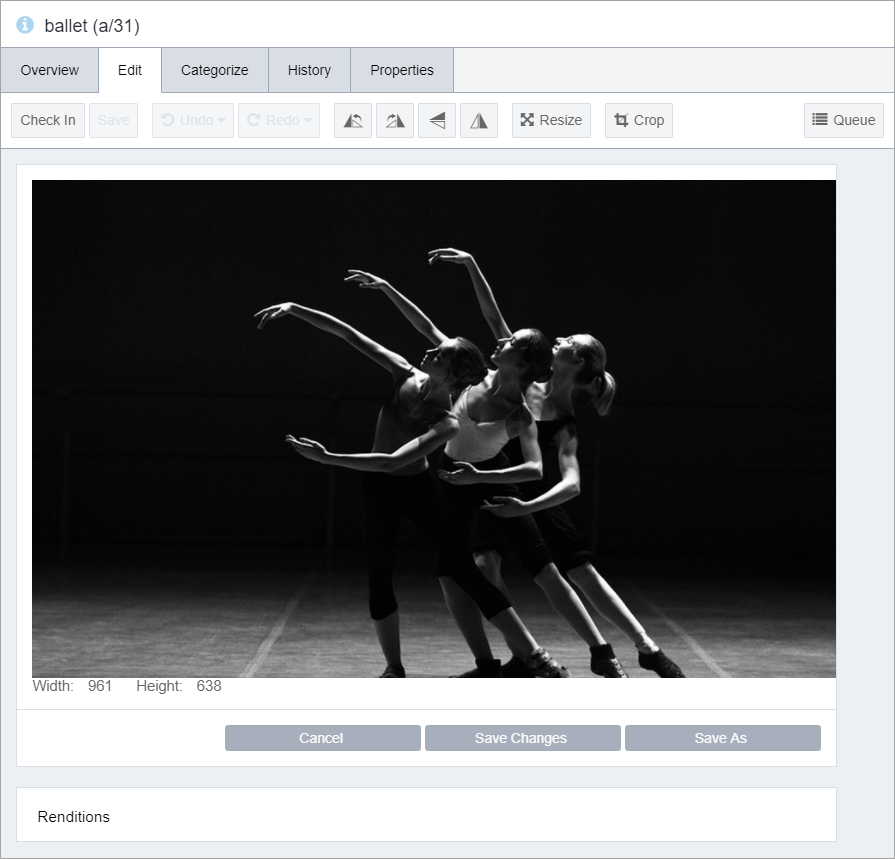
- Click the Edit Image button. The image loads in the main pane under the Edit Tab.
All assets display the following properties and settable values:
- File Name: The name of the physical file that was uploaded. Cannot be changed.
- File Type: The type of the file is set during the upload process when the schema is selected. Cannot be changed.
- File Size: The physical size on disc of the file that was uploaded. Cannot be changed.
- Asset ID: The ID of the item as set by the CMS when the item was uploaded. Cannot be changed.
- Uploaded on: The server date the file was uploaded to the CMS. Cannot be changed.
- Uploaded by: The username of the individual who uploaded the item. Will display IGXSystem for items present during an upgrade from previous versions. Cannot be changed.
- Checked Out: The value displays true if the item is checked out or false if not. This changes automatically when the item is checked in or out.
- Current URL: The structured, direct URL to the asset after publishing. Does not show the base URLs for any publishing targets. This is changed by renaming the asset or changing the file location in the asset tree.
- Start Date: Blank by default. This can be set to predetermine a date on which the item will begin displaying when published. Does not control the publishing, but only the display.
- End Date: Blank by default. This can be set to predetermine a date on which the item will stop displaying when published. Does not control the publishing, but only the display.
- Notes: The text field to store information pertinent to the content management of the asset. Notes are for internal use only and not available for display.
Specific to an image type asset:
- Dimensions: The physical width and height of the image.
- DPI: The dots per inch value of the uploaded image.
Specific to a media type asset:
- Dimensions: The physical width and height of the media. Note: Audio files do not have Dimensions.
- Duration: The playtime of the media.
- Video Codec: The compression type that was used for the media.
- Video Codec Version: The version of the codec that was used to compress the media.
Schema
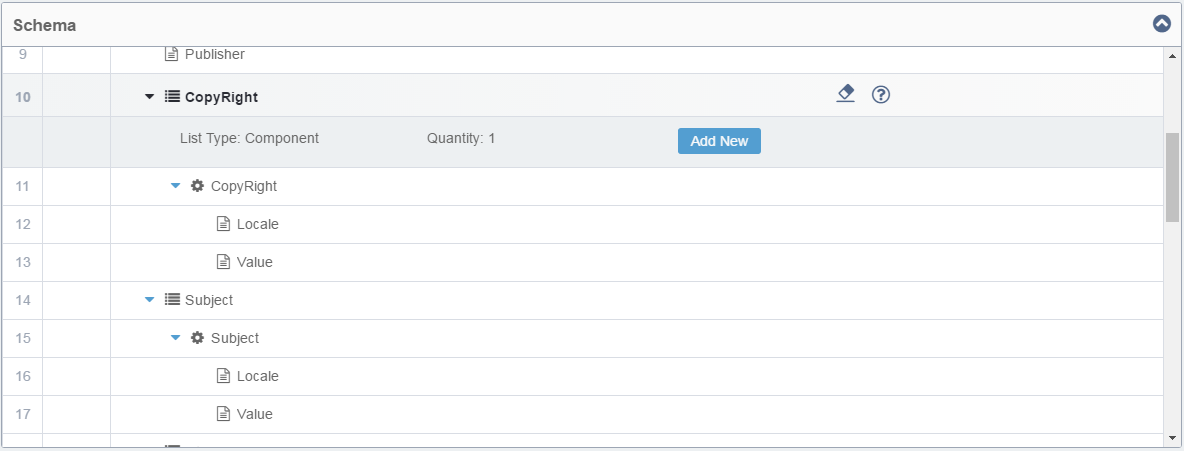
The schema area of the Asset view displays content specific to the schema that was selected when the item was uploaded. This information is mostly set by a content person to be tracked with the item. It can be used in display, for reporting, or for meta data for searching. There are a number of predetermined schemas that are installed with Ingeniux CMS 10.x to represent the different file types. These can be used as is or modified. Schemas can also be created to represent any file type that can be uploaded to the CMS.
All page and component schema field types can be used to build a schema for an asset.
The schema area displays as an editable index view on the Overview tab.
Taxonomy
Categories that are applied to the page display here. You can click the trash can icon in the row to remove a category without going to the Categorize tab.
You can click the Categorize button to go to to the Categorize tab.

Related Images
You can associate images with shared attributes or relationships in the Related Images area. This area only displays in image asset items.

Edit Toolbar
The Edit toolbar is focused on making manipulations to the selected image asset's file. From here, you can perform physical changes to the file (e.g., resizing, cropping).
The toolbar options are:
- Check In: Checks in the asset.
- Save: Commits the changes to the checked-out version of the asset.
- Undo: Reverses the last action that was taken. Cannot be done after a save. Can be used over infinite actions.
- Redo: Reproduces the last undone action. Can be used over infinite undone actions.
- Rotate Counterclockwise: Turns the image and its aspect to the left.
- Rotate Clockwise: Turns the image and its aspect to the right.
- Flip Vertical: Mirrors the image from bottom to top.
- Flip Horizontal: Mirrors the image from left to right.
- Resize: Changes the physical size of the image, allowing for the choice of maintaining the aspect ratio.
- Crop: Changes the physical size of the image by trimming off portions of the image.
- Queue: Shows a list of recently uploaded items to indicate
that they may need to be worked on or approved. NoteItems can be removed from the queue if they are complete as-is.
Renditions
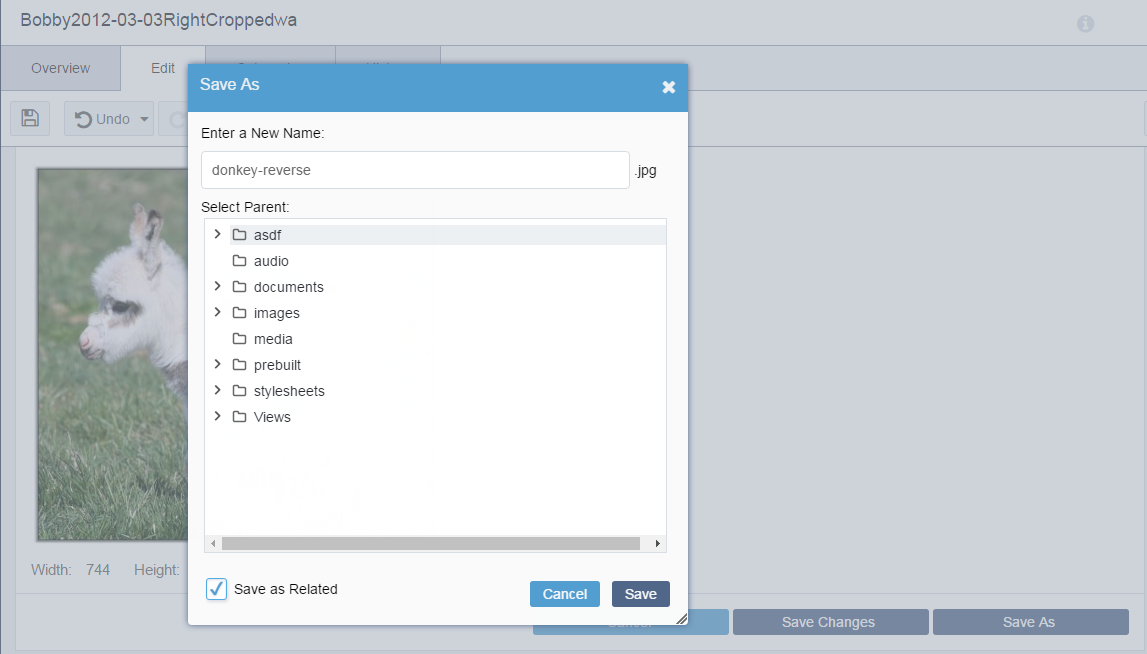
Uploaded images and text-based files can be edited within the CMS. After you perform these edits, you have the option of saving changes over the original item, or saving a new version of the item. If you choose Save As and save a new version of the item, the Save as Related option displays, which will create a connection between the two items that can be viewed in the Renditions area of the Edit tab.
Categorize
Since assets are now tracked by ID and have versioning, they can also be tagged with taxonomy categories and managed with the full functionality of the taxonomy system. Categorization on assets works the same as it does for pages and components.
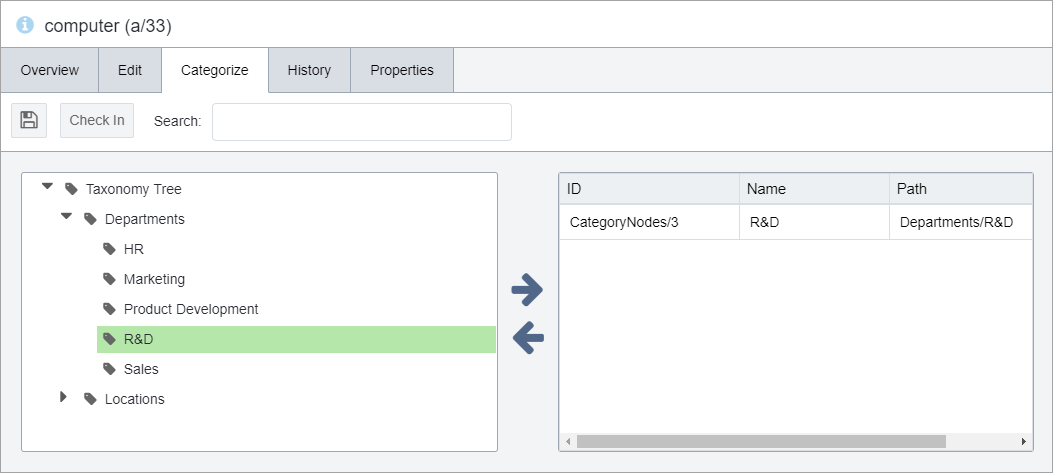
You can save your categorization changes by clicking the save button on the Categorize toolbar.
You can see the categories of assets in the XML of a page or component that uses them, and use an Asset Taxonomy Navigation to query assets by category.
History
History for assets is a new feature in Ingeniux CMS 10.x. For the most part, functionality of the History tab is the same as that of pages and components.
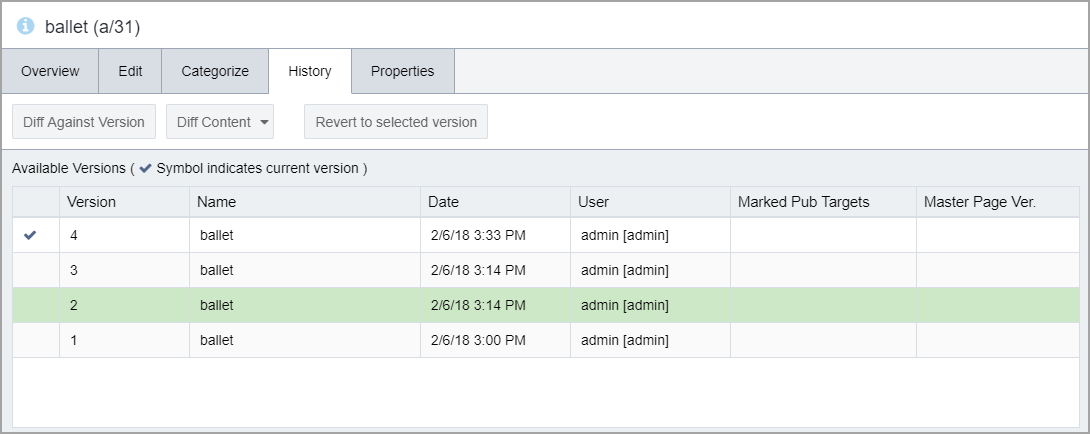
The one notable difference between page history and asset history is that the versions are limited not by number, but by total storage size of the asset. Administrators set a max storage per type of asset. The next version made after the max storage is exceeded will remove the oldest version, automatically.

