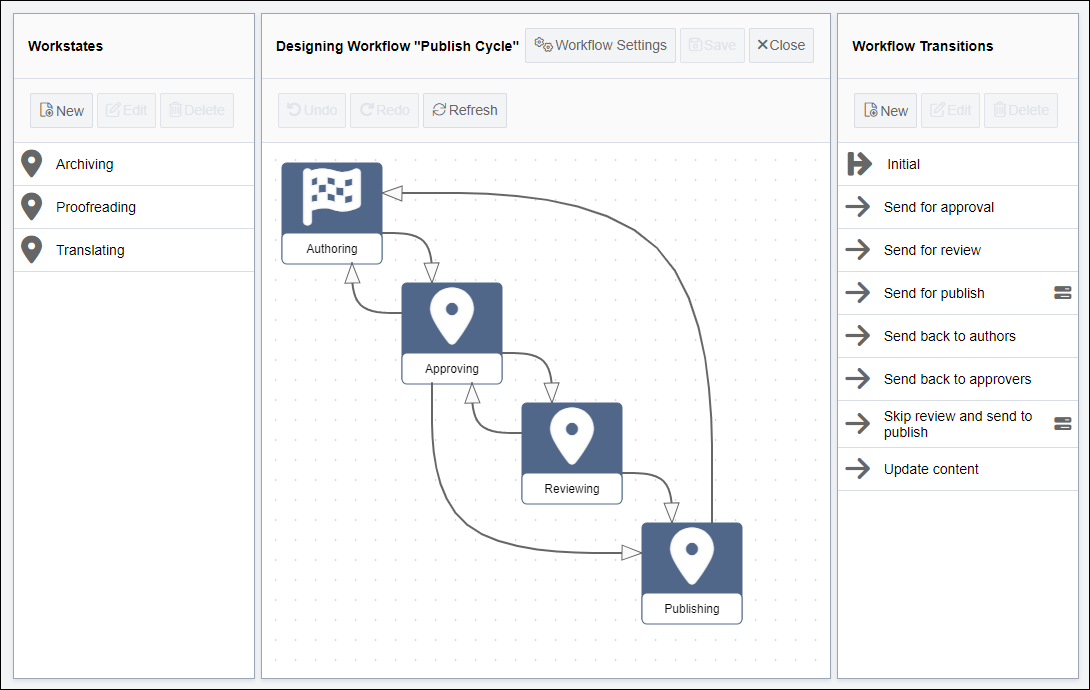
Designing Workflow Area
Use the Designing Workflow area's visual interface to view the relationship between groups, workstates, and transitions.

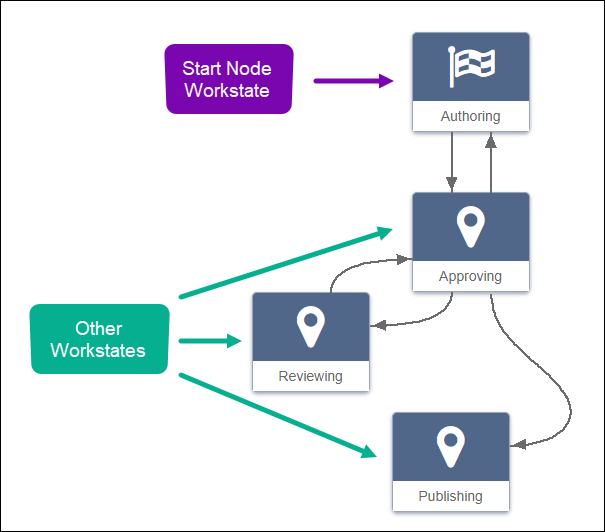
Workstates
Workstates display as objects. The checkered flag icon indicates the initial workstate (i.e., start node) that content items enter when joining the workflow. The start node cannot be removed from the workflow.

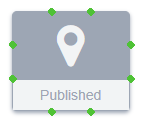
If you hover over or click a workstate, connection points display. Use these connection points to add or move transitions.

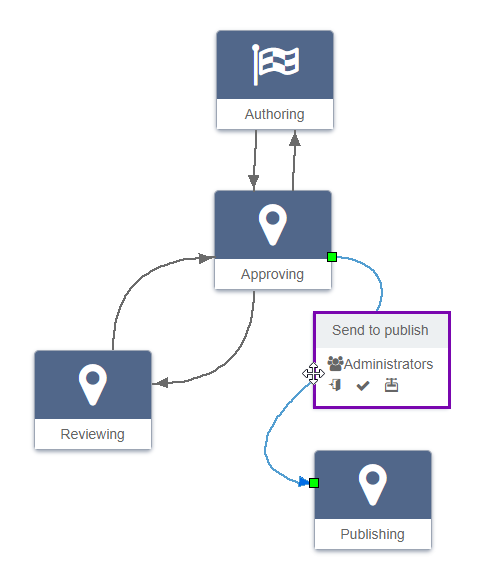
Transitions
Workstates can have multiple transitions. Transitions display as arrows that indicate advancing content items to and from workstates.

Hovering over a transition displays the transition name and group to receive the content item. If applicable, the icons indicate which actions execute in the transition. Hover over the icon to display the action name. Click the arrow to select the transition and display square connection points. Use theses connection points to create or modify a transition relationship between two workstates.
Designing Workflow Tools Menu
Use the Designing Workflow menu to undo or redo operations performed in the Designing Workflow area. Use Refresh to reset the Designing Workflow area. For example, refresh the area to view new start node and transition relationship changes.

