Creating and Editing Schemas
![]() Creating a schema
Creating a schema
To create a new schema, click Schema Designer in the Administration pane, and then click the Create/Edit tab. The tab opens to the New Schema form.
Enter a Display Name for the schema. The Root Name field will automatically use this name, with any spaces removed. In the Content Type menu, choose either Component or Page. Then pick an icon to represent the schema.
To create a page schema, you also need to indicate whether content will be rendered with an XSLT style sheet or an MVC managed view.
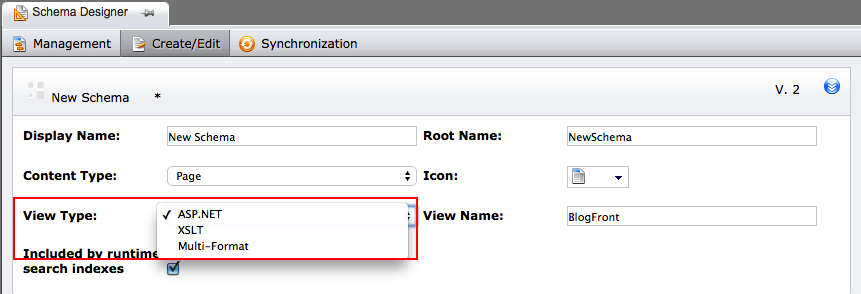
If you select Managed View, enter a name for the view in the View Name field. If you select XSLT Stylesheet, choose a style sheet using the Ellipsis (...) button.
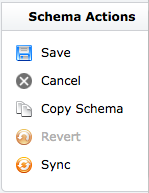
When you're finished creating or modifying the schema, you can save, clone, revert, or sync it using commands from the Schema Actions menu.
Configuring workflow and taxonomy
Click the blue Group icon to open additional configurations for a schema. Here, you can configure workflow and taxonomy.
![]()
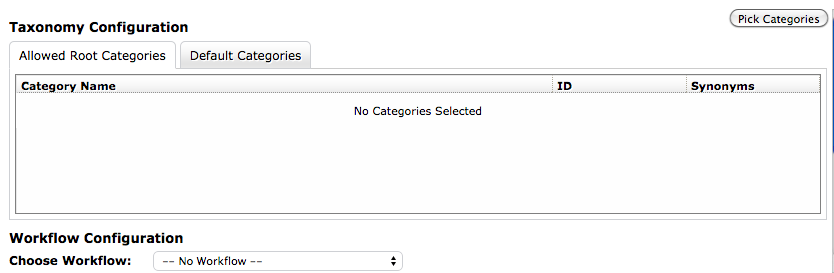
Two types of taxonomy associations are available, and each has its own tab:
Allowed Root Categories: Only these categories and their descendants can be associated with pages instantiated from the given schema. If you want to predetermine the categories from which users can choose, you can do so on this tab.
Default Categories: These categories are applied by default to pages instantiated from the given schema.
To choose Allowed or Default categories, click the appropriate tab, click Pick Categories, and select categories in the dialog.
You can also associate a workflow with the schema, so that pages created from the schema automatically enter the workflow. (In most CMS implementations, this configuration is superseded by page creation rules.)
To associate a workflow with a schema, select a workflow from the Choose Workflow menu.
Adding elements and attributes to a schema
To add elements to a schema, make sure that the Elements tab is open and drag elements from the Fields Tab into the Elements tab. When you drag an element into the Elements tab, it expands.
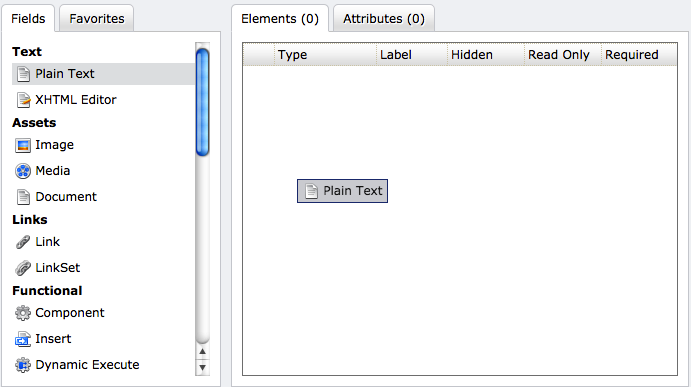
Configure values for the element using the check boxes and text boxes.
- Read-only: Only administrators can edit the element's content.
- Hidden: The element only appears to administrators on the edit form.
- Required: The page cannot be checked in until the element is completed.
- Field Label: The element's friendly name
- Tag Name: The element's name as it appears in the schema
- Default Value (optional): A value that populates the element by default on each page created from the schema
- Help Text (optional): Administrator-entered instructions for how to complete an element. These appear to end users when they mouse over an element.
To add attributes to a schema, open the Attributes tab and drag attributes from the Fields tab to the Attributes tab. When you drag an attribute onto the Attributes tab, it expands, and you can configure the attribute in the same manner as an element.
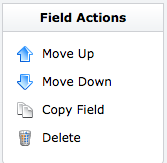
When you're finished adding elements and attributes, you can reorder, clone, and delete them using commands in the Field Actions menu.
You can streamline the process of creating and editing schemas by saving frequently used element groups in the Favorites tab.
To add an element or group of elements to Favorites:
- Select a schema on the Management tab, click Edit, and (if necessary) click the Favorites tab.
- Select an element on the Elements tab (or multi-select elements by holding down Shift and clicking), and drag the selected element(s) to the Favorites tab. A dialog prompts you to name the new group.
- Enter a name and click Create Favorite Fields Group.
To make the new favorite field(s) available to all CMS users with appropriate permissions, select Public.
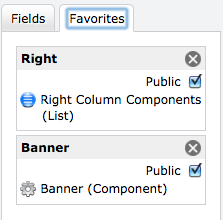
If you don't select Public, the favorite fields will be available to only you.
Editing a schema
Editing a schema is similar to creating a new schema, except that element and attribute fields already exist.
To edit a schema, select the schema on the Management tab, click Edit, and make changes as described in the Creating a Schema section. When you're finished updating the schema, click Save. The Save Schema dialog confirms that you want to create a new version of the schema.
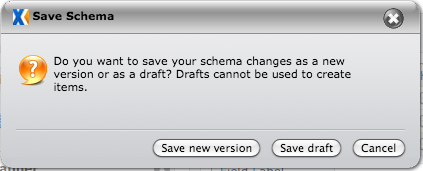
To create the new version, click Save new version.
To preserve your changes without creating a new version of the schema, click Save draft.
By saving in draft mode, you make changes to a schema without applying them. When you save a schema as a draft, it's taken out of circulation, and you can't use it to create a page until you save a new version. However, the draft schema still appears in the schema table.
This section includes: