Setting Up Translation Manager for Venga
Before installing Translation Manager, you must contact Ingeniux about implementing the application on your site.
After you have the Translation Manager .zip folder, follow these steps:
- Extract TMan.zip to your site's Custom directory. (Optionally, you could rename the folder something like "TranslationManager".)
- In the TMan directory, create a new folder called DropFolder.
- Locate the settings.xml file and open it. On line 7, change the content of the basePath tag so that it contains the path to DropFolder. Also ensure that all transfer tags are commented out, aside from the one with the value Local.
The basePath must point to the domain specified in the url tag. This can be a virtual directory or website being served to that location. When a user submits a translation project, Translation Manager moves files to this location so Venga translate them. Other Venga-specific values are explained in the configuration screenshot below.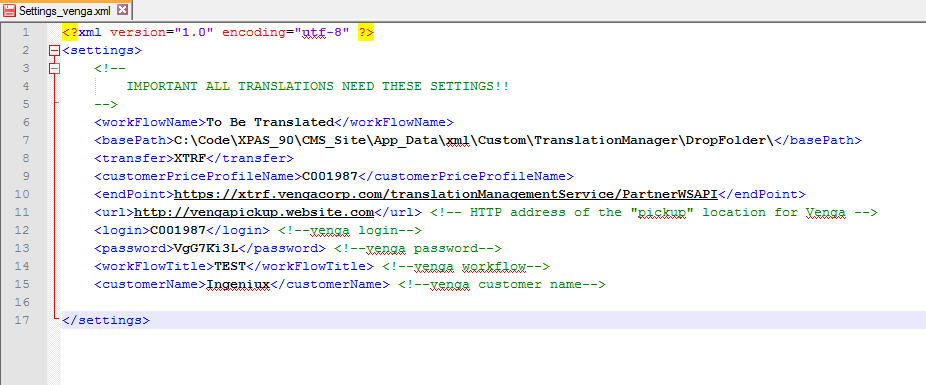
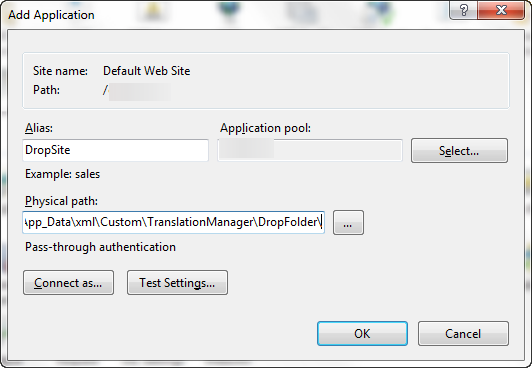
- You must now configure this site in IIS. Open IIS and locate the site that will serve as the DropSite. Right-click it and select Add Application. The Physical Path field must contain the same value as the basePath tag in the settings.xml file. The name of the website or virtual directory must match the value of the url tag. After configuring these values, click OK.
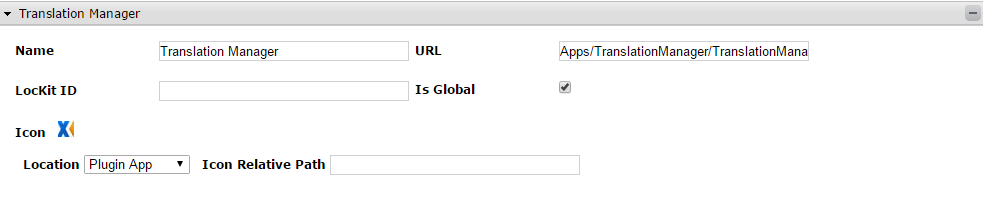
- Log into the CMS and navigate to Administration > System Options > CMS > Custom Tabs. Follow the steps for creating a new custom tab. Your tab's values should resemble the following:
- To make the application display in the CMS, open IIS again and refresh your site's application pool.