Restoring an Exported Site
To restore an exported site:
- Open Create Ingeniux CMS Site Instance found in the Ingeniux CMS 9.0 suite. The Ingeniux CMS Site Instance dialog box displays.
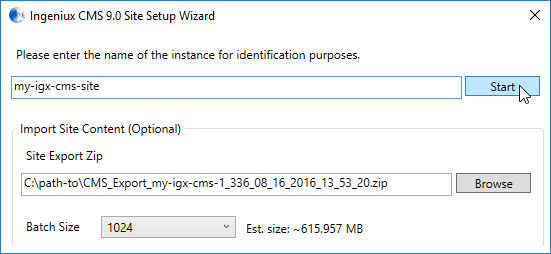
- Provide a name identifying the new site instance.
- Browse to the the zip file containing the exported site.
- Click Start. The Site Instance Setup dialog box displays.
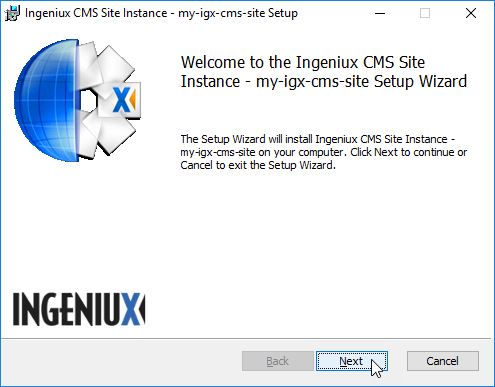
- Click Next. The following Site Instance Setup dialog box displays.
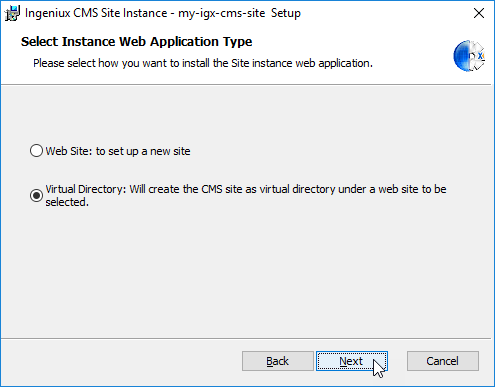
- Depending on how you will configure your site, select:
- Web Site: to set up a new site. Click Next. The IIS Web Site Configuration dialog box displays.
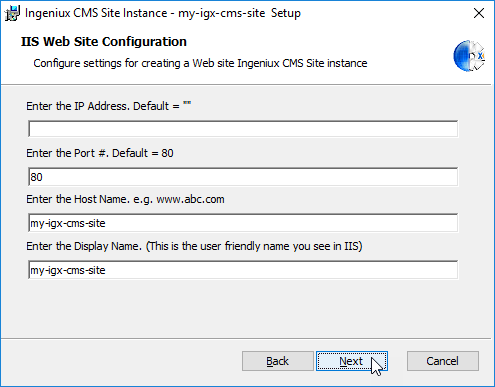
Provide the IP address of the website, port number, host name, and display name. Click Next.
—Or—
- Virtual Directory: Will create the CMS site as a virtual directory under a web site to be selected.
Click Next . The IIS Virtual Directory Configuration dialog box displays.
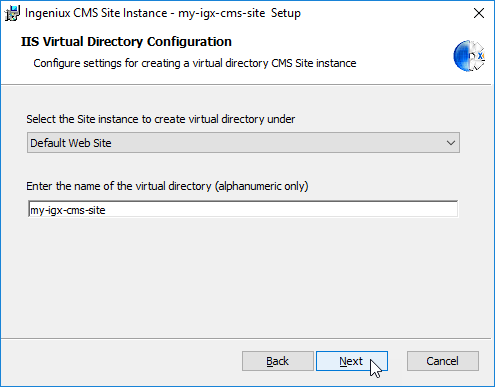
Select the site instance where the virtual directory will reside, and enter the name of the virtual directory. Click Next. The Select User Provider Type dialog box displays.
- Web Site: to set up a new site. Click Next. The IIS Web Site Configuration dialog box displays.
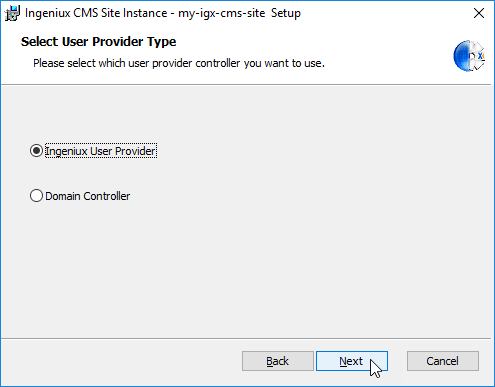
- Select Ingeniux User Provider. Click Next. The appropriate Administrative User Configuration dialog box displays.
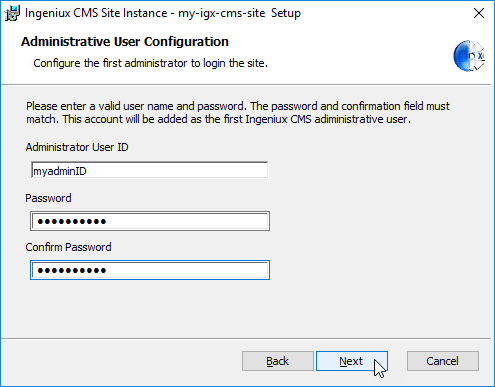
Provide the administrator user ID and password. Click Next.The Custom Setup dialog box displays.
—Or—
Select Domain Controller. Click Next. The appropriate Administrative User Configuration dialog box displays.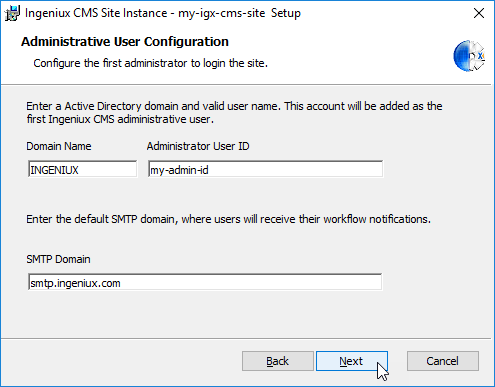
Provide the domain name, admin user ID, and SMTP domain. Click Next. The Custom Setup dialog box displays.
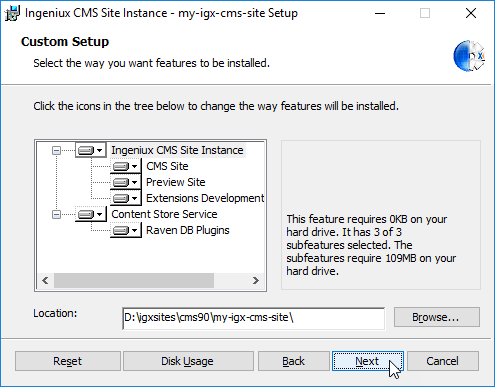
- After selecting one of the following features, note the feature description and disk usage requirements for each option, which displays to the right of the Features list box.
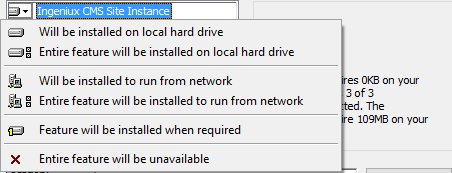
- Ingeniux CMS Site Instance options:
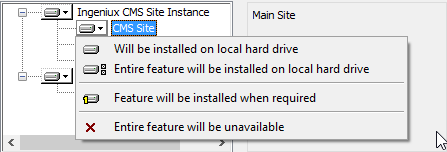
- CMS Site options:
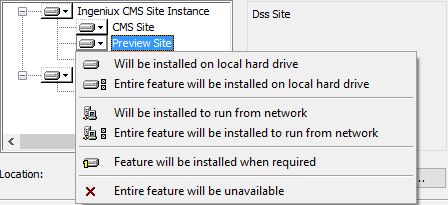
- Preview Site options:
- Extensions Development Package options:
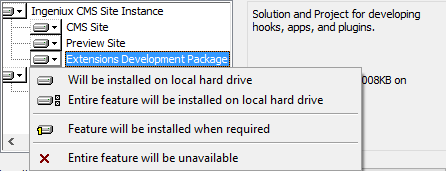
- Content Store Service options:
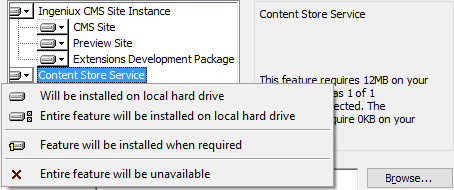
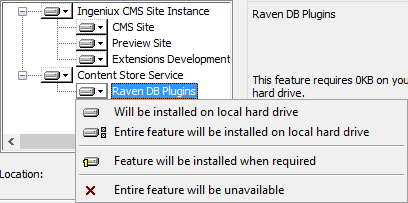
- Raven DB Plugins options:
- Location:
Browse to where you will install your exported CMS.

- Button options:

Button Description Reset Returns your feature options to their initial, default values. Disc Usage Clicking the Disc Usage button opens the Disc Space Requirements dialog box. This dialog box shows how much disc space your volumes have and how much disc space is required by the exported CMS. NOTE: A highlighted volume indicates that they do not have enough disc space. Back Returns to the previous dialog box. Next Advances to the next dialog box. Cancel Cancels the Ingeniux CMS site installation.
- Ingeniux CMS Site Instance options:
- Click Next. The Installing Ingeniux CMS Site Instance dialog box displays, and files copy to your site target.
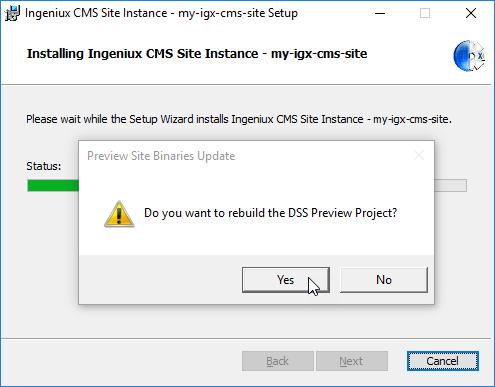
- If you want to rebuild the DSS Preview Project, click Yes.
- Click Finish.
