Adding Custom Tabs
Users can add custom tabs that contain custom tools useful for completing their work in Ingeniux CMS (e.g., company wiki containing style guides).
Important
The steps below use the SampleApp project from the Custom
Application Development Solution provided by Ingeniux. Keep in mind that
SampleApp, like other projects in this solution, is only an example and should not
be modified or deployed. SampleApp resides in your Ingeniux CMS installation at
[path-to-cms-site-instance]/site/App_Data/xml/custom.
The Custom Tabs UI differs depending on your CMS site version. Follow the steps that correspond with your version.
CMS 10.6 Steps
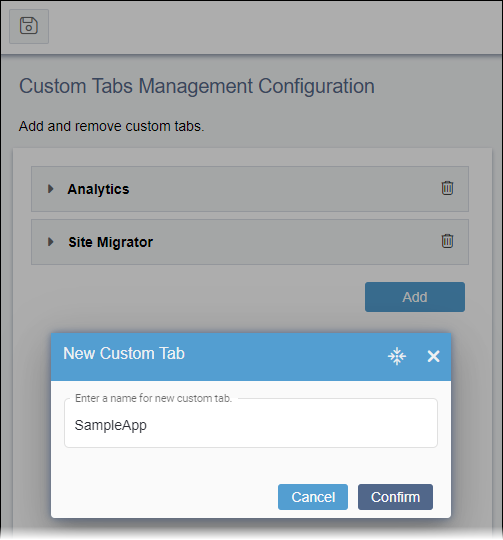
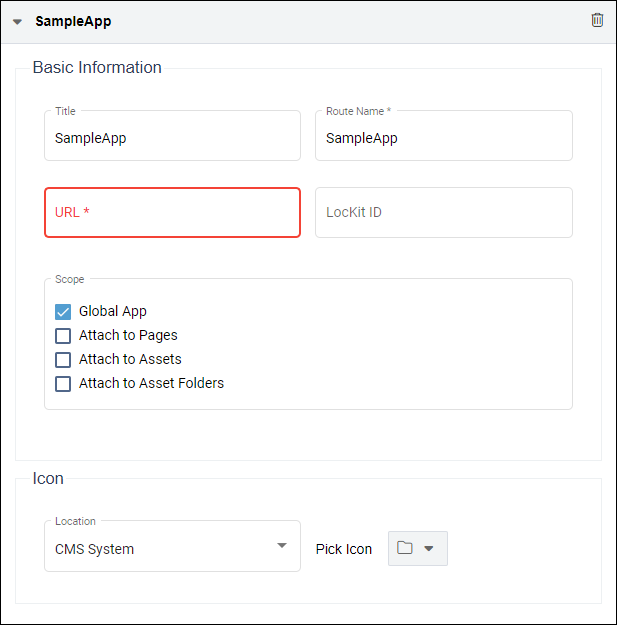
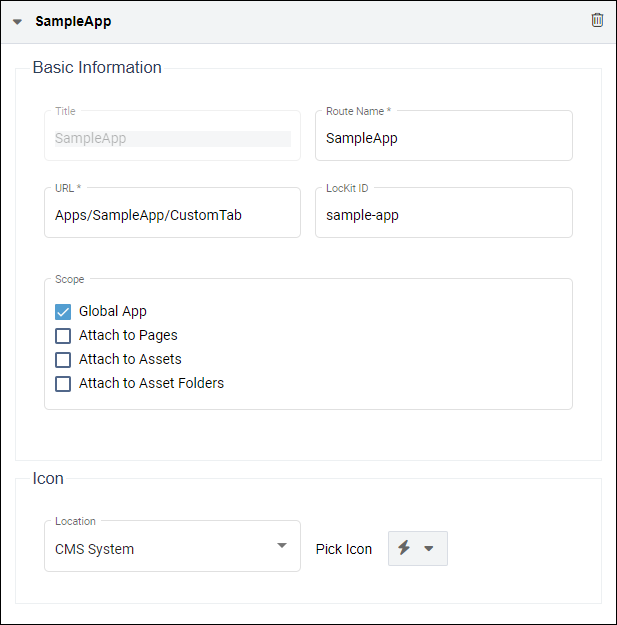
Add custom tabs to provide access to extended functionalities of CMS 10.6.
To add a custom tab:
Task Troubleshooting:
Troubleshooting
To re-enter the Route Name or to remove a custom
tab configuration for any other reason, click the Remove (trash
can) icon corresponding to custom tab you want to remove, and follow the confirmation
dialog to complete the removal.
CMS 10.0–10.5 Steps
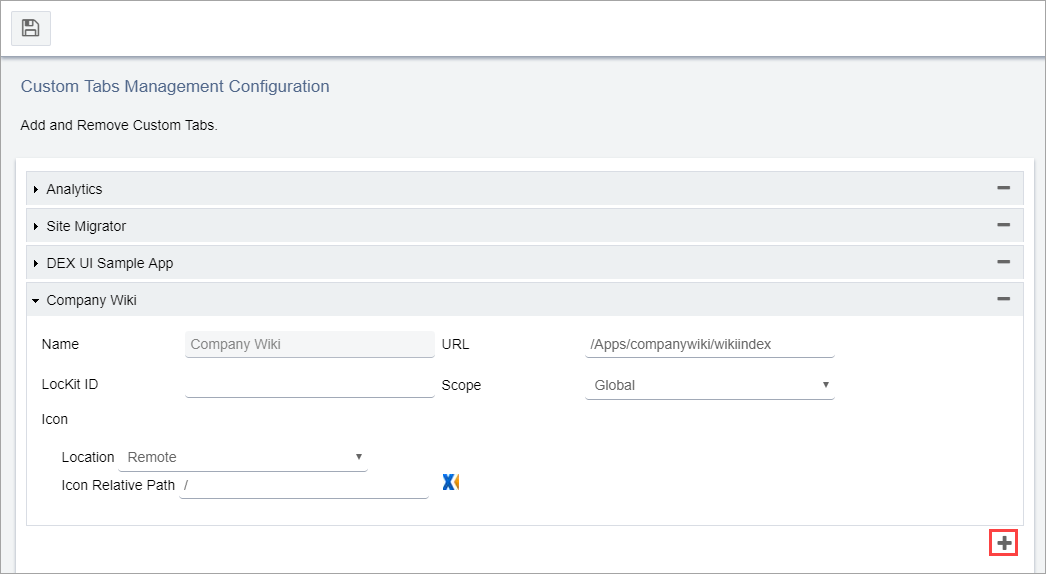
Add custom tabs to provide access to extended functionalities of CMS
10.0–10.5.
To add a custom tab:


