Setting Up a Content Freeze
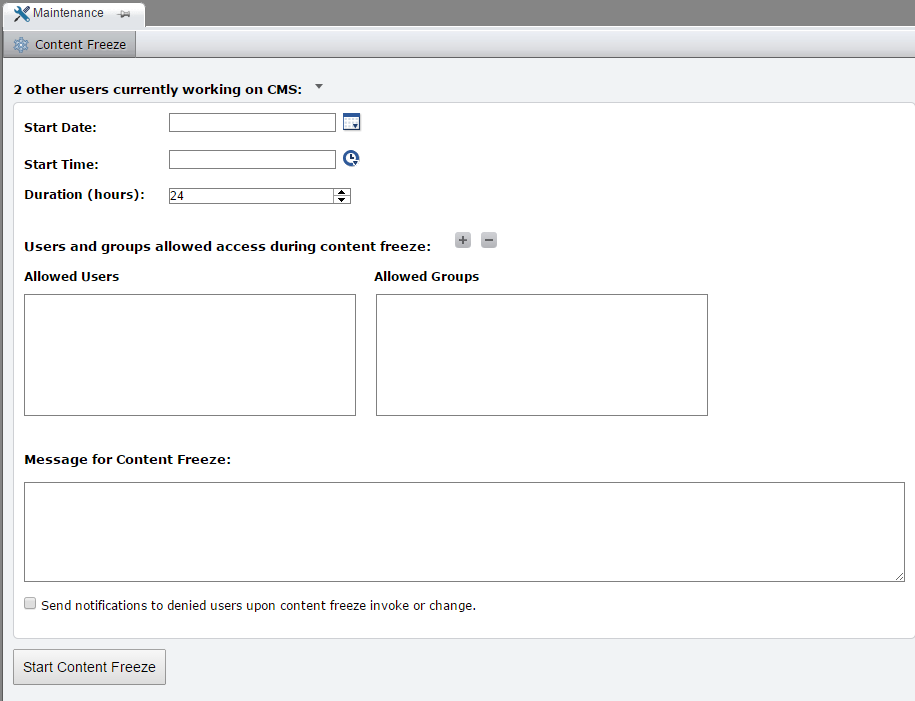
To set up a content freeze, navigate to Administration > Maintenence > Content Freeze.

Setting Up a Content Freeze
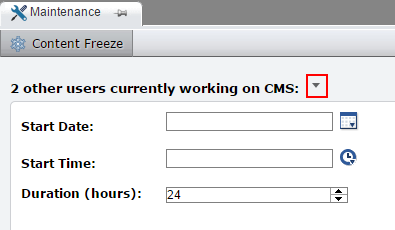
Text at the top of the screen displays how many users are currently logged onto the CMS. Click the arrow to display these users' names.

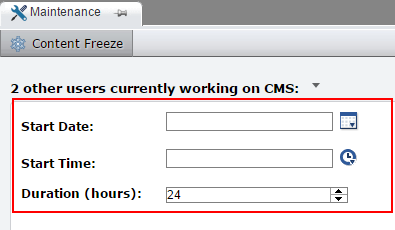
Select a Start Date, Start Time, and Duration (in hours) for the content freeze. The maximum value for Duration is 366 hours, or two weeks.

To allow certain users or groups to access the CMS during a content freeze state, click the + button in the Allowed Users/Groups section. Then select the users or groups from the dialog that opens and click Confirm Selection. The allowed users or groups display on the page.

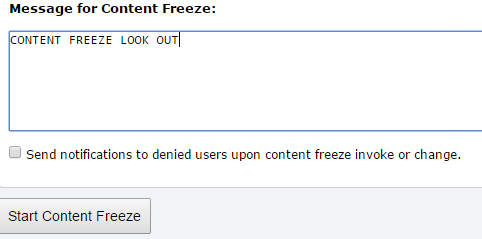
In the Message for Content Freeze section, you can enter a message that will be displayed to denied users who attempt to access the site during a content freeze. Checking the Send Notifications check box sends an email to these users.

When you're finished configuring, click Start Content Freeze to initiate the content freeze.
Modifying a Content Freeze
When a content freeze is ongoing, it can be canceled or modifyed by an administrator.
To modify a content freeze, navigate the Maintenance tab and click Change Content Freeze. Then change any values as described in the Setting Up a Content Freeze section. (Note that a content freeze's Start Date and Start Time cannot be changed.)
To cancel a content freeze, click Cancel Content Freeze.
