Cropping Images
Cropping an image removes unwanted portions of the image.
To crop an image:
- Navigate to Assets > Assets Tree.
- Select an image in the Assets Tree.
- Click the Edit tab in Workspace.
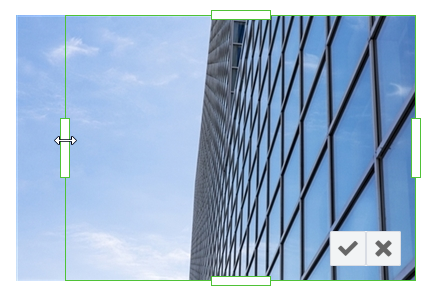
- Click the Crop button on the Edit toolbar. A movable, green
border displays around the image.

- Press and drag the thick areas of the border inward. The portion of the image
inside the box represents the portion of image that will be retained.Version Notes: CMS 10.5
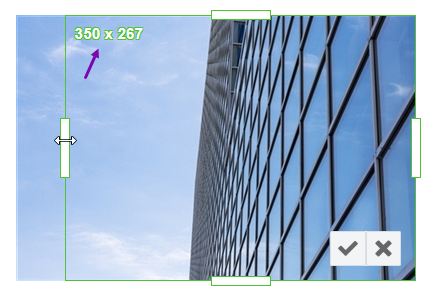
In CMS 10.5,
users can view the image's new width and height dimensions before confirming the crop. The new dimensions of the to-be-cropped image display within the top left corner of the border.
- When you're satisfied with the new crop dimensions, click the checkmark (✔) button
within the image. The cropped image displays.NoteIf you would like to cancel your crop task, click the cancel (✖) button within the image.
- When you are satisfied with your changes, do one of the following:
- To save your changes to the current file, click the Save Changes button.
- To save your changes with a new file name, click the Save As button and complete the Save As dialog.
