Editing Component Schemas
Prerequisites: See Schema Designer Prerequisites for details.
Users with permissions can modify component schema configurations, elements, and attributes as well as upload a thumbnail to represent the schema.
To edit a component schema:
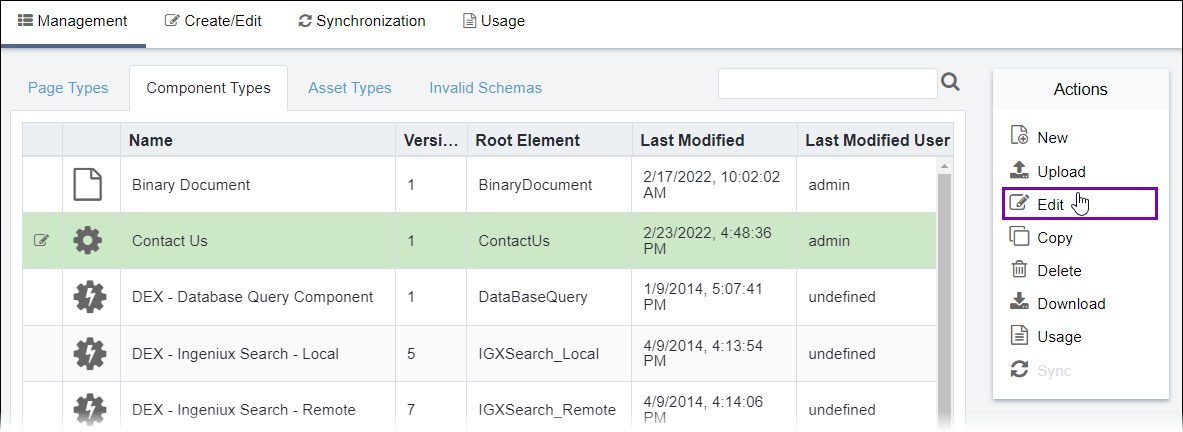
- Navigate to Administration > Schema Designer > Management.
- In the Component Types tab, select the schema to edit.
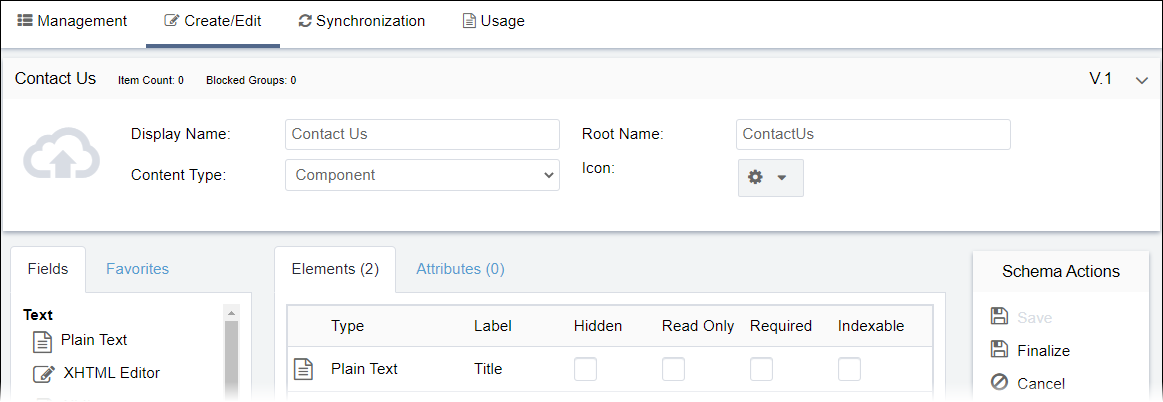
- Click Edit in the Actions menu. The schema displays in the Create/Edit view.
- Make changes to fields as described in Creating Page Schemas.
- Optional: You can upload a thumbnail image to replace the schema's default icon. See Uploading Schema Thumbnail Images for details.
- Optional: Add a workflow to the schema within Workflow Configuration. See Associating Workflows with Schemas for details.
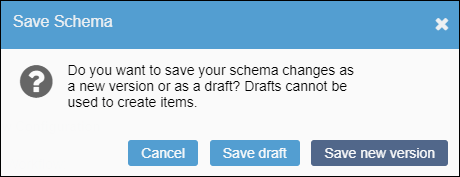
- Click Save when you finish updating the schema. The Save Schema dialog displays.
- Choose one of the following actions:
- Click Save Draft. Schema Designer saves the schema as a draft.
Note: If you save the schema as a draft, you make changes without applying them. The schema displays in the schema type table and not in circulation. You can't use the schema to create a component instance or content component unit until you save it as the new version.
- Click Save new version. Schema Designer saves your schema as a new version.
Note: If you add elements or attributes to an existing schema and want them to display in existing components and content units associated with the schema, see Schema Synchronization for details.
- Click Save Draft. Schema Designer saves the schema as a draft.