Working with Image Elements
In the image element you can choose an image to display on a page. You can also edit the image and, depending on site implementation, alter an image's layout, spacing, and size.

Adding an Image to a Page
Image elements point to files stored on the web server. These files must be uploaded to the server before they can be included in an image element.
To add an image to an image element:
- Click Browse on the image element. The Asset Manager dialog opens on the Images folder.
- Navigate to an image in the folder and click it.
- Click OK.
- If desired, expand the link element and enter additional information. (See "Editing an Image" for more information.)
- Click the Page View tab to see the image in the context of the page.
Editing an Image
If you check the Edit Image box before uploading images, an Edit Image button will appear next to each uploaded image. Clicking the button opens the Image Editor. All images uploaded during this process will be queued in the editor.
You can also open the Image Editor by selecting an image (or multiple images) in the Manage Assets dialog and clicking Edit Image.
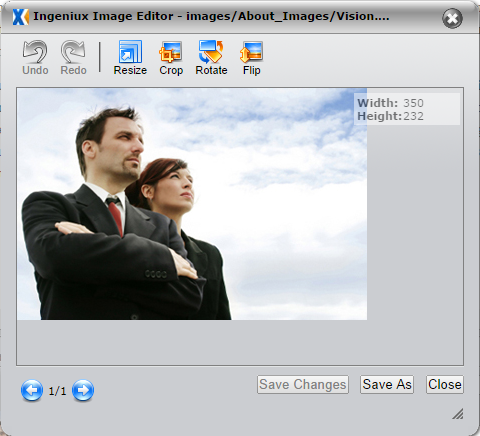
The Image Editor gives content contributors the ability to manipulate images in preparation for display on the page. Images can be resized, cropped, rotated, or flipped.
Resize
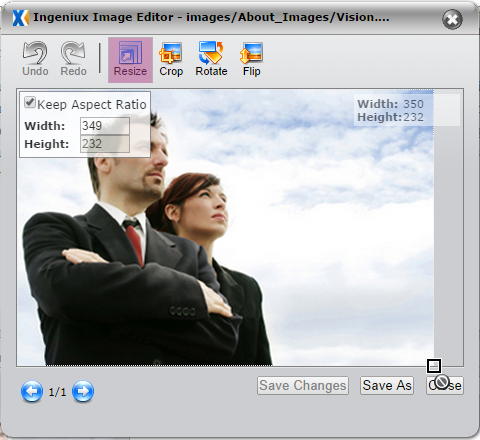
To change the dimensions of an image, click Resize. There are three options available for resizing images: Keep Aspect Ratio, Width, and Height. Enabling Keep Aspect Ratio maintains the same width-to-height proportion. With this box checked, you can only enter a new value for width; the value for height changes proportionally. If the box is unchecked, you can change the both values independently.
Width and height attributes are measured in pixels.
Crop
The crop feature removes part of an image along one or more edges. When selected, the crop tool places edge and corner markers on the image.
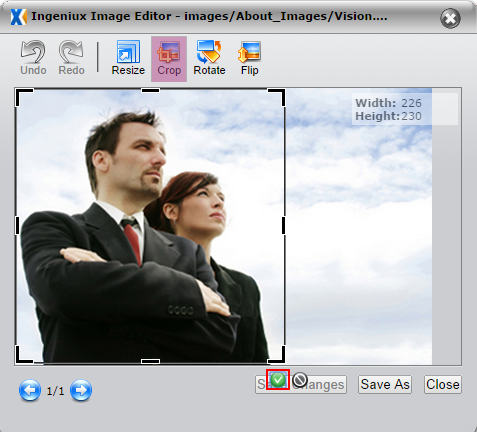
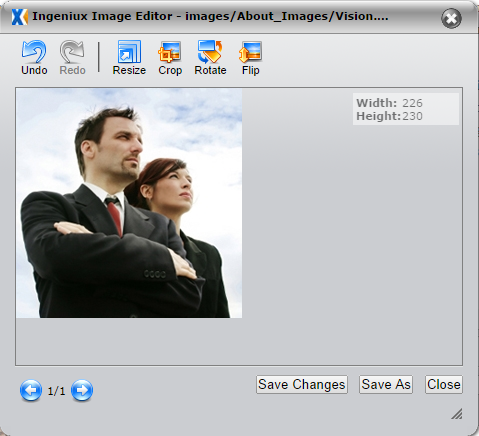
Dragging these markers to their desired end point and clicking the green check button will remove any part of the image that is left outside the markers.
Rotate
Selecting Rotate will bring up controls to turn the orientation of the image 90 degrees to the left or right.
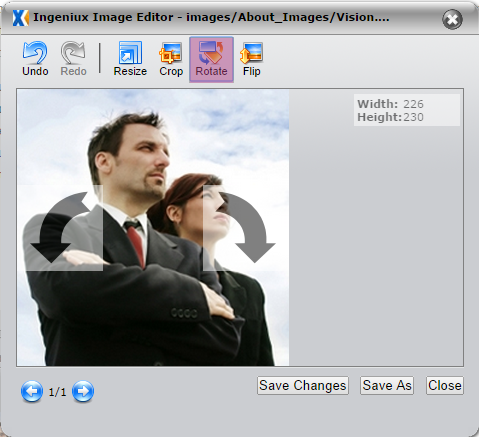
Click the arrows to rotate the image 90 degrees in either direction.
Flip
The flip tool provides controls for mirroring the image horizontally or vertically. Click the buttons to flip the image in either direction.
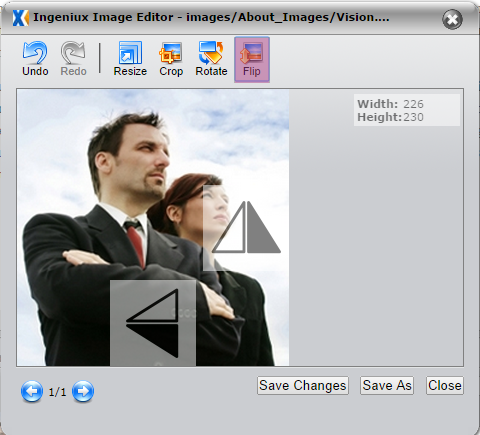
Undo and Redo
Clicking Undo or Redo reverses or reinstates, respectively, the previous change to an image. After an undo action, making a new edit removes actions that were previously possible.
There are two options for saving images in the image editor. Clicking Save Changes replaces the original image with the edited image. Clicking Save As opens a dialog in which you can save the edited image with a different name. The Save As option allows you to keep both the original and the edited image.
