Changing CMS 9+ URLs
Changing the URL of the CMS requires updates to the IIS configuration, the localhost file, and the Windows Registry.
To change the URL of the CMS:
- Within the Connection pane of your server's IIS Manager, navigate to the CMS instance requiring the URL change.
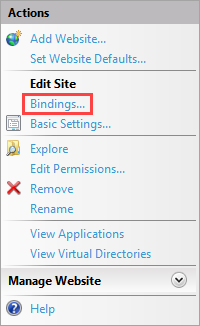
- In the Actions pane on the right side of IIS Manager, click
Bindings... underneath Edit Site.
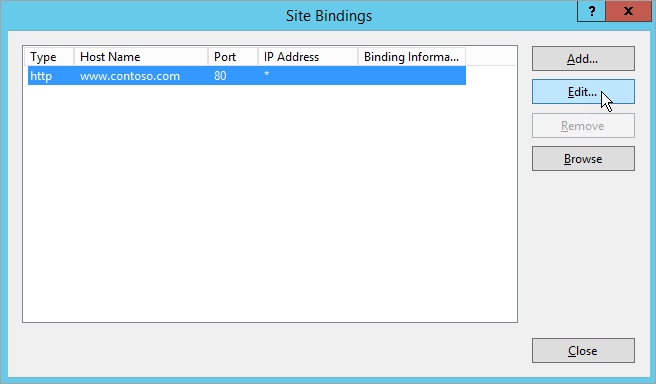
The Site Bindings dialog displays.
- Click Edit, to change the current http binding from
the current CMS URL to the desired CMS URL.

- Update any corresponding HTTPS bindings as above.
- Close the Site Bindings dialog.
- Navigate to C:\Windows\System32\drivers\etc and open the hosts file in a text editor.
- Replace the existing (old) CMS URL with the new CMS URL, which was set in the IIS Site Bindings dialog.
- Save and close hosts.
- Open the Windows Registry (e.g., Right-click Start, click Run, type regedit, and then click OK).
- Navigate to the following entry: HKEY_LOCAL_MACHINE\SYSTEM\CurrentControlSet\Control\Lsa\MSV1_0.
- Add the new CMS URL below the old CMS URL. NoteFor more information about specifying host names, see Method 1: Specify host names... within this Microsoft article.
- After you've saved your changes, close regedit.
- Navigate to [path-to-cms-site-instance]/site and open the CMS web.config file in a text editor.
- Change the
@contentStoreLocationattribute value in the<CMSContentStoreSettings>element from the old CMS URL to the new URL, which was set in the IIS Site Bindings dialog. - Repeat this step with the Web.config file in the DSS_Preview folder (i.e., [path-to-cms-site-instance]/site/DSS_Preview/Web.config).
- Save and close these web.config files.
- In the IIS Manager, recycle the following pools for the CMS instance:
- Application Pool
- Content Store Application Pool
- Verify that you are able to log into the CMS with the new URL and that preview renders content as expected.
