Creating and Configuring Workstates
A workstate is the name given to an identifiable task or set of tasks in the lifecycle of content. Examples of workstates might be "content creation," "fact checking," "editing," and "approval." Workstates could also designate the particular condition of a page ("awaiting further action" or "published").
To create a new workstate, click New in the Workstates pane. To edit or delete an existing workstate, select the workstate in the Workstates pane and click Edit or Delete. Clicking New or Edit opens the Workstate dialog.
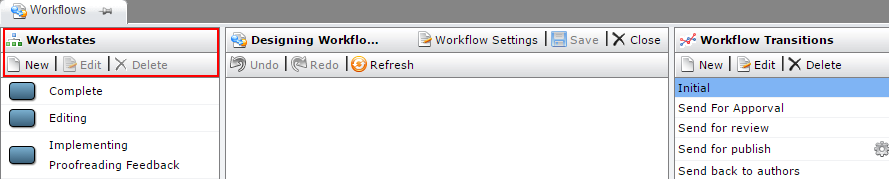
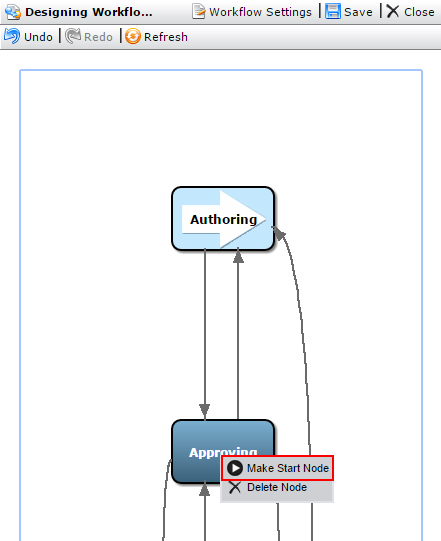
To add a workstate to a workflow, drag it from the Workstates pane to the middle Design pane. To remove a workstate, drag it back to the workstate pane. The first workstate that you drag into the design pane is, by default, the starting workstate. This workstate is marked with an arrow. To make a different starting workstate, right-click a workstate and select Make Start Node.
Workstates have the properties Name, Description, and Active.
Name: Labels the workstate with a friendly name.
Description [Optional]: Provides a brief description of the workstate.
Active: Indicates whether pages in this workstate display in users' assignment lists. The Active property specifies whether the workstate is one that requires attention (active) or one that requires no further immediate action (inactive). A workstate called "Published," for example, might be applied to pages that have been marked for publish and require no further action. By marking this state as inactive, the administrator ensures that published pages won't appear in users' assignment lists.
When you're finished creating workstates, click Save. To continue completing this workflow, the next step is to create transitions to connect the workstates.