Checking DITA Temp Folders
Prerequisites: System administrators must enable debug mode (args.debug) before users run the
DITA-OT publish. See Running DITA Debug Mode for details.
Important
Without debug mode, the DITA-OT automatically deletes the DITA temp folder contents after
the transformation process runs. Users can only download DITA temp folders after the
associated DITA-OT publish runs with debug mode enabled.
Review the DITA temp folder for discrepancies within the temporary files that may relate to the issue. Check for files that did not generate in the temp folder, files that generated in the temp folder but the not in the final output, missing content within files, etc. This information may help with issue diagnosis.
Note
Administrators can configure DITA Advanced Options to manage the
maximum amount of DITA output temp folders that the CMS stores.
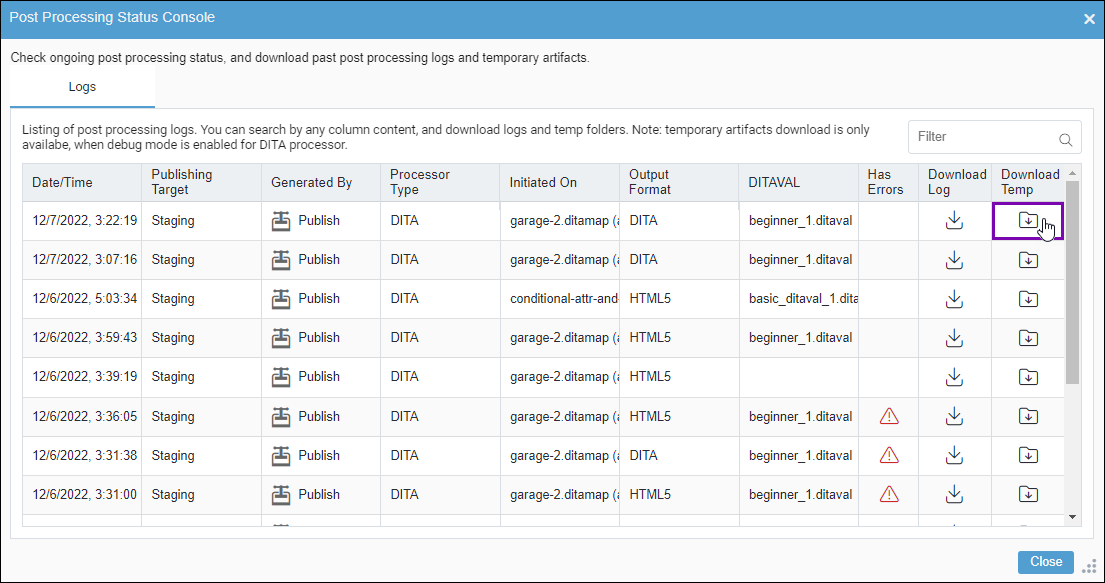
To access a DITA temp folder:
Next Steps:
After noting DITA temp file generation results, return to the appropriate troubleshooting topic to continue diagnosing your issue.
Preview
- To continue diagnosing the cause of DITA preview log errors, return to DITA Preview Log Entries Flag Errors.
- To continue diagnosing unexpected DITA preview output results, return to Unexpected DITA Preview Results.
- To continue diagnosing DITA preview output generation failures, return to No DITA Preview Output.
Publishing
- To continue diagnosing the cause of DITA publish log errors, return to DITA Publish Log Entries Flag Errors.
- To continue diagnosing unexpected DITA publish output results, return to Unexpected DITA Publishing Output Results.
- To continue diagnosing DITA publish output generation failures, return to No Output After DITA-OT Publish.


