Assigning Pages
Administrators often need to assign pages to individual users or groups. This can be accomplished through the Assign To command on the toolbar. If a page is assigned to a group, a user from that group will have to claim the page before editing it.
To assign a page:
- Select a page in the site tree.
- Click Assign To. (Pressing Ctrl+K also assigns the page.) The Assign To menu appears.

- Select to whom the page will be assigned: Me, User, or Group (all these options may not be available). Selecting Me assigns the page to yourself, and you can then edit it. Otherwise, proceed to the next step.
- A dialog will open, prompting you to select a user or group. Names shown in blue are currently logged in to the system. Choose the user or group to whom you would like to assign the page.
- Click OK.
The name of the person to whom the selected page is assigned will appear in the Page Properties box in the edit form, though the edit form may need to be refreshed to show the change in assignment. Click Refresh to refresh the display of the page.
To view a list of all assignments, click the Assignments accordion tab.
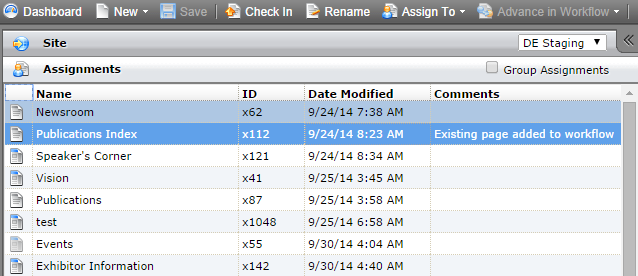
Clicking an entry loads the selected page's information on the right. The list of assignments can be sorted alphabetically by clicking on the headings at the top: Name, ID, Date Modified, or Comments.