Asset Editing


On the Edit tab, users can manipulate the file associated with an asset. Images can be resized, cropped, rotated, or flipped. The contents of text-based files can also be edited.

Note
In the Overview tab, if you click the Edit Image button on an image or the Edit button on a text-based file, you are taken to the Edit tab. You can always click on the Edit tab directly, as well.

Editing Images

Rotating Images

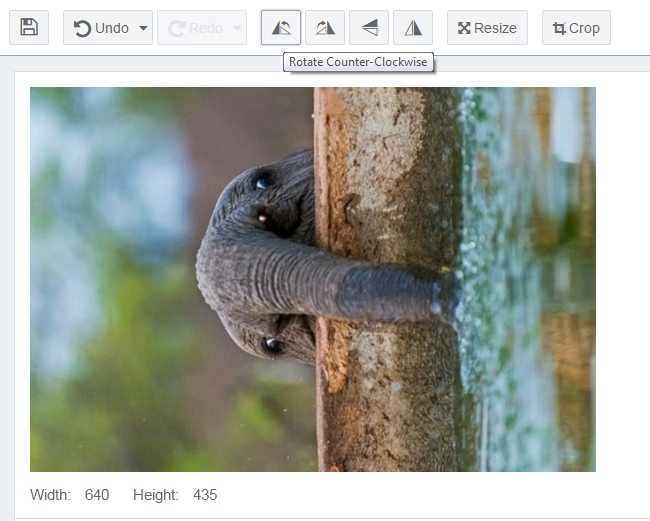
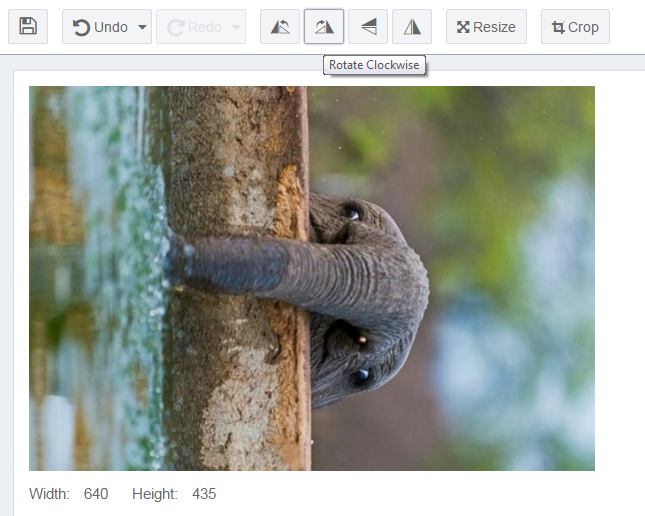
An image can be turned clockwise or counter-clockwise. Rotating the image rotates the content of the image as well as its aspect. Rotation of the aspect is only noticeable when the image has different width and height sizes. When rotated, the width becomes the height and vice versa.

To rotate an image 90 degrees to the left:
  • Click Rotate Counter-Clockwise.

    Rotate Images Counter-Clockwise

  • Click Rotate Clockwise.

    Editing Image: Rotate Clockwise

Flipping Images

An image can be flipped vertically or horizontally using the respective buttons. Flipping an image mirrors content of the image but maintains the aspect ratio and size.
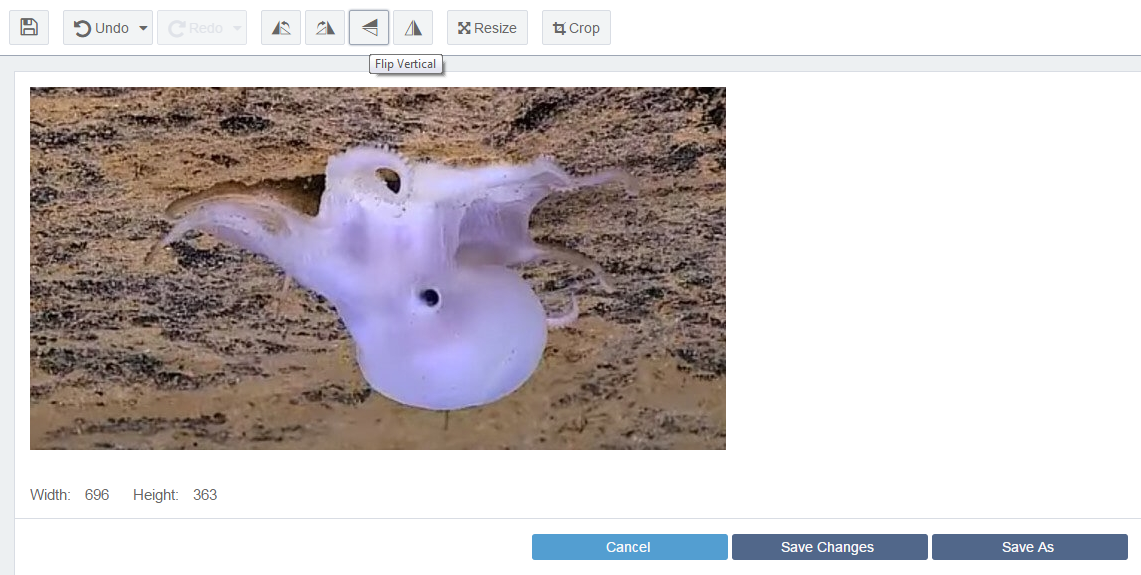
Flipping an Image

To flip the image vertically:
To flip the image horizontally:
  • Click Flip Vertical.
  • Click Flip Horizontal.

Resizing Images

You can resize images within asset manager.
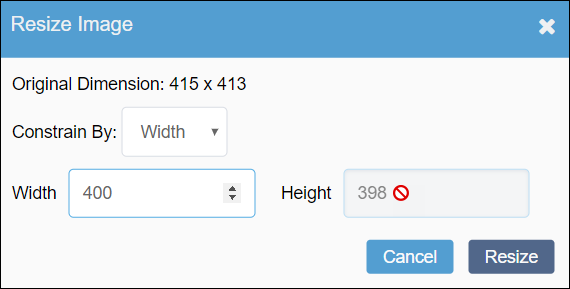
  1. Click Resize. The Resize Image dialog displays.

    Resize Image

  2. Enter desired values.
  3. Click Resize.

    Width and height attributes are measured in pixels. The Constrain By field constricts value changes to Width or Height, or None. With Width or Height selected, you are only able to enter a new value for the selected attribute. The corresponding value changes automatically. If you select None in the Contrain By field, then no value constraints are enabled.

    Note
    In general, it's not a good idea to increase the size of an image by more than a few pixels. Size increases of more than 5 percent result in a blurry picture. Images with text overlays should never be enlarged this way.

Cropping Images

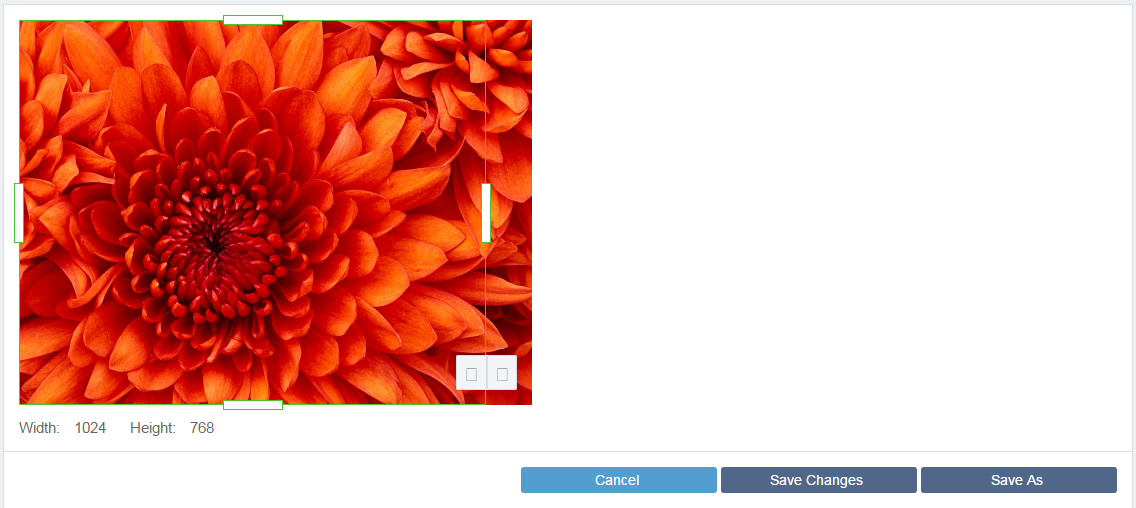
The Crop tool removes part of an image along one or more edges.
To crop an image:
  1. Click Crop. The handlebar markers display on the edges of the image.

    Cropping Images

  2. Drag the handlebar markers to the desired end-points.
  3. Click the Check button to remove image parts outside the markers (or the X button to cancel).

Undo and Redo

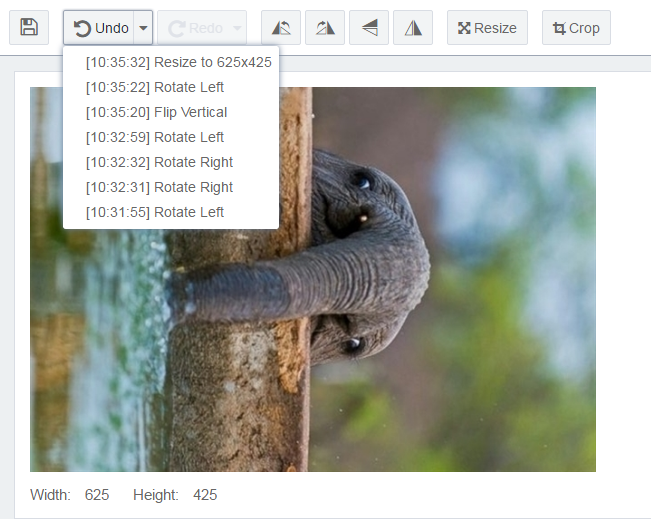
The Undo button turns back one action that has been performed on the image. If no actions have been performed or the image has been saved, the button is inactive.
To undo an action:
  1. Click the arrow on the side of the Undo button. A drop-down list displays of the actions that have been performed on the image in chronological order.

    Undoing Image Edits

  2. Select an item in the list to reverse to the state of the image when that action was taken. This undoes all the actions taken after the selected action.
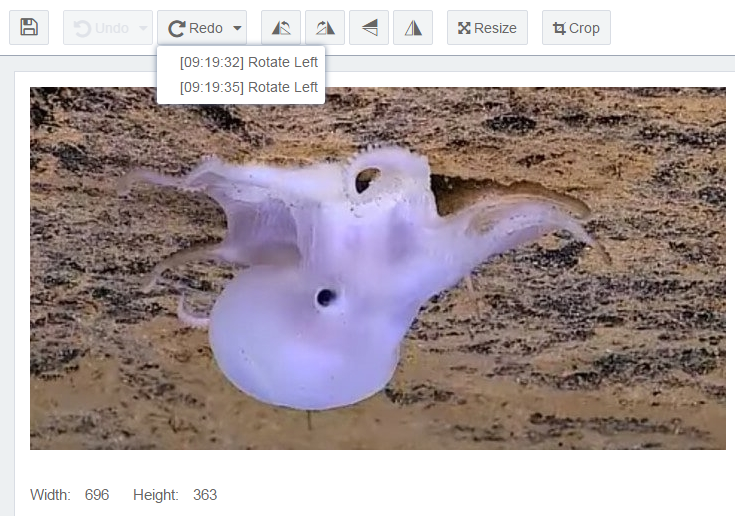
    The Redo button, conversely, populates after some action has been undone using the Undo button. Each undone action appears in the drop-down menu next to the Redo button. If no actions have been undone, or the image has been saved, the button is inactive.

    Redoing Image Edits

Editing Text

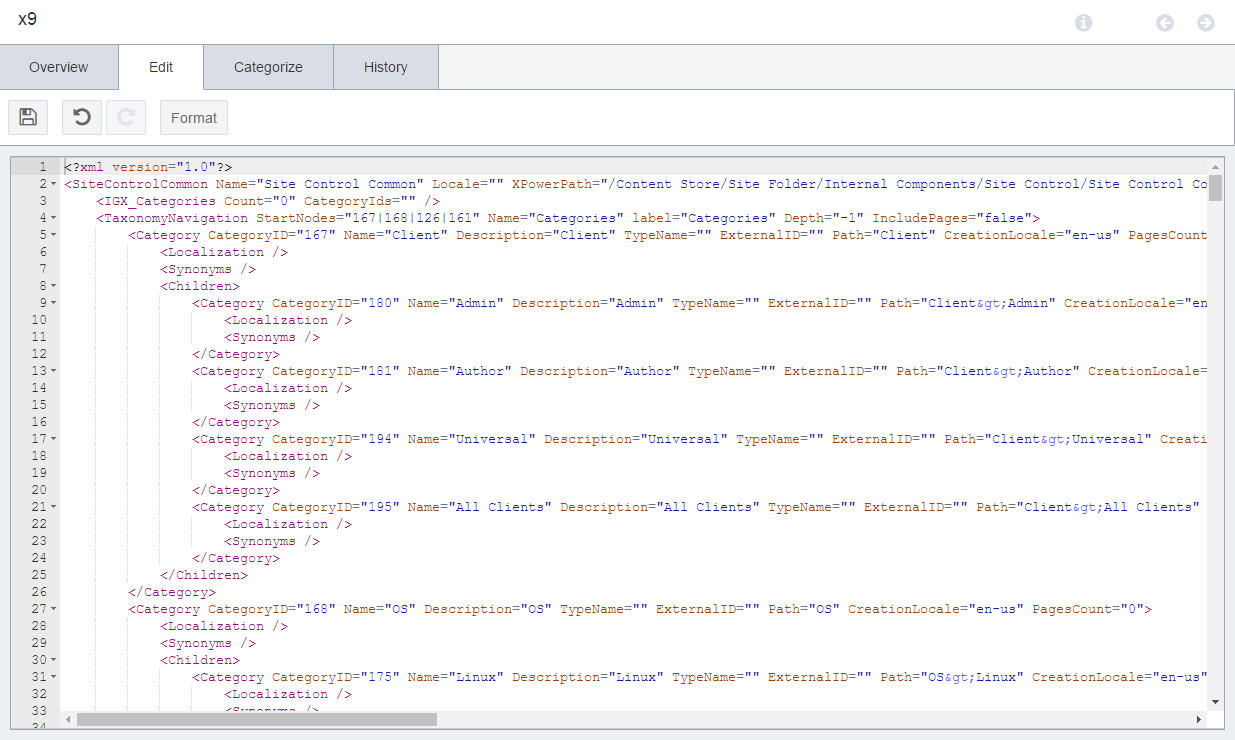
Text-based assets created from Code, CSS, Document, JSON, MVC View, Text, XML, or XSLT (default schemas or schemas based on types) can be edited from within the CMS.

The editor allows you to change the text in the file. Color coding is enabled for common languages.

To edit the text-based asset:
  1. Click the Edit button in the Overview tab or directly click the Edit tab.
    Note
    The Edit tab only displays if the asset is checked out and assigned to you.
  2. Enter desired changes.
  3. Click Save in the Edit toolbar when finished.

    Editing Text