Insert CMS media (e.g., video) assets within XHTML editor elements in pages and
components. Users can configure the dimensions of inserted media assets.
To insert a CMS media asset in an XHTML editor:
- Navigate to .
- Select a page or component that contains the XHTML editor element.
- Check out the content item, and expand the XHTML editor element in the
Edit tab.
- Choose one of the following steps.
- Select an area in the XHTML editor, and click in the XHTML editor toolbar.
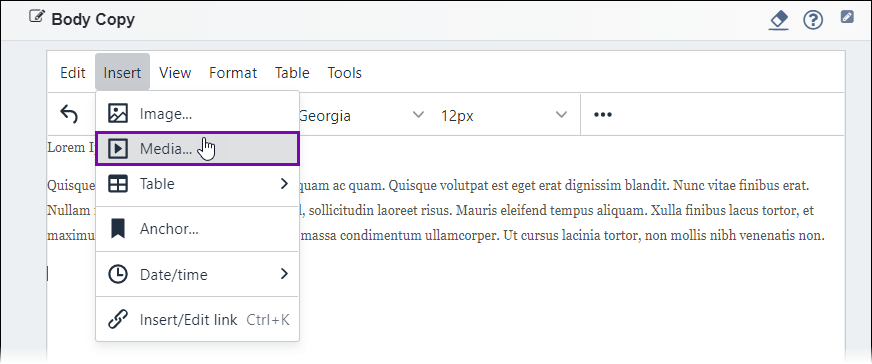
- Right-click an area in the XHTML editor and click Media...
in the context menu.
The
Insert/Edit Media dialog displays.
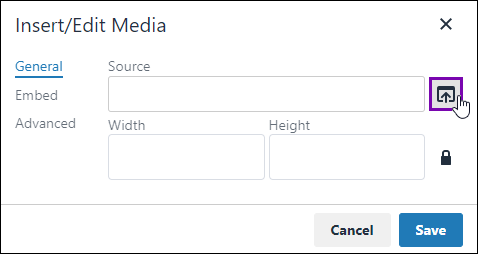
- Click the Source icon button.
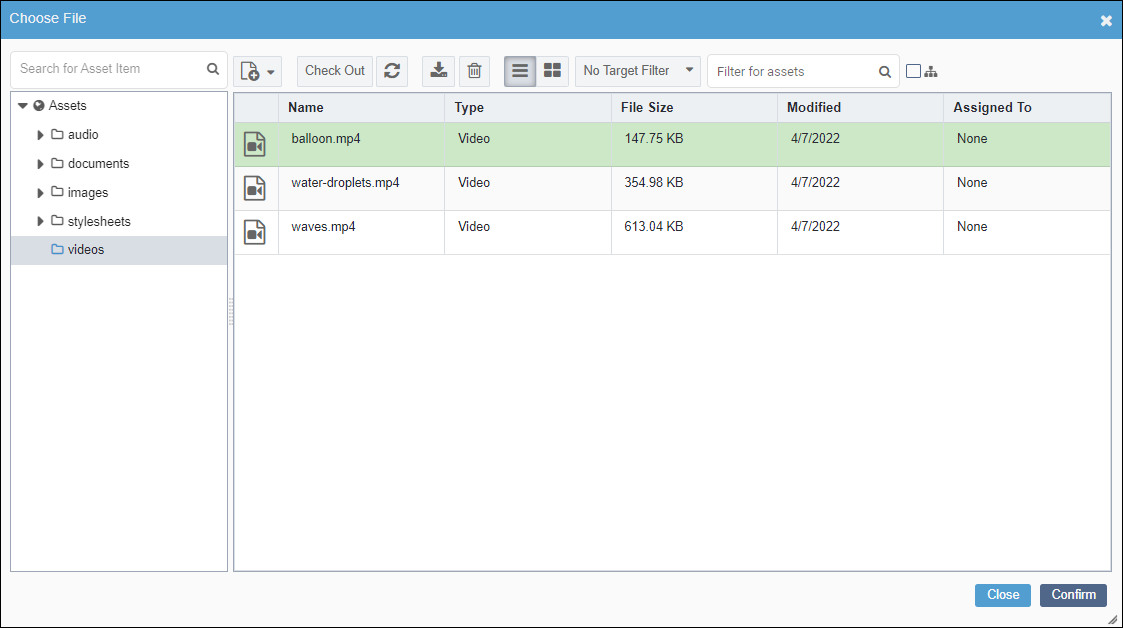
- Browse for and select the media asset to insert from the Assets
Tree.
Tip
Only media assets (.e.g., .mp4 files) are visible and selectable
in the Choose File dialog.
- Click Confirm.
The media asset's a/ID populates the
Source field of the
General tab.
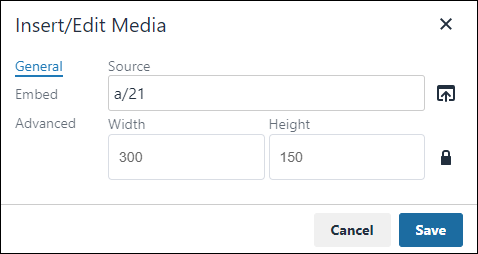
- Optional: Complete the following fields to suit your needs in the General
tab.
| Field | Description |
|---|
| Width | Provide a width value for this image. This serves as the @width
attribute value in the XHTML source code.Version Notes: CMS 10.0–10.5 This is the first field within the
Dimensions settings in CMS 10.0–10.5. |
| Height | Provide a height value for this image. This serves as the
@height attribute value in the XHTML source code.Version Notes: CMS 10.0–10.5 This is the second field within
the Dimensions settings in CMS 10.0–10.5. |
| Constrain proportions | This option is selected by default. If selected, the system maintains the media
asset's original aspect ratio by automatically providing the correct
Height value when you change the Width
value (or vice versa). |
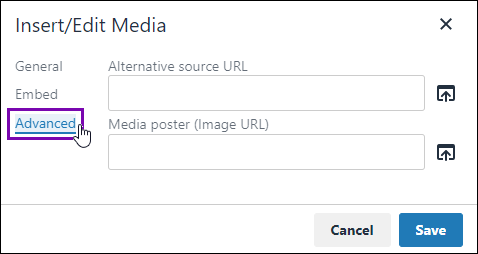
- Optional: Select the Advanced tab, and complete the following fields to
suit your needs.
| Field | |
|---|
| Alternative source URL | Provide a media asset's a/ID via the Alternative source
URL icon button to serve as the alternative source. This source
specifies other formats as a fallback in case your user's browser doesn't support the
source video format.Note For this field, only video files (e.g.,
.mp4) are visible and selectable in the Choose
File dialog. |
| Media poster (Image URL) | Provide an image asset's a/ID via the Media poster (Image
URL) icon button to serve as the media's thumbnail image. If this field
is empty, then the system uses the first frame of the video as the thumbnail image.
Note For this field, only image files (e.g., .jpg,
png) are visible and selectable in the Choose
File dialog. |
- Click Save.
The media asset displays in the XHTML editor element.
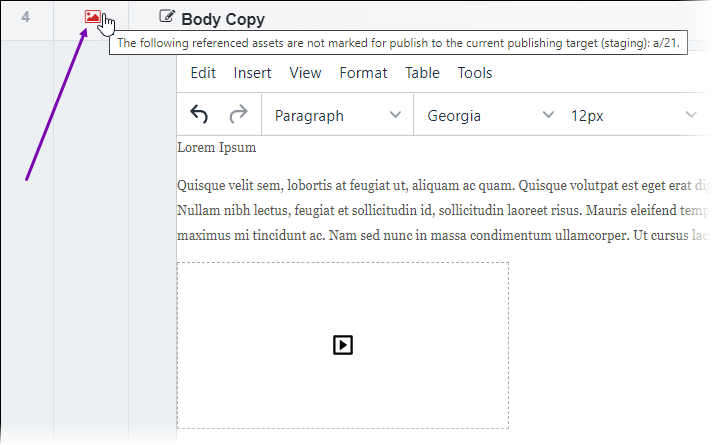
Version Notes: CMS 10.6
CMS 10.6 displays the
unpublished assets icon when XHTML editor elements contain the following:
- Asset items not marked for publish.
- Asset items marked for publish but have never been published.
The unpublished assets icon displays next to the XHTML editor element in the
Edit tab. See
Unpublished Assets Icon for
details.
