Create custom actions to run during workflow transitions.
See Adding
Transition Actions for details about actions.
To configure the custom action:
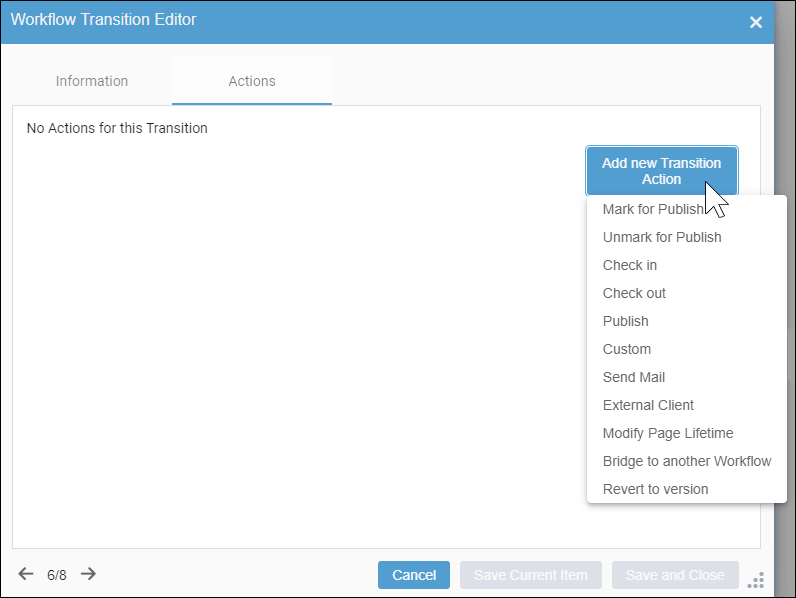
- Click the Add New Transition Action button in the
Actions tab of the Workflow Transition
Editor dialog.
- Select Custom in the New Action drop-down list.

- Enter the custom action's corresponding class (e.g., the
ProgID) in the entry field.

- Choose one of the following steps:
- Click Save Current Item to save your action changes, then
use arrow icons in the bottom-left corner of the dialog to go to another transition to
edit.
- Click Save and Close to exit the Workflow
Transition Editor dialog.
When you close the dialog, the
Actions icon

displays next to all transitions that contain actions in the
Workflow Transitions
list.
- Click the Save button
 in the toolbar menu of the Designing Workflow area to
save your workflow changes.
To configure the custom action:
- Click the Add New Transition Action plus
(+) button in the Actions tab of the
New Transition or Edit Transition
dialog.
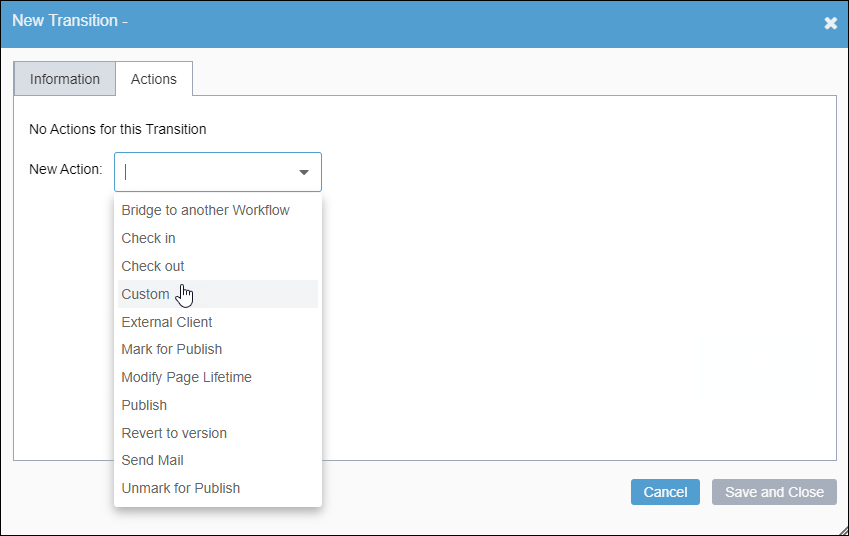
- Select Custom in the New Action drop-down list.

- Click the Confirm plus (+) button, then
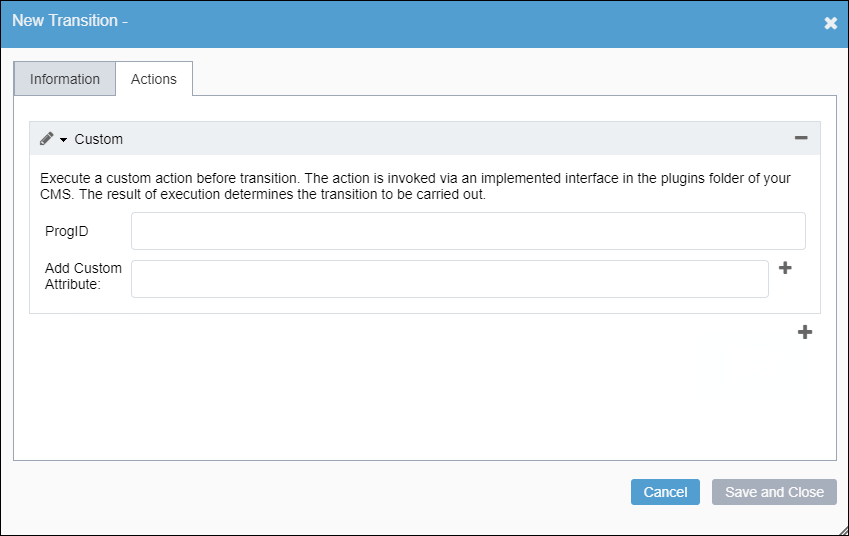
click Custom to expand the action entry.

- Locate the progID. Enter the custom action's corresponding class in the
ProgID field.
- If a custom DLL requires information to be passed on, enter the name of the custom
attribute in the Add Custom Attribute field. Click the
Add New Custom Attribute plus (+) button
to add the attribute.
- Choose one of the following steps:
- Click Save Current Item to save changes and continue
working in the dialog.
- Click Save and Close when finished to close the
dialog.
- Click Save in the top menu of the Designing
Workflow area when finished making changes in the workflow. Ingeniux CMS
saves the workflow in Workflows Designer. This workflow is
available for content items in the Site Tree and
Assets Tree.


