Importing Ingeniux Translation Manager Projects


Prerequisites:

After translation vendors translate your projects, you can import each project's translated content back into Ingeniux CMS.

To import a project:
  1. Navigate to Apps.
  2. In the list of applications, click Translation Manager.
  3. Click the Open Projects tab.

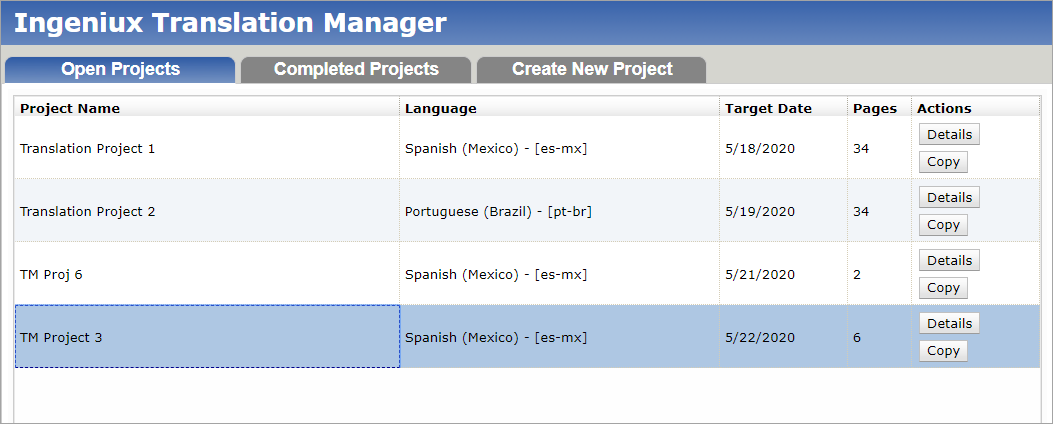
    Open Projects

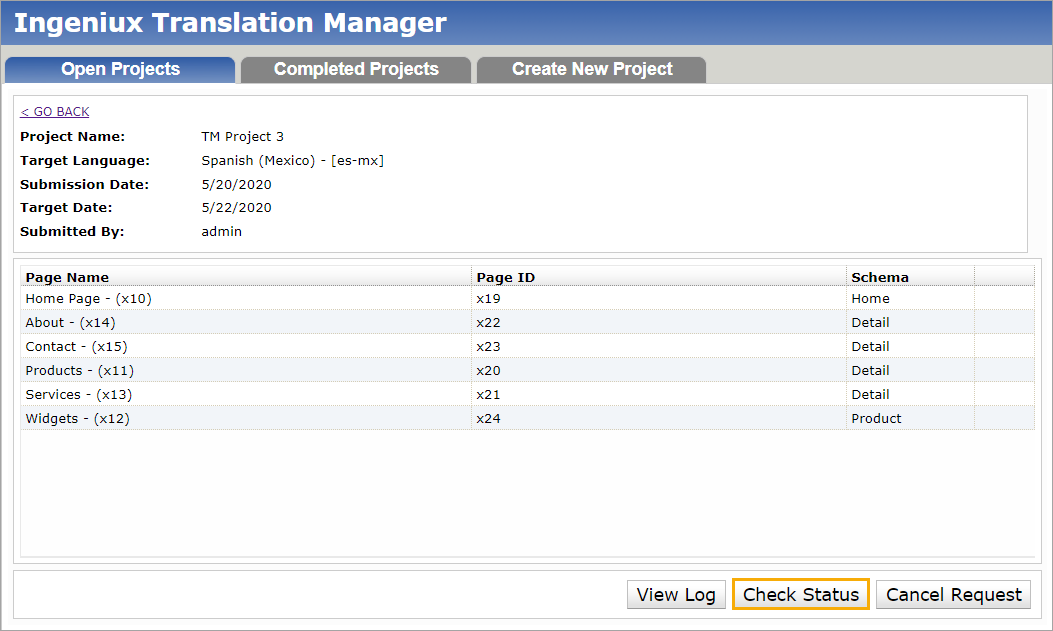
  4. Click Details. The project's configuration details display in the Open Projects tab.

    Details View

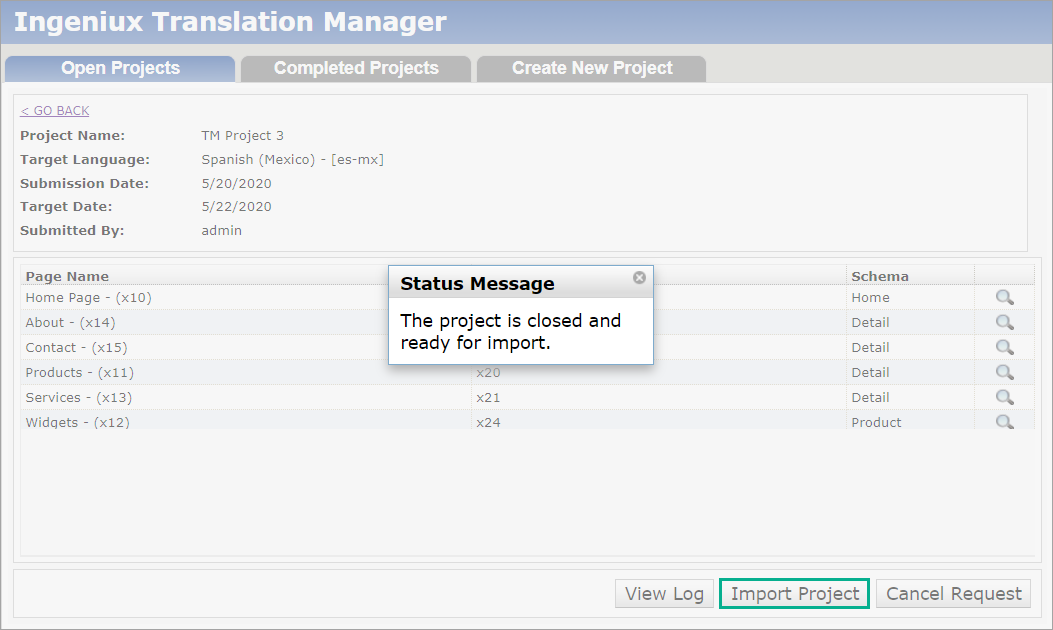
  5. Click Check Status at the bottom of the tab. The Status Message dialog displays one of two messages:
    • The project is open.: This message indicates that the project hasn't completed.
    • The project is closed and ready for import.: Imports and synchronizes the lingual page and component copies with the translated content.
    Important
    The precise message you receive-and conditions for the message-depends on the specifics of your vendor API. In test mode, projects are considered closed and ready for import when all added content items are accounted for in the XML import file, which resides in the drop folder.
  6. For projects in the "closed and ready for import" state, dismiss the Status Messages dialog and click Import Project.

    Import Translation Manager Project

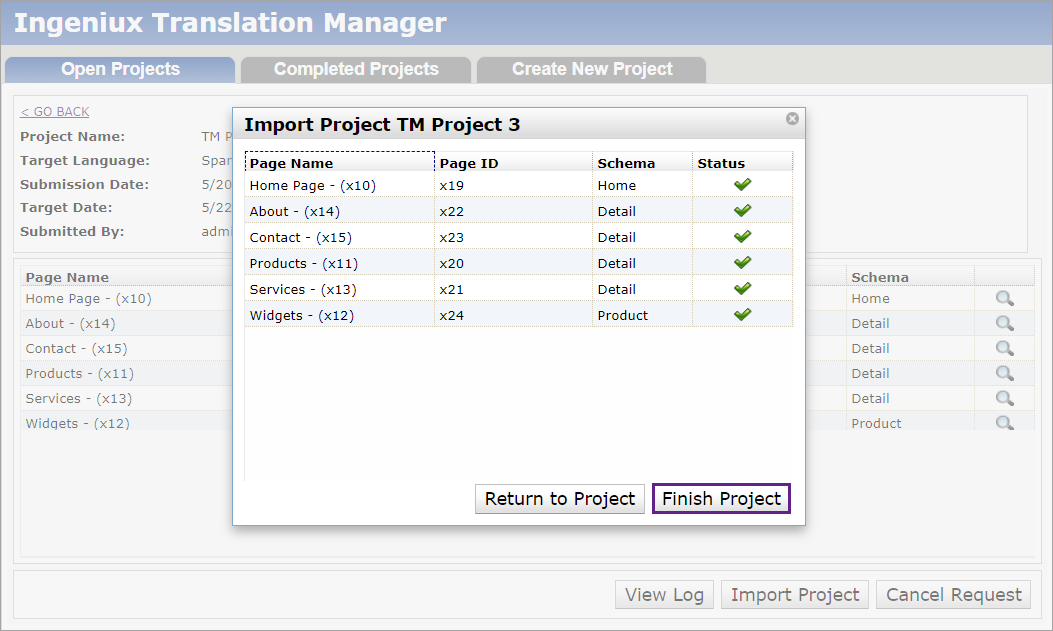
    The Import Project dialog displays.
  7. Verify that all content items are complete in the Status column, indicated by a checkmark ().

    Verify Status Completion in Import Project Dialog

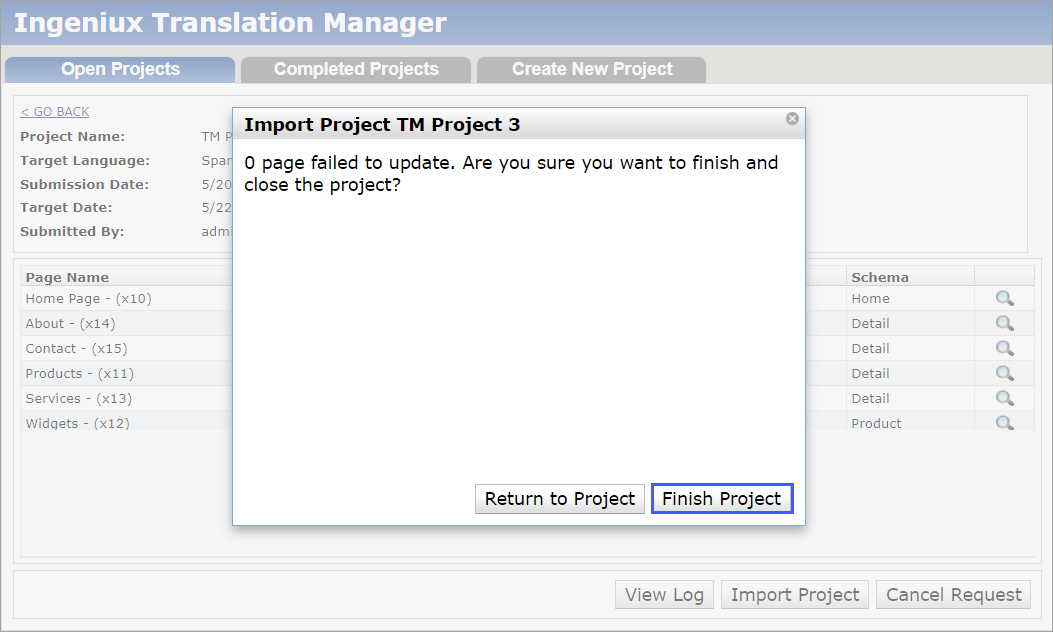
  8. Click Finish Project. The Import Project Verification dialog displays.

    Verify Completion in Import Project Dialog

  9. Click Finish Project to verify completion. The completed project displays as a line item in the Completed Projects tab.

    Completed Projects

Next Steps (optional): Reopen Completed Projects to reinstate them as open projects.