Creating Calendar Events


Prerequisites: Users require contributor+ permissions for the module to complete this task.

You can create events in folio calendars, which display in the calendars of other users who have access to the folio where these calendars reside.

To create a calendar event:
  1. Log in to Cartella.
  2. Navigate to the folio where your calendar exists.
    Note
    If you have not created the folio that contains the calendar, see Creating Folios.
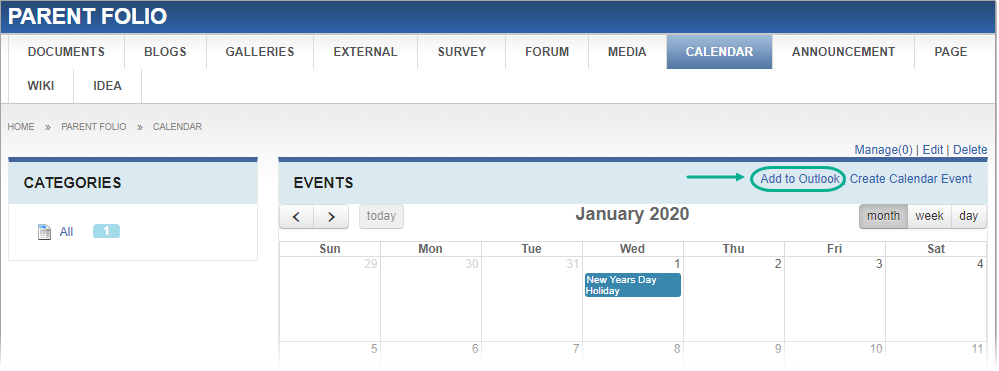
  3. In the folio module navigation, click Calendar.
    The Calendar area opens.

    Calendar Area

  4. In the Events area, click Create Calendar Event.

    Calendar View

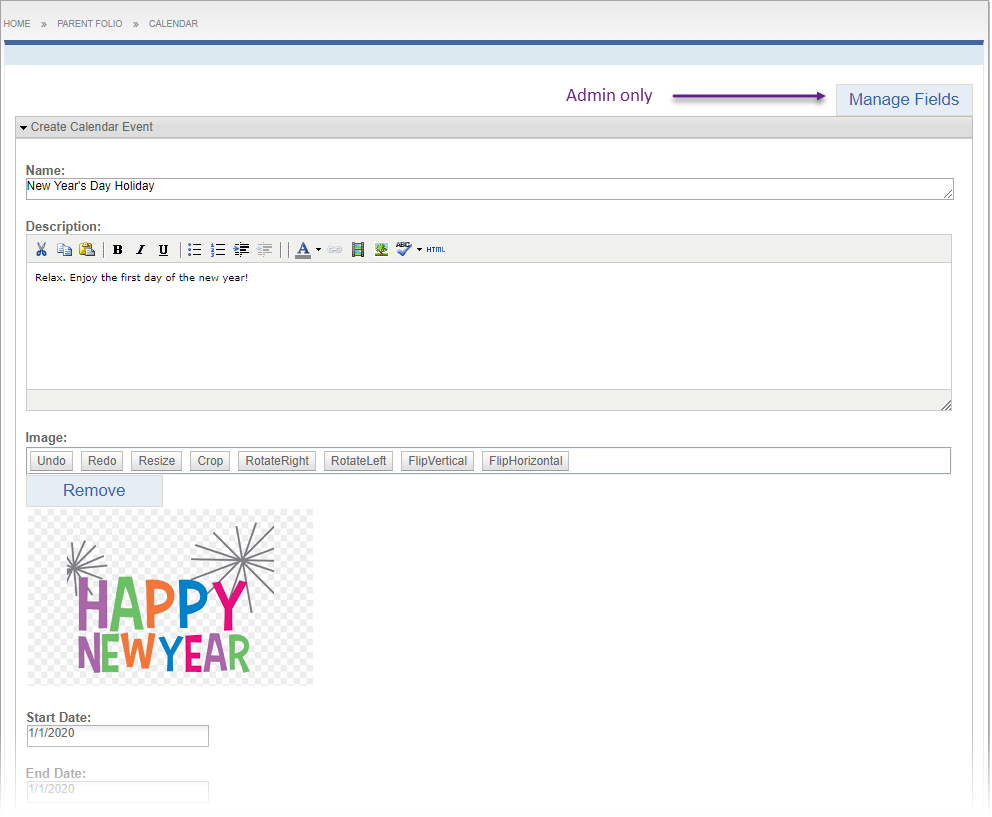
    The Create Calendar Event view opens.
    Note
    Click Manage Fields to add, remove, or edit fields that display in this view. See Field Management for details.
  5. In the fields provided, enter the appropriate information.
    FieldDescription
    NameDisplay name.
    DescriptionIf your calendar name needs more explanation, you can provide more details with this rich text editor.
    ImageYou can add an image to augment your event information.
    Note
    To edit the image, see Editing Images for details.
    Start DateYou must provide the date when the event begins.
    End DateYou can provide the date when the event completes.
    Start TimeYou can provide the hour and minute when the event starts.
    End TimeYou can provide the hour and minute when the event ends.
    LocationYou can provide the event location.
    CategorizeYou can assign taxonomy categories that groups other Cartella objects with the same tag assignments.
    SharingYou can assign various sharing levels to your module items. See Creating Folios for option descriptions.
    Email Notifications

    You can select users and groups to receive email notifications by enabling this option then by choosing the appropriate recipients.

    Note
    The checkbox toggles back to cleared after saving.

    RestrictionsYou can select the following restrictions for module content. See Creating Folios for option descriptions.
  6. Click Submit.
    The new event displays in the folio's calendar after it has been approved.