Installing CMS 10.0-10.3 DSS Instances


Prerequisites:
  • Ingeniux CMS 10.0-10.3 software must be installed. See Installing the Ingeniux CMS Platform for details.
  • A publishing target must be configured within the CMS instance. See Publishing Targets for details to create targets.
  • The CMS 10.0-10.3 license key used with the CMS system installation must include a DSS license.

To install a Dynamic Site Server (DSS) instance, run theCMS 10.0-10.3 DSS Setup Wizard on the server that will host the DSS. The DSS Setup Wizard installs and deploys an instance of the DSS.

Important
If the installed CMS system uses a license key that doesn't include a DSS license, the DSS cannot install.
To install a CMS CMS 10.0-10.3 DSS instance:
  1. Navigate to Ingeniux CMS 10.x within your server's file system.
    Note
    For example, in the Windows OS, click the Start icon > Ingeniux CMS 10.3.
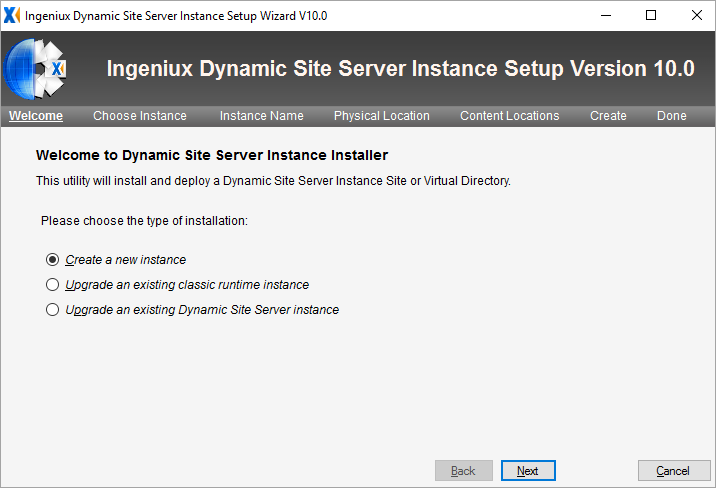
  2. In the Ingeniux CMS 10.x program folder, click Dynamic Site Server Setup Wizard. The Welcome dialog displays.
  3. Ensure that the Create a new instance option displays as selected.

    Welcome Dialog of DSS Instance

  4. Click Next. The Choose Instance screen displays.
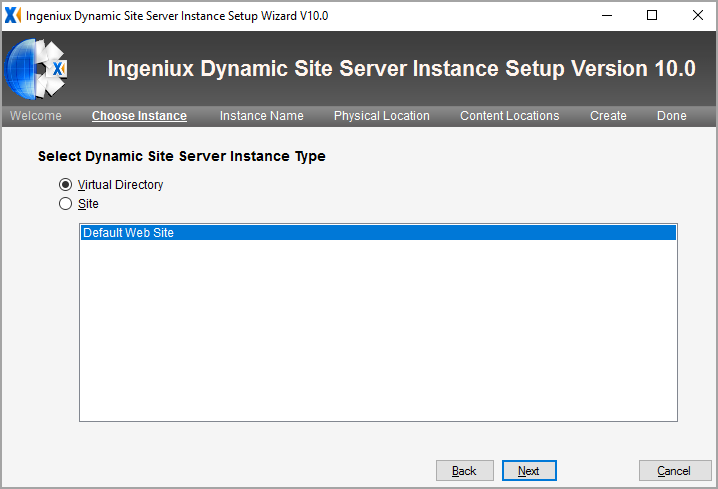
  5. Choose one of the following instance type options.

    DSS Choose Instance

    • If you want to set up the DSS instance within a Virtual Directory:
      1. Select Virtual Directory.
      2. Ensure Default Web Site is selected within the list.
      3. Click Next. The Instance Name screen displays.
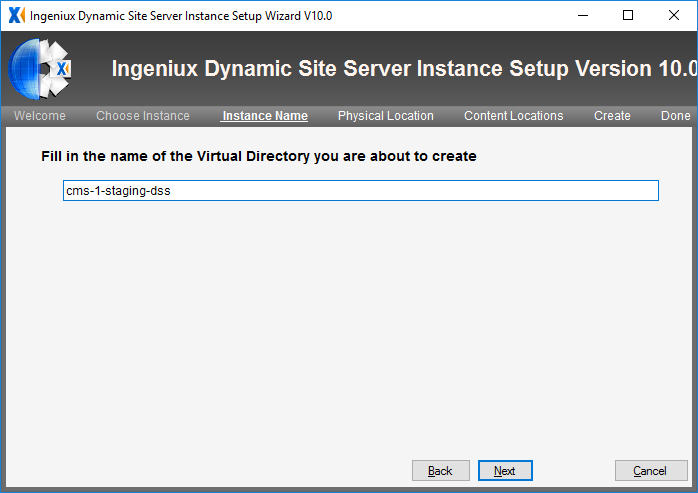
      4. Enter the virtual directory name in the field provided.
        Note
        You may find it convenient to include the associated CMS instance in the virtual directory name. In this way, it is easy to identify which DSS instances are associated with particular CMS instances. In this example, "cms-1" is the name of the CMS instance.

        DSS Instance Name Dialog

      5. Click Next. The Physical Location dialog displays.
    • If you want to set up the DSS instance as a website:
      1. Select Site.
      2. Click Next. The Instance Name screen displays.

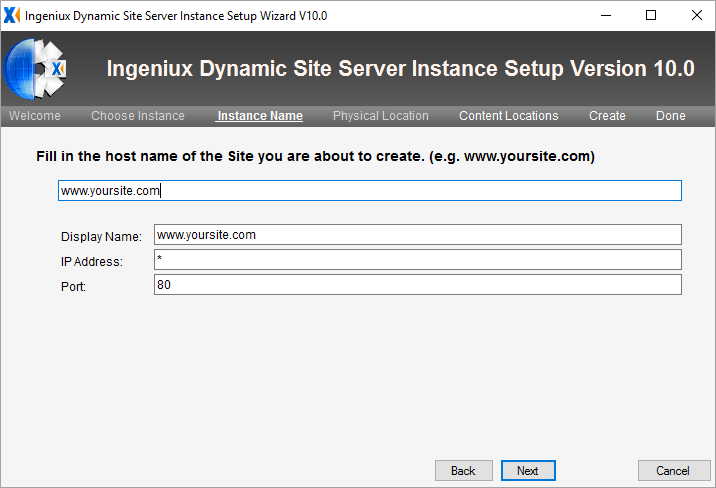
        Website Instance Name Dialog

      3. Enter the host name of the site. The DSS Instance Setup wizard auto-populates the Display Name field with the host name that you provided.
      4. Optional: If you would rather use a different display name than the auto-populated one, enter it in the Display Name field.
      5. Enter the IP Address of your DSS site.
        Note
        By default, the IP address sets to a value of *, which indicates the IP address of the local server.
      6. Provide your site's port number in the Port field.
        Note
        By default, the port value sets to 80.
      7. Click Next. The Physical Location screen displays.
  6. Click Browse.
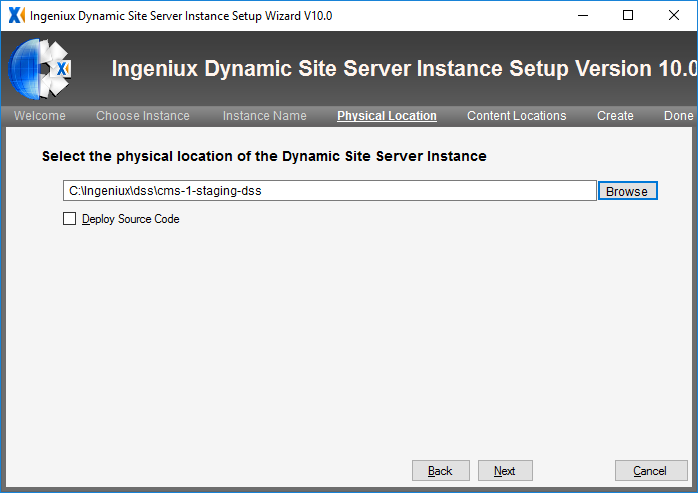
  7. Navigate to the folder that will contain the DSS instance installation (e.g., C:\Ingeniux\dss\cms-1-staging-dss). If the containing folder does not exist, you can use the Make New Folder button to create one.

    DSS Physical Location

  8. Determine if you want to deploy source code. If you select the Deploy Source Code checkbox, then a sample ASP.NET MVC solution deploys with the installation.
    Caution
    For legacy installations using an XSLT runtime and for installations deploying an existing MVC solution, this option should not be selected. However, if you plan to build a new MVC solution, you can deploy the source code and use it as the framework for your project. Generally, it is recommended that you select Deploy Source Code.
  9. Click Next. The Content Locations screen displays.
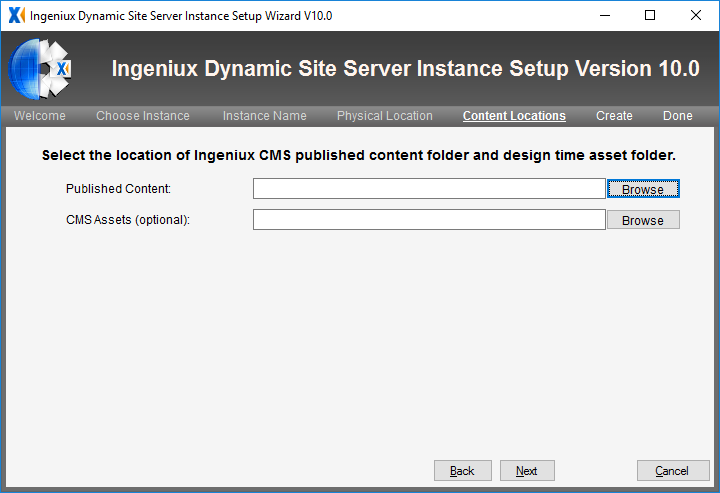
  10. Click Browse to the right of the Published Content field.

    DSS Content Locations Dialog

  11. Navigate to the location of the folder that you set up for the physical location of the DSS instance. The DSS displays content on the DSS website from this folder. Your published content path will be similar to the following: [Drive]:\[Path-to-DSS-Site]\[Publishing-Target-Name]. For example: C:\Ingeniux\dss\cms-1-staging-dss\published.
    Important
    • Do not give the name XML to the folder that will contain the CMS published content for non-preview sites. If the folder is named XML, then conflicts will occur when the DSS Preview PageFilesLocation key value references the folder's filepath.
    • Remember the Published Content path because you will use it when configuring replication. The Published Content folder is where the CMS replicates content within the DSS file structure.
  12. Click OK to close the File Explorer dialog. The path displays in the Published Content field.
  13. Optional: If you want to specify the location of your design-time asset folder so that its files are accessible within the DSS:
    1. Click Browse to the right of the CMS Assets field.
    2. In the File Explorer dialog, navigate to the location of the design-time assets folder.
    3. Click OK to close the File Explorer dialog. The path displays in the CMS Assets field.
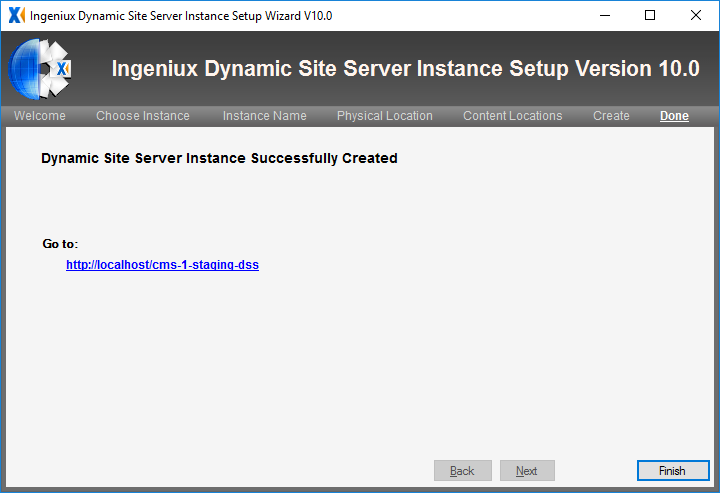
  14. Click Next. The setup wizard creates a DSS instance and displays the Success screen.
    Note
    The Success screen contains the link to your hosted DSS instance. In the screen capture below, the new DSS instance has been hosted locally.

    DSS Installation Finished Successfully

  15. Click Finish.
    Tip
    When you go to your new DSS site, you will see that unformatted XML content displays. The reason why the DSS renders unformatted XML is because your MVC solution, which controls content formatting and style, has not been deployed to your DSS site.

Next Steps:

  • To deploy the MVC solution to your DSS, see Setting up DSS to Display Content.
    Note
    If your MVC solution has not been developed, then, of course, it's too early to deploy the MVC solution.
  • If your organization will develop the MVC site, rather than the Ingeniux Development Services team, see Developing an MVC Site for details.