Installing a Cartella Site
At this point, you should already have installed the Cartella software. Now you'll install a Cartella site as a single instance of the Cartella software. The Cartella site, which accesses the Cartella software API, can function as an intranet, as an administrative tool for a run-time site, or in some other capacity.
To install a Cartella site:
- Navigate to the Cartella Instance Installer or access it via the Windows
Start menu. The default location for the instance
installer is C:\Ingeniux\Cartella 4.1.NoteLook for the installer application (*.exe), not the XML configuration file.
- Run the installer.
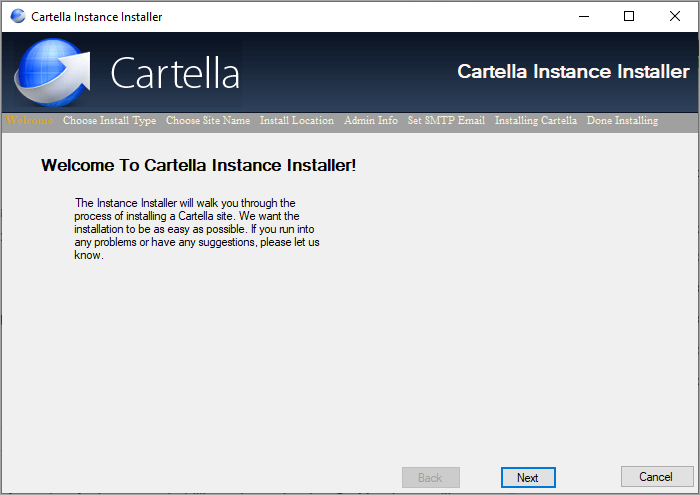 The Cartella Instance Installer wizard displays.
 - Click Next.The Choose Action view displays.
- In the Choose Action list, select Install.
- Click Next.The Choose Install Type view displays.
- Choose how you'd like to install Cartella:
- Install Site: Requires a host name, an IP address for the computer that presents the instance to the network, and a name for the Cartella instance.
- Install Virtual Directory: Requires a site name. The path to Cartella is a virtual directory under the default website.
- After choosing an installation option, click Next.The Choose Site Name view displays.
- Enter either the site name for the virtual directory or the information for the
site.
- If you've chosen to install a new website, provide the required site
information:
- Host Name: Provide the domain name that will host your Cartella instance. Often, this name is your organization's domain name or sub-domain name (e.g., company.com, intranet.company.com).
- IP Address: Provide the IPv4 address for your server (e.g., 216.27.61.136).
- Name: Provide a friendly name for identification on the hosting server.
- If you've chosen to install as a virtual directory under an existing website, Provide a friendly name for identification.
- If you've chosen to install a new website, provide the required site
information:
- Click Next.The Install Location view displays.
- Select the folder where you want to install the Cartella application.NoteIngeniux suggests using the default location, but you can use the Browse button to choose an alternate location. All the files for your Cartella site will be installed here.
- Click Next.The Admin Info view displays.
- Provide values for the following fields:ImportantThe administrator account created here is added to the SQL script. Initially, this administrator account is the only account with access to the Cartella site, so it's important to remember the login and password information.
- Login Name (Required)
- Password (Required)NoteThe Repeat Password value is also required.
- First Name
- Last Name
- Company
- Phone Number
- Email Address (Required)
- When you're finished filling out the administrator information, click
Next. The Set SMTP view displays.
- Configure the Cartella email notification account for the following
values:
Value Description Cartella Email Notification Account Example: admin@domain.com SMTP Host Simple Mail Transfer Protocol (SMTP) moves your email on and across networks. Port Number Ports relay SMTP messages to/from your mail server. NoteDefault port number: 25User* Provide the username needed to send email from this account. Password* Provide the password needed to send email from this account. Note*Credentials are used for connecting to the SMTP server, so that notification and content-creation emails can be sent. This information can be modified later by editing the Web.config file. - Click Next.The Installing Cartella Instance window displays, listing the site instance name entered above.
- Click Next.
- When the status displays as Done Installing, click
Next to continue, then
Finish.The instance installation is now complete.
Next Steps: After completing the instance installation, you must configure a SQL Server database to store your Cartella data.