Before you can schedule automated tasks, you must install the Automated Tasks Engine and
configure it to work with your CMS instance.
To install the Automated Tasks Engine:
- Download the latest version of the Automated Tasks Engine from Ingeniux
Product Downloads.
- Extract the zip file.
- Install the Automated Tasks Engine.
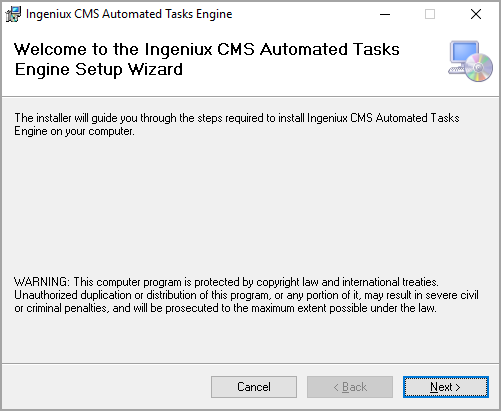
- Double click the AutomatedTasks_installer.msi file to run the
installer. The wizard's Welcome dialog displays.

Note
Be sure to remove any prior version of the Automated Tasks Engine
before installing the new one.
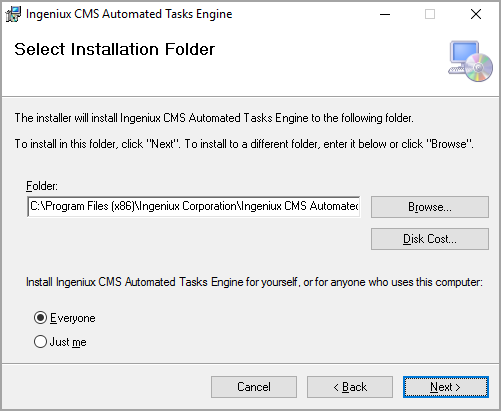
- Click Browse to install the engine in
a folder other than the default one displayed in the Folder
field.

Note
Use the Disk Cost button to determine if
your installation location has enough space to accommodate the installed
engine.
- Select Everyone if the Automated Tasks Engine will be
available to all users on the server or Just Me for the current
user.
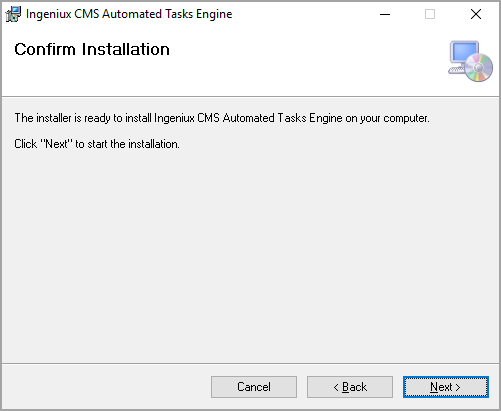
- Click Next. The Confirm Installation
dialog displays.

- Click Next.
The installer begins installing the Automated Tasks Framework.
- Click Close to exit installer.
- Start the Ingeniux CMS Automated Tasks Engine as a service.
- Navigate to Services on the computer hosting the Automated
Tasks Engine (e.g., Computer Management > Services and Applications >
Services > Ingeniux CMS Automated Tasks Engine).
- Right click the Ingeniux CMS Automated Tasks Engine
service.
- Click Start from the list.
The status of the Automated Tasks Engine changes to
Running.
Next Steps:
See Setting up Automated Tasks in Visual Studio.


