Managing Newsletter Recipients
After creating a newsletter, it's important to configure the recipients to whom the newsletter will be sent. This can be accomplished in two places:
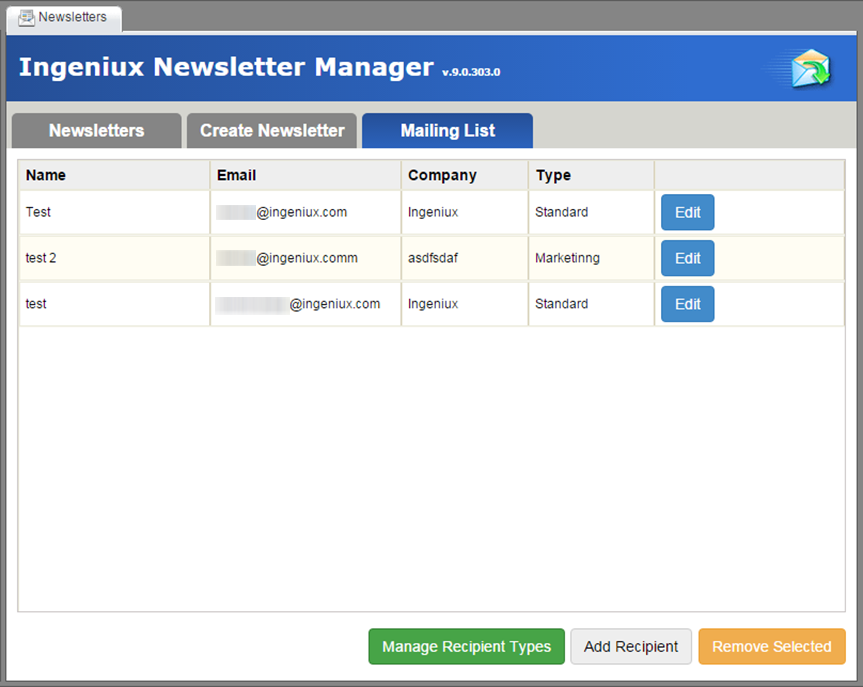
- Mailing List tab on the Newsletters module's main interface.
- Manage Recipients on the Send Newsletter dialog.
Adding Recipients on the Mailing List Tab
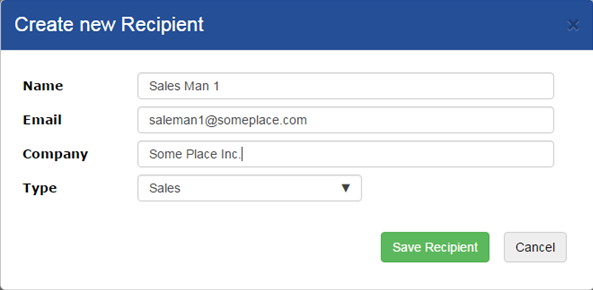
To add a recipient on the Mailing List tab:
Next Steps:
Note
You can edit this recipient's information by selecting it from
the recipients listing and clicking Edit
Recipient.
Removing Recipients
To remove recipients:
Next Steps:
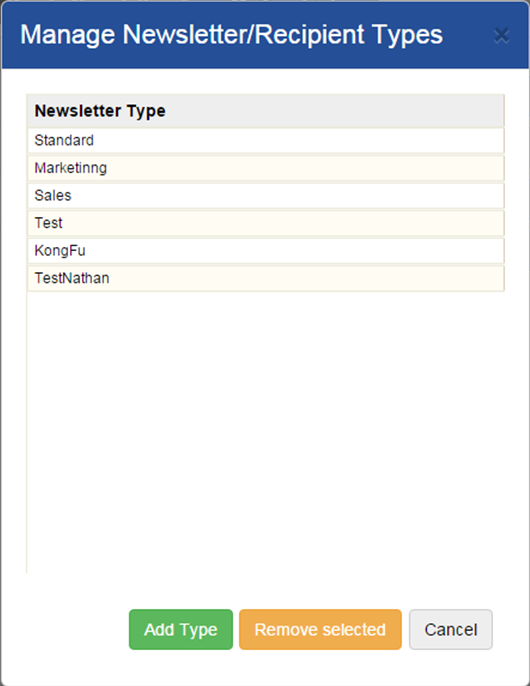
An important organizational feature is recipient types. These link recipients with newsletters and are functionally similar to user groups in the CMS.
Configuring Types
To configure types:


