Uploading Assets from Folder Toolbar
Prerequisites: Asset folders must exist within the Assets Tree to contain asset
items. See Creating Asset
Folders for details to add folders to the Assets
Tree.
Users can upload one or multiple assets via the Folder tab toolbar
in the Assets main pane.
To upload an asset via the Folder tab toolbar in the main
pane:
- Navigate to Assets > Assets Tree.
- Select the folder that will contain the new asset item in the Assets Tree.
- Follow the step that corresponds with your site version.
- Version Notes: CMS 10.6Click New > Create New Asset
 in the Folder tab toolbar.
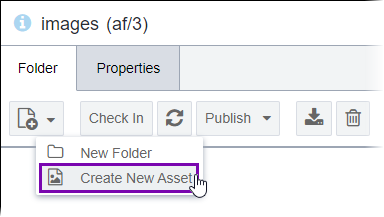
- Version Notes: CMS 10.0–10.5Click Create New Asset
 in the Folder tab toolbar.
The assets uploader displays.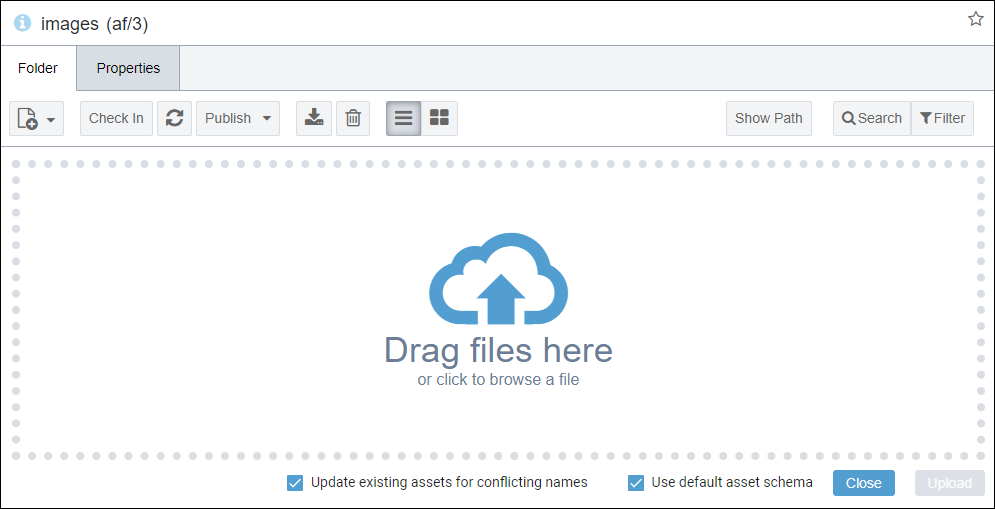
- Select or clear the Use default asset schema checkbox.NoteThis checkbox is selected by default. If selected, the system sets a default asset schema based on the extension of the asset you upload. If cleared, the system will provide asset schema options for you to choose from after you click Upload.
- Select or clear the Update existing assets for conflicting names
checkbox. If you are updating an asset with a file name that is already in use within the
chosen upload directory, select the NoteThis checkbox is selected by default.
- If you select this checkbox and if you upload the asset to a containing folder where a pre-existing asset item uses the same file name as the uploaded asset, the system uploads the new asset file to the pre-existing asset rather than assigning a new a/ID.
- If you clear this checkbox and if you upload the asset to a containing folder where a pre-existing asset item uses the same file name as the uploaded asset, then you can choose to create a new a/ID for the uploaded asset after you click Upload.
- Choose one of the following steps:
- Drag the asset from your system’s file explorer to the assets uploader area.
Click the asset uploader area to browse and select the asset from your system’s file explorer.
The asset displays in the uploader area.NoteHover over the asset in the uploader area to view the size (KB) of the asset. You can upload more than one asset at once. - Click Upload.
- If you cleared the Use default asset schema, then use the
following steps.
- Click the question mark (?) icon that displays on the asset in the uploader
area.
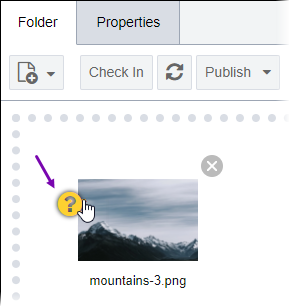
A list of available schemas display.
ImportantSchemas only become available if the asset’s file type is included in the schema’s list of Allowed Extensions. See Creating Asset Schemas for details to update Allowed Extensions for individual schemas.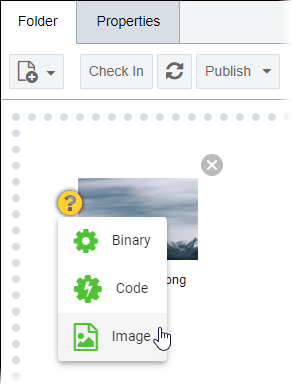
- Select the appropriate schema from the list.
The question mark icon changes to the selected schema’s icon.
- Click Upload.
The system associates the schema with the asset and uploads the asset to the CMS Assets Manager.
- Click the question mark (?) icon that displays on the asset in the uploader
area.
- If you cleared the Update existing assets for conflicting
names, then click the exclamation point (!) icon that displays on
the asset with the conflicting name in the uploader area.
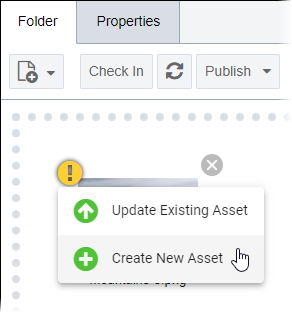
Choose one of the following steps: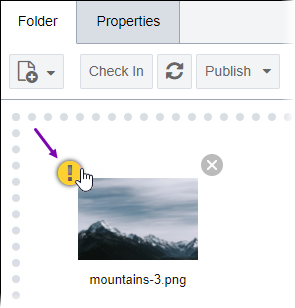
- Select Update Existing Asset in the menu options, and click
Upload.
The CMS uploads the new asset file to a pre-existing a/ID of the same name rather than assigning a new a/ID.
- Select Create New Asset in the menu options, and click
Upload.
The CMS uploads the asset file with a new a/ID. To differentiate the new and existing asset items of the same file name, the CMS appends _1 to the end of the new asset's name.
- Select Update Existing Asset in the menu options, and click
Upload.
- If you cleared the Use default asset schema, then use the
following steps.
