CMS 10.6 Replacing Content Trays via In-Context Editing


Prerequisites:

Users can replace content trays (i.e., component content units or component items) with new ones in site pages via In-Context Editing (ICE) mode.

Tip
If users haven't checked in the page, they can execute the Undo Checkout action to undo content tray replacements. This action reverts the page to its last checked-in version.
To replace content trays via ICE:
  1. Access ICE mode. See Accessing ICE Mode for details.
  2. Select a component element with a nested content tray you want to replace in the page fields structure.
  3. Choose one of the following steps.
    Note
    If toolbar options don't initially display, then select the Show Actions vertical ellipses (...) icon to access the toolbar options.
    • Replace the content tray by clearing the existing content.
      1. Select the header of the list item that contains the content tray to replace in the page fields structure.
        Tip
        For components nested within list elements, the list icon List Element Icon indicates where a list starts within the page fields structure. A gear icon Component Element Icon displays in the header of list items that contain components.
      2. For embedded component content, select Revert > Clear Content in the list item toolbar.

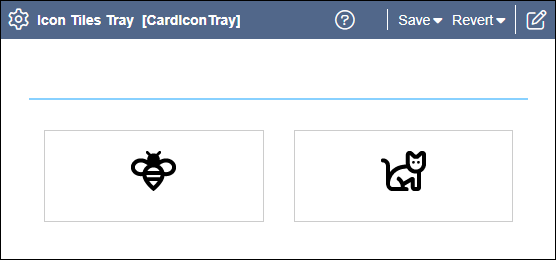
        Revert via Embedded Component Toolbar Header

        The system deletes the embedded component content within the content tray block.

      3. For referenced component content, select Edit > Clear Content in the list item toolbar.

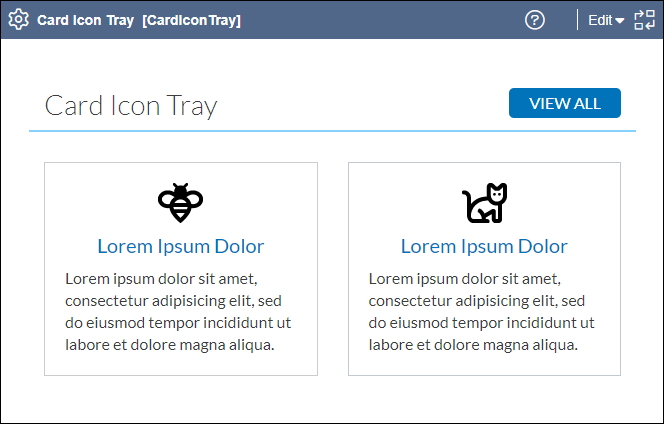
        Edit via Referenced Component Toolbar Header

        The system deletes the referenced component content within the content tray block.

      4. See CMS 10.6 Adding Content Trays via In-Context Editing for details to add a content tray to the list item.
    • Replace the content tray via drag and drop.
      Important
      This functionality only applies to referenced component content (i.e., components with xIDs). You can only replace referenced component content with other referenced component items.
      1. Expand the Trays pane by selecting Open Trays PaletteOpen Trays Palette Button on the rightmost side of the Edit tab toolbar.
      2. Select the header of the content block tray to replace the referenced component in the page fields structure.

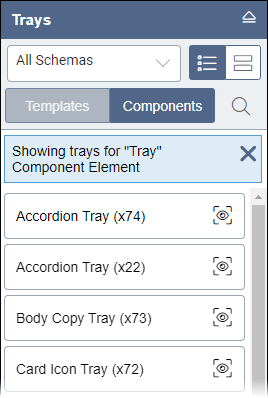
        When users select a component element within the page fields structure, the Trays pane filters available content that users can choose from to add to the selected component element.

        Note
        Users can only add component content types that the component element accepts. Select the (x) on the Showing trays for... message to clear this filter in the Trays pane.

        Filtered Trays Pane

      3. Press and drag the replacement content tray from the Trays pane to the page fields within the Edit tab workspace.

        Drag Content Tray from Trays Pane to Edit Tab Workspace

        Note
        To scroll up or down while dragging a content tray, hover the tray over the top or bottom edge of the Edit tab workspace.

        Scroll While Dragging Content Tray

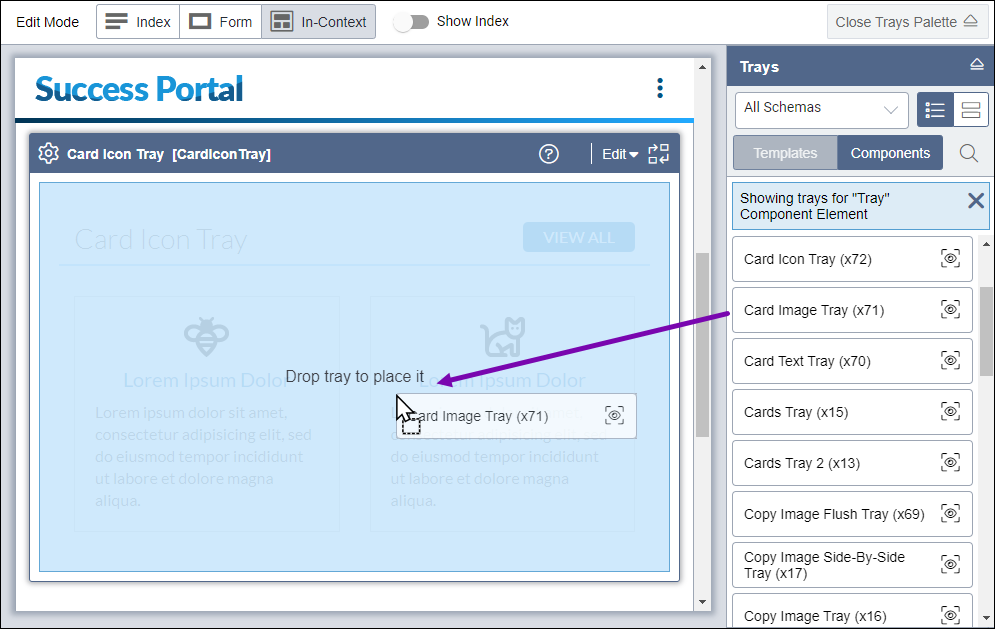
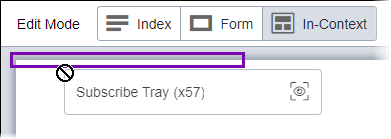
      4. Drag and hover the component item content tray over the existing content tray you want to replace, and drop the new content tray when following text displays on the existing content tray.
        Drop tray to place it
        Troubleshooting
        If the text doesn't display, then do the following:
    • Replace the content tray via the Add Tray dialog.
      Important
      This functionality only applies to existing component items. You can only replace component items with other component items and not component content units.
      1. Select or hover your cursor over the header of the component element or component list item that contains the content tray to replace in the page fields structure.
        Tip
        For components nested within list elements, the list icon List Element Icon indicates where a list starts within the page fields structure. A gear icon Component Element Icon displays in the header of list items that contain components.
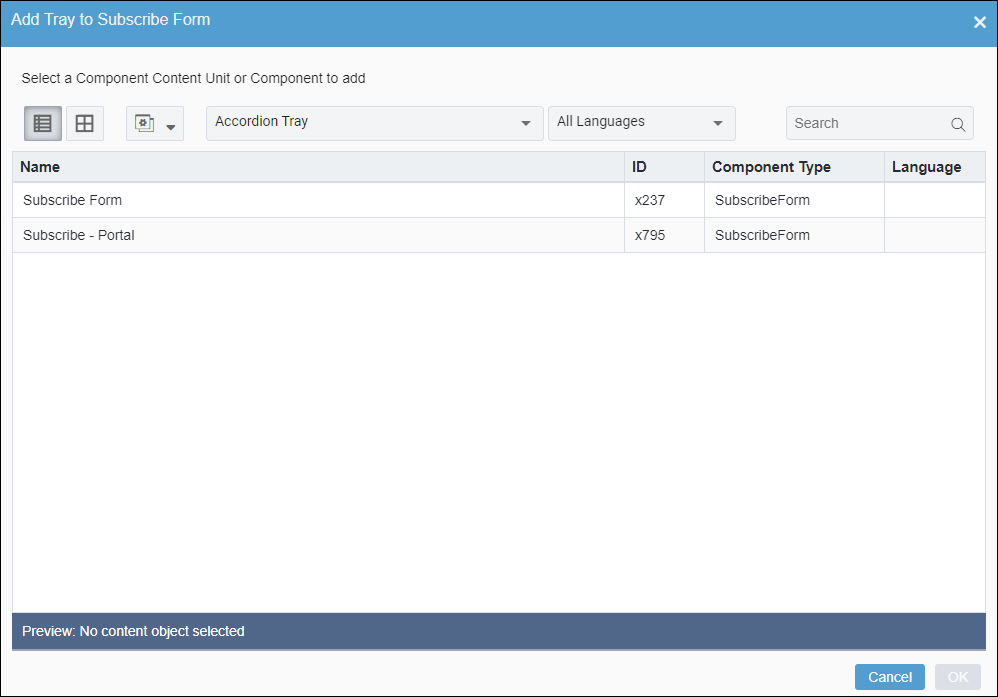
      2. Select the Pick another component icon Pick Another Component Icon in the header toolbar. The Choose Tray dialog displays.
        Tip
        Users can only add component content types that the component element accepts. When users select a component element within the page fields structure, the Choose Tray dialog filters available content that users can choose from to add to the selected component element.

        Add Tray Dialog

      3. Select the content tray to serve as the replacement, and select OK.
    The content tray replacement displays within the component element or component list item.
  4. Select Save in the Edit tab toolbar to save your ICE changes.
    Warning
    Always save after making ICE changes. Otherwise, the system will not preserve your new changes.