Creating Groups
Users belong to at least one user group. Administrators create and assign permissions to user groups. Each group member inherits the set of permissions assigned to their user group.
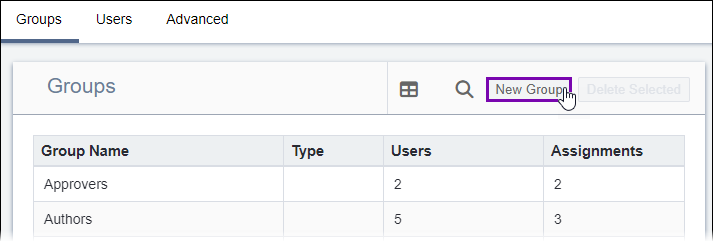
To create a group:
Users belong to at least one user group. Administrators create and assign permissions to user groups. Each group member inherits the set of permissions assigned to their user group.
To create a group:

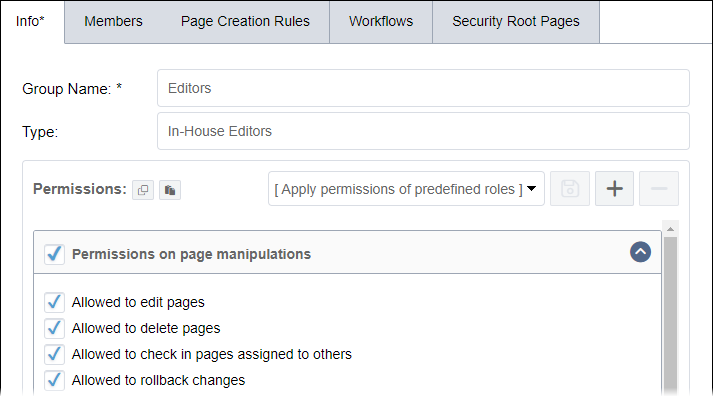
The Info tab displays.
This description displays in the Groups screen after you save your changes.
See List of Permissions for details about each group permission.
Keep the following in mind:
In CMS 10.6, you can copy permissions from one group and paste them within another group's permission settings. See CMS 10.6 Copying Permissions for details.
In CMS 10.3+, you can save sets of preselected permissions to reuse in other groups via CMS 10.3+. See Creating Roles for details.

The new group displays in the Groups list.

When you save, the system assigns a unique ID to the group. To view the ID, select the group in the Groups screen.
The Group ID displays as an inactive field between the Group Name and Type fields in the Info tab.

