
Installing DITA-OT
- Before uploading a custom DITA-OT, review the DITA-OT website for custom DITA-OT development requirements.
- Before uploading a custom DITA-OT plugin, review DITA-OT: Creating custom plug-ins for plugin requirements.
Match the DITA-OT documentation version to your working version by toggling the version drop-down on the DITA-OT website.
For all CMS 10.6 versions, the plugin.xml must reside in the root folder of the plugin .zip file.
CMS
10.6.492: The CMS requires that the plugin.xml root
<plugin /> element has an @id attribute. The CMS
does not require plugin.xml to have a transtype
definition.
CMS 10.6.308–10.6.378: The CMS requires the plugin.xml to include the transtype definition. If you need to upload a plugin that does not have a transtype definition, system administrators review DITA-OT: Installing plugin-ins for details to install the plugin using the command line.
The CMS uses the DITA Open Toolkit (DITA-OT) publishing engine to run transformations for DITA publishing and preview. Choose the DITA-OT version that best meets your organization's publishing requirements.
- Select the Open Toolkit Setup header bar to expand the
area.
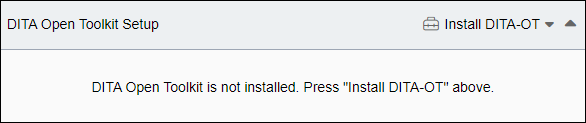
- Select the Install DITA-OT drop-down menu, then choose your
preferred DITA-OT version:
Ingeniux CMS version:
Ingeniux CMS provides an enhanced DITA-OT version with custom plugins and bug fixes based on version 3.6.1. Use this recommended version unless your organization requires a different DITA-OT version.
Select Ingeniux DITA-OT 3.6.1 (Recommended Version) from the list.
The Install DITA Open Toolkit dialog displays.
In the Install DITA Open Toolkit dialog, select Install to verify that the chosen version is correct.
Community versions:
Process your DITA content with using a community version of the DITA-OT.
- Select your preferred DITA-OT version from the list.
The Install DITA Open Toolkit dialog displays.
- In the Install DITA Open Toolkit dialog, select Install to verify that the chosen version is correct.
- Select your preferred DITA-OT version from the list.
Custom version:
Install your own custom version of the DITA-OT.
Select Install Custom DITA-OT from the list.
The Install DITA Open Toolkit dialog displays.
In the Install DITA Open Toolkit dialog, select Install to verify that you want to install a custom DITA Open Toolkit version.
The Install Custom OT dialog displays.
In the Install Custom OT dialog, either drag your custom DITA-OT into the dialog from your file system, or click the center of the dialog to browse for it.
Select Upload.
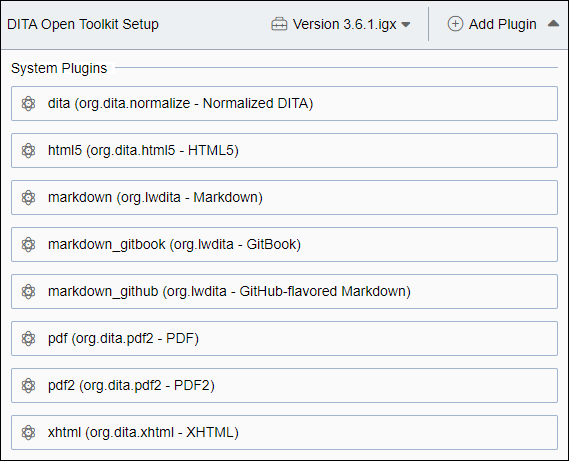
The CMS installs your selected DITA-OT version. The DITA Open Toolkit Setup header displays the currently installed DITA-OT version, and the System Plugins list displays available plugins installed with the DITA-OT.
Task Troubleshooting:
The System Plugins list displays only plugins with CMS-compatible transtype definitions. System administrators can verify prerequisite plugins without transtypes are installed by entering dita plugins in the command line within the DITA-OT bin folder.
- For custom DITA-OT engine or plugin installation errors, review Prerequisites to ensure your customizations meet development requirements.
- To uninstall the DITA-OT version, click the button displaying installed DITA-OT version (e.g., Version 3.6.1.igx), then click Uninstall DITA-OT.
Next Steps: Configure DITA output formats for Ingeniux CMS to use during post-publishing DITA transformation output generation.