Configuring How Custom Tabs Display
To configure how custom tabs display:
- Navigate to Administration > System Options > CMS > Custom Tabs > Display.

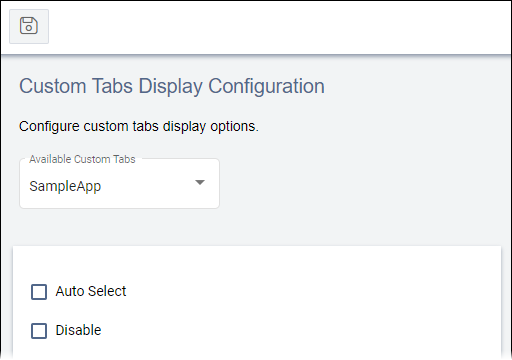
- Select the tab you want to configure from the Available Custom Tabs drop-down list.
- Select or clear the following checkbox options as needed:
Option Description Auto Select This option is cleared by default. If this option is selected, the custom tab will automatically display as selected when users go to the content item in the CMS UI. This option is for user convenience only. Important- This option only applies to custom tabs that display on content items. This option does not apply to custom applications.
- If this option is selected for multiple custom tabs that display on the same content item, keep in mind that only the first custom tab will display as selected on the content item. The other tabs with this option selected will be ignored.
Allow Pinning This option is cleared by default. If this option is selected, the custom tab can be pinned. This setting applies to global tabs, which display in the Apps pane. Version Notes: CMS 10.6This option is deprecated in CMS 10.6.Disable This option is cleared by default. If this option is selected, the custom tab becomes temporarily disabled without being removed from the CMS. Clear this option to re-enable the custom tab at any time.
- Click the Save button
 in the top-left corner of Custom Tabs Display
Configuration to save your changes.
Related Topics
