CMS 10.6 Editing Field Units
- Navigate to Site > Site Tree.
- Select the page with the Page Builder presentation.
- Check out the page, and select the Design tab.The Design tab workspace and accordion menu displays.
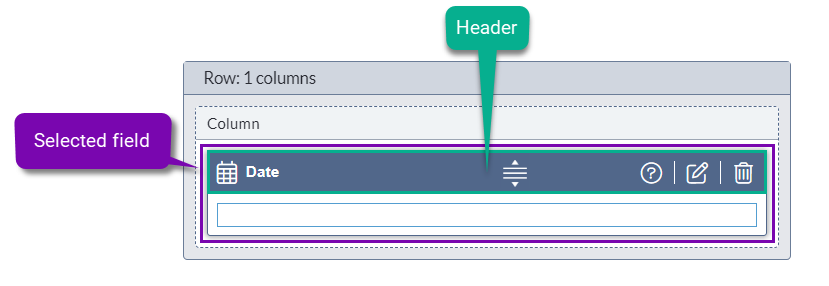
- Navigate to and select the header of the content unit via the
Design tab workspace.The content unit displays as selected (i.e., the header fill color changes to blue), and the toolbar displays in the content unit header.
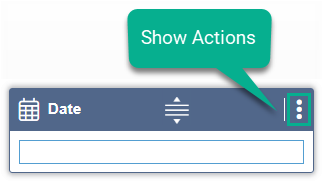
 TipIf header toolbar icons don't initially display, then select the Show Actions vertical ellipses (...) icon to access the toolbar options.
- Edit fields based on their type.
The table below provides steps to edit each field type. Use the steps that correlate with the field type you want to edit.
Additional InformationPage Builder provides different editing functionality based on the field type. For example, if you edit a plain text field, Page Builder provides a text area where you can edit the content. If you edit an asset field, then Page Builder provides a dialog where you can choose an asset to add.Field Steps Plain Text Selecting the field displays the editable text area.
To edit plain text fields:
Make your text changes directly in the field, and select the Confirm checkmark (✔) icon in the header toolbar to enter your changes.

XHTML Editor Selecting the field displays the editable text area and displays the XHTML editor toolbar.
See XHTML Editor for details about the editor features.
To edit XHTML editor fields:
- Choose one of the following steps.
- Make your text changes directly in the field, and use the XHTML toolbar
options as needed.
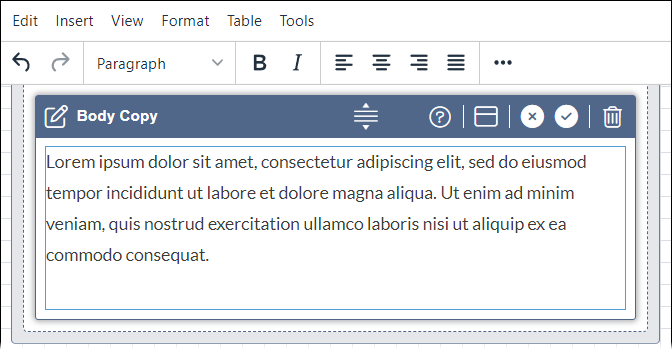
- Select the Maximize Edit Area icon
 in the header toolbar to expand the XHTML editor in a pop-up
dialog, and use the XHTML tools to make your text changes. TipSelect the Restore to original size icon
 in the header toolbar to switch the editor from pop-up dialog to
inline.
- Make your text changes directly in the field, and use the XHTML toolbar
options as needed.
- Select the Confirm checkmark (✔) icon in the header toolbar to enter your changes.
Asset To edit asset fields:
- Select the Edit in field (pencil) icon
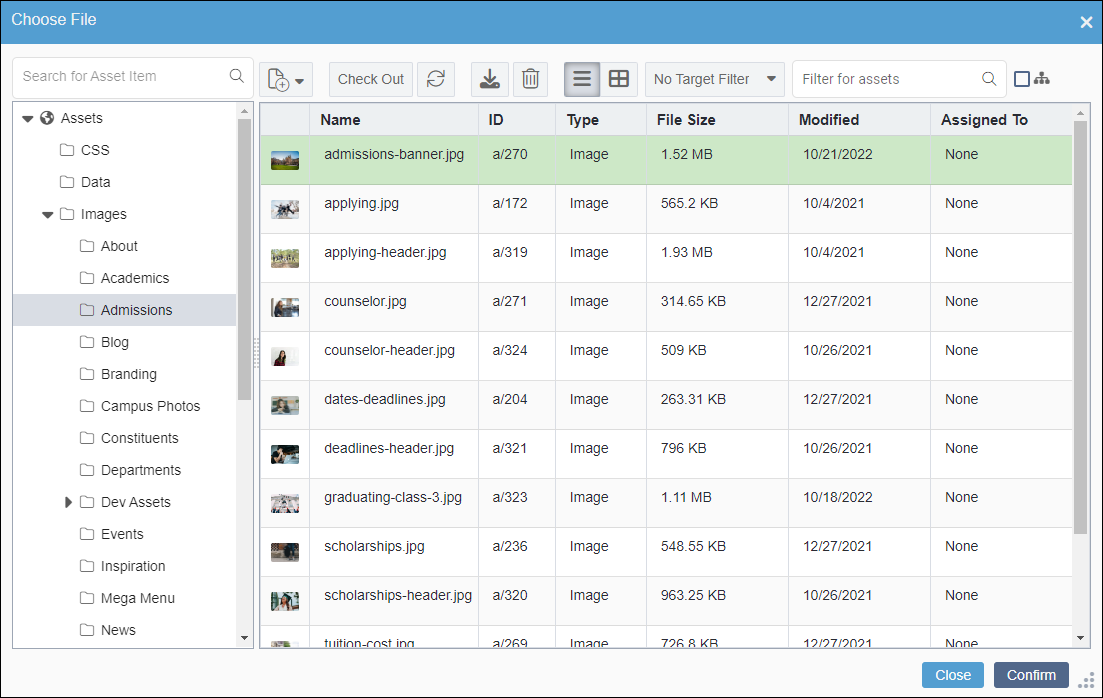
 in the header toolbar to display the Choose File
dialog.
 - Select an asset to display in the field, and click
Confirm.
See Choose Asset File Dialog for details about dialog features.
Dropdown List Selecting the field displays the drop-down list. To edit dropdown list fields:
- Select the drop-down list arrow to expand available list options.

- Select an option within the list.
- Select the Confirm checkmark (✔) icon in the header toolbar to confirm your change.
Multi-Select Choices To edit multi-choice fields:
- Select the Edit in field icon
 in the header toolbar to display the choices dialog.
 - Select the item(s) in the Choose From list.
Press Ctrl+click to select multiple items.
- Select the right arrow buttons. The selected item(s) moves to the
Selected Choices list.TipYou can use the up and down arrows buttons to reorder items in the Selected Choices list.
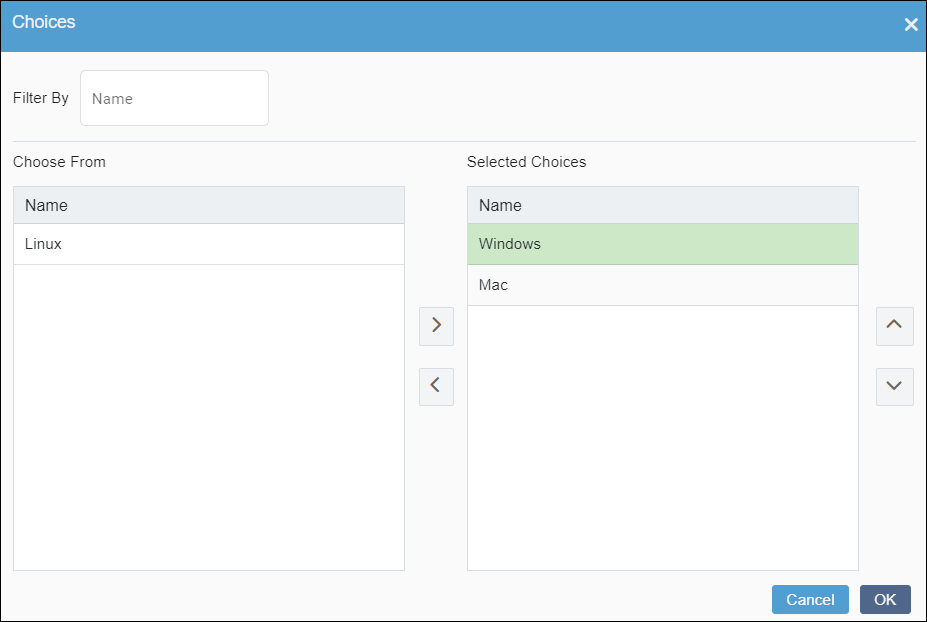
- Select OK to confirm your selections.
Other "Other" refers to other editable field types (e.g., checkbox, date) in presentations.
To edit other types of fields:- Select the Edit in field icon
 in the header toolbar to display the Edit this Field
In-Context dialog.
 - See Completing Page and Component Elementsfor details that correlate with the field type you want to edit.
- Select Apply Changes to confirm your edits to the field.
- Save changes when you finish by selecting Save in the
Design tab toolbar.WarningAlways save after making Page Builder presentation changes. Otherwise, the system will not preserve your new changes.
