Prerequisites: - Important: If your DSS site uses InSite Search, then ensure your implementation
uses an InSite Search version compatible with your
upgraded CMS and DSS version.
The instructions below help you to upgrade:
- from DSS 9.x to 10.0–10.3.
- from an earlier version of DSS 10.x to 10.0–10.3.
To upgrade your existing DSS site to version 10.0–10.3:
- On your server's file system, navigate to Ingeniux CMS
10.0.
- Click Dynamic Site Server 10.x Setup Wizard.
The Welcome view of the Ingeniux Dynamic
Site Server Instance Setup Wizard V10.x dialog displays.
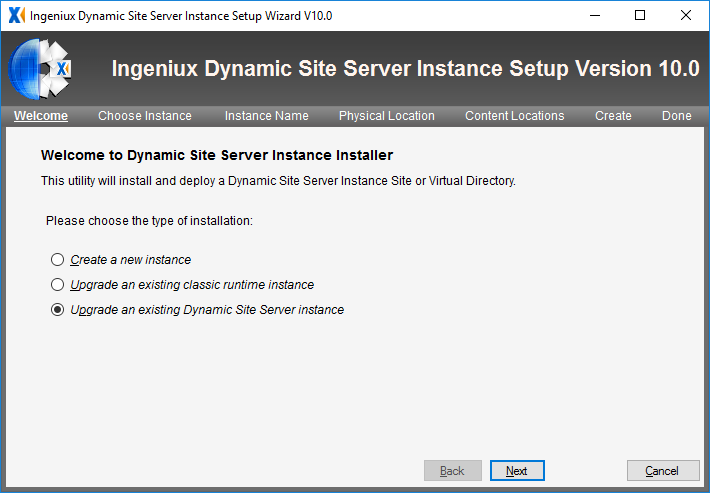
- Select the Upgrade an existing Dynamic Site Server
instance option.
- Click Next. The Choose Instance
screen displays.
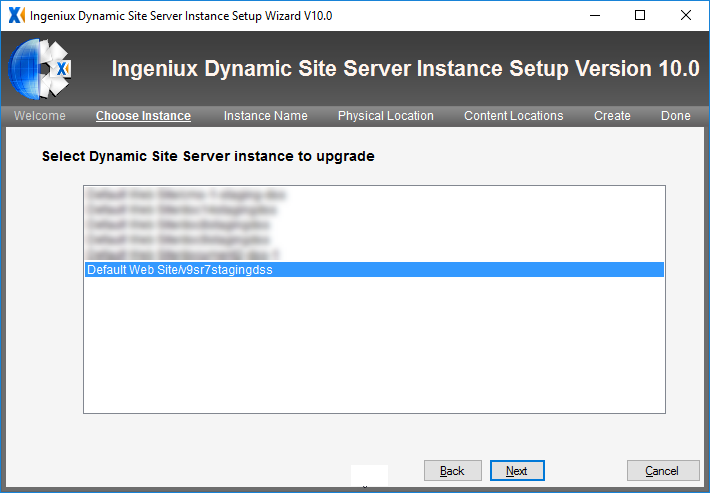
- Select the DSS instance that you want to upgrade from the
list.
- Click Next. The read-only Instance
Name screen displays.
- Verify that you selected the correct DSS instance to upgrade.
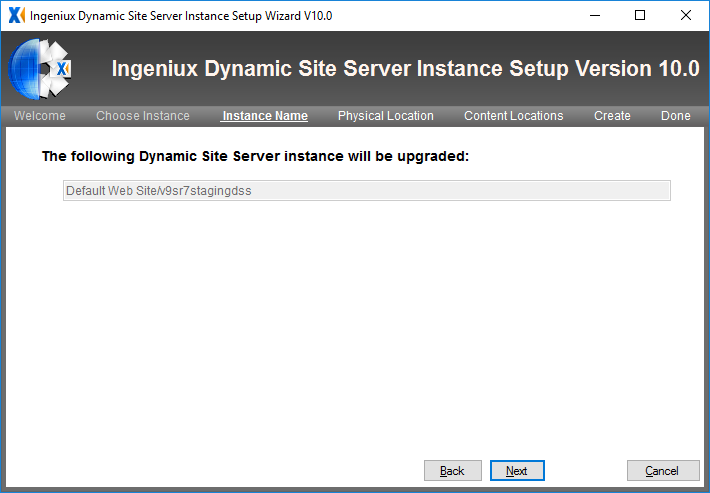
- Click Next. The read-only Physical
Location screen displays.
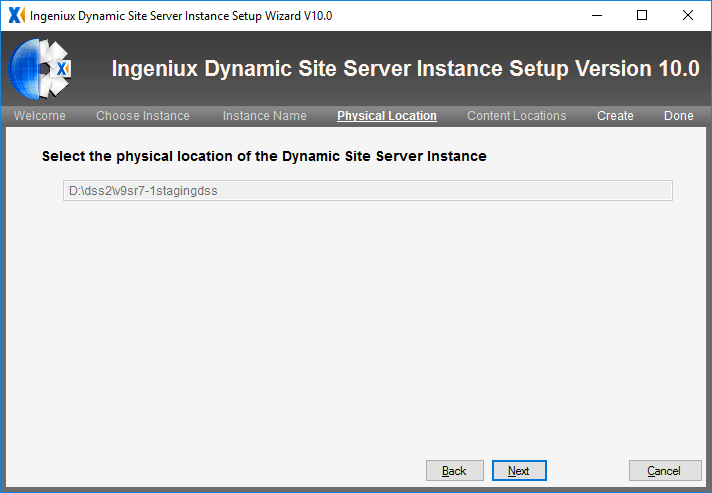
- Verify that the path of the DSS instance is correct.
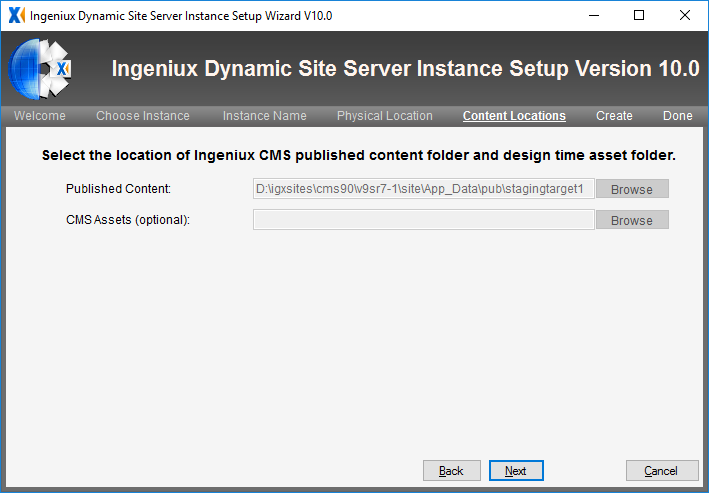
- Click Next. The read-only Content
Locations screen displays.
- Verify that the wizard auto-populated the correct path to the
published content folder.
- Click Next. The read-only Create
screen displays.
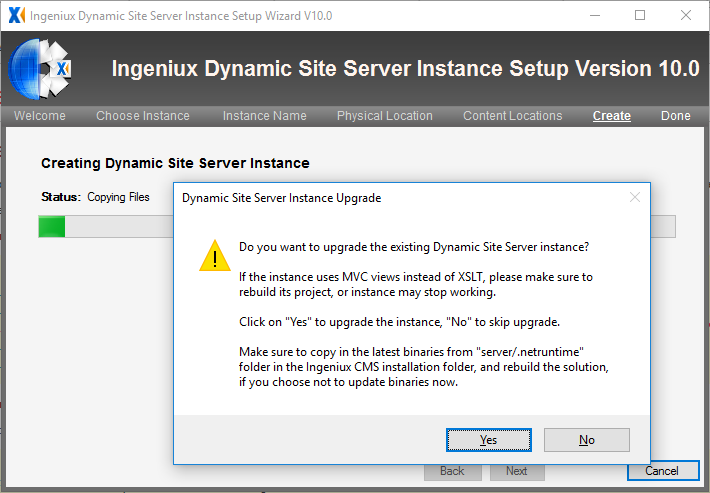
- In the final confirmation dialog, click Yes to
confirm that you want to update the selected DSS instance or
No to skip the upgrade. The final dialog in the
wizard displays.
-
The setup wizard creates a new DSS instance. Click the link to
navigate to it.
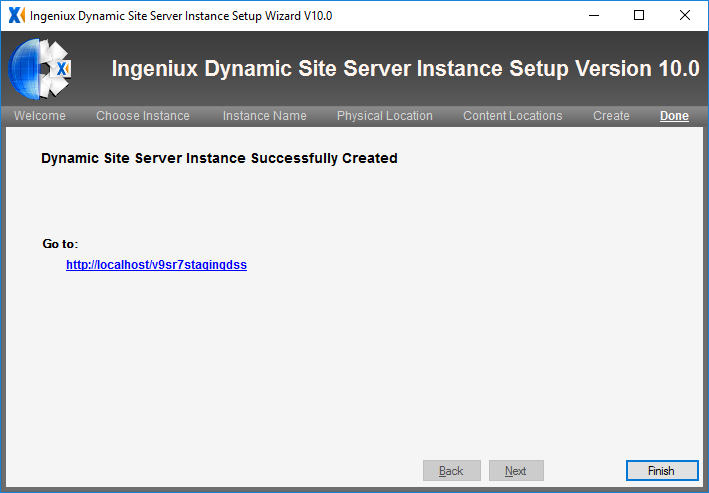
- Click Finish to close the wizard.
Next Steps (optional): After upgrading your DSS, it's a good
idea to review the DSS Upgrade
Checklist.


