Inserting Images in DITA Content


Prerequisites: Users must have permissions to check in and out assets in the CMS Assets Manager. See Creating Groups for details to set permissions.

Users can directly insert CMS images in CMS DITA content via the Oxygen Desktop Plugin.
Important
To insert images stored in the CMS Assets Manager, ensure the DITA root folder (i.e., the folder assigned to the rootFolderID that you provided during plugin installation) contains the folder where your images reside.
To insert CMS images in CMS DITA content via the Oxygen Desktop Plugin:
  1. Open the Oxygen XML Web Editor application.
  2. Check out the DITA content item in Oxygen XML Editor.
    The item checks out in the CMS and displays in the main pane Editor. An unlock icon displays next to the checked-out item in the Ingeniux CMS Browser tree.
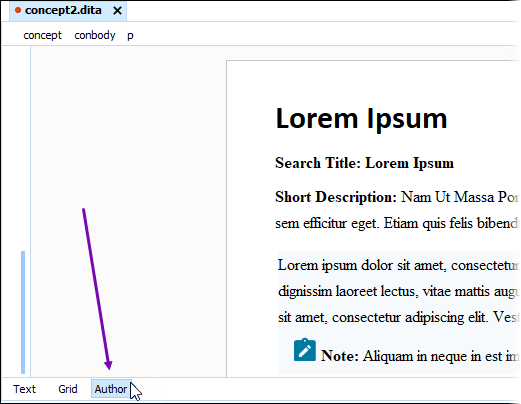
  3. Ensure Author mode displays as selected in the bottom-left area of the main pane.

    Author Mode

  4. Select an area within the content item that allows link insertions, and choose one of the following steps.
    • Click the Insert a reference to an image button in the toolbar.

      Insert Image via Toolbar

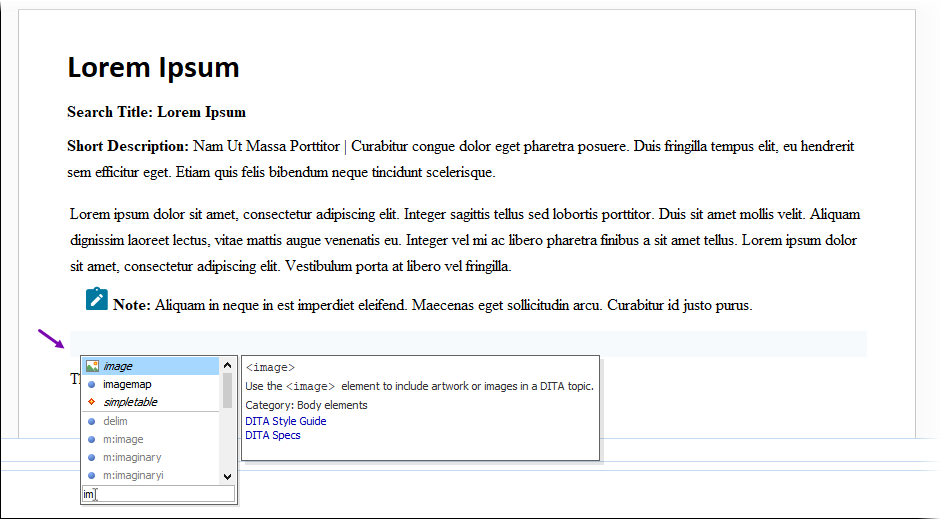
    • Press ENTER on your keyboard, and enter the initial letters of image in the text field. Click the image entry that displays in the results list.

      Insert Image via Keyboard

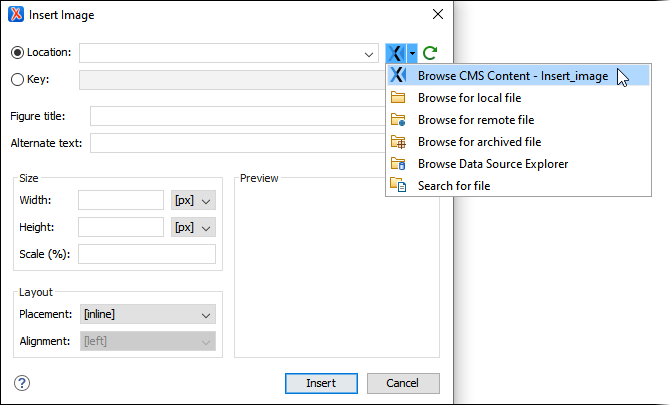
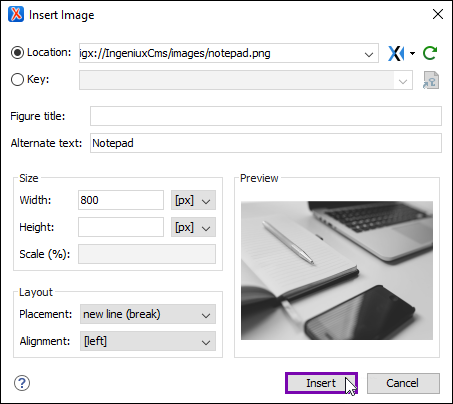
    The Insert Image dialog displays.

    Insert Image Dialog

  5. Choose one of the following steps:
    • Insert a link to the DITA content item's location by selecting the Location option.
      1. Select the folder drop-down arrow in the Location field, and select Browse CMS Content.

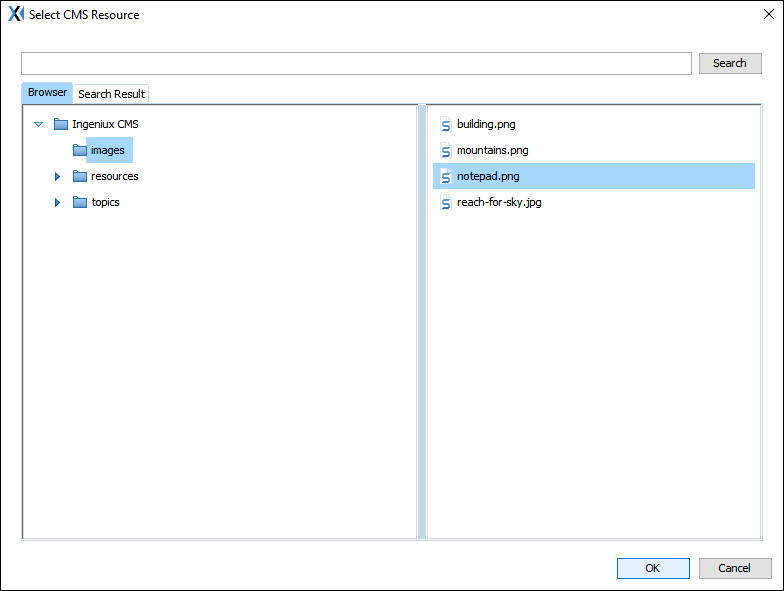
        The Select CMS Resource dialog displays.

        Select CMS Resource Dialog

      2. Navigate to the image to insert in the tree folder structure, and select OK.

        The dialog closes.

    • Insert a key by selecting the Key option.
      1. Click the Choose Key Reference button.
      2. Choose a key from the list, and click OK.
  6. Optional: Enter field values for the Figure Title, Alternate Text, Size, and Layout fields in the Insert Image dialog.

    Insert Image Optional Fields

  7. Click Insert. The image displays in the content item.
    Additional Information
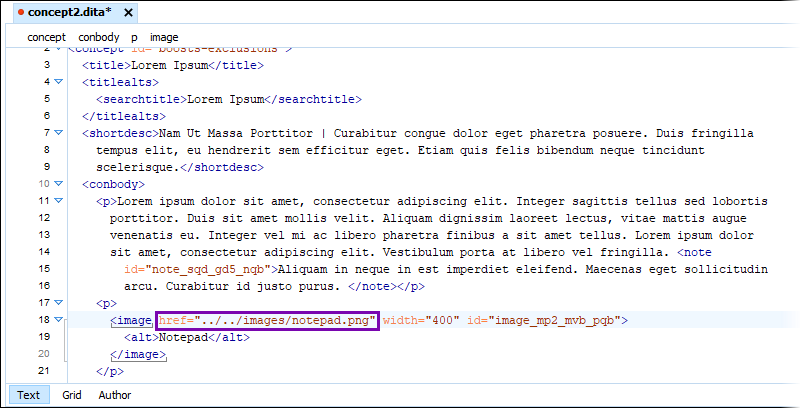
    • When you select Text mode in the Oxygen XML Editor UI, the <image> element's @href attribute value displays the image asset's filepath.

      Image Href Value in Oxygen Desktop Plugin UI

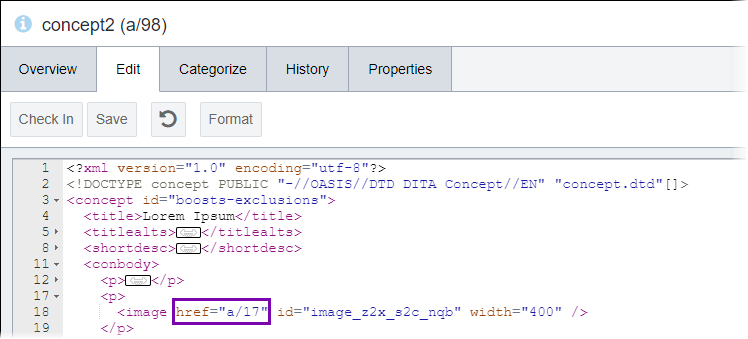
    • When you navigate to the CMS Assets Manager UI to view the asset in the Edit tab, the <image> element's @href attribute value displays the image asset's a/ID.

      Image Href Value in CMS Assets Manager UI

    The plugin displays the image filepaths as @href values so that the references validate in the Oxygen XML Editor UI. The system stores the a/IDs in the CMS Assets Manager so that users can always move, rename, and perform other operations on assets in the CMS UI. This way, the values always update to the correct reference after users reload the Oxygen XML Editor UI or Ingeniux CMS UI.