CMS 10.0–10.5 Configuring Form Templates


Prerequisites:

Administrators, complete prerequisites to enable user access to the Design tab. Developers must create the appropriate Page Builder views before the content unit styling displays properly. See Page Builder Prerequisites for details.


With Page Builder's visual tools, build templates by dragging form content units into a layout. A common user scenario is to add content units to a page that already has editable fields.

Task 1: Select the Container, Create the Presentation, and Add the Layout

To set up a presentation and layout for the Page Builder form template:
  1. Navigate to Site > Site Tree.
  2. Select the page that will contain the form.
  3. Verify that the page has been checked out.
  4. Click the Design tab.
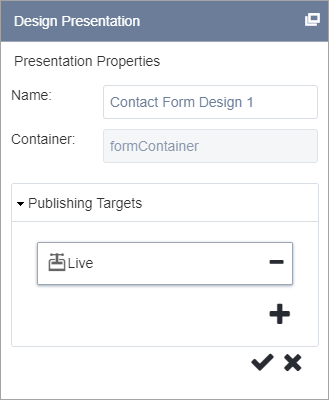
  5. In Presentation Properties, enter a name for the presentation.

    Typically, the name you provide describes the layout that you plan to implement.

    Design Presentation View

  6. Click inside the area where you want to create the form.

    These content areas are marked with a target icon. The containing element's id value populates the Container field. See Selecting Containers for details and screen captures.

    Note
    These container areas may be hidden within the Design tab to restrict who can add content to these areas. If this is the case, contact your CMS administrator for the precise name to enter in the Container field of the Presentation Properties area.
  7. Expand the Publishing Targets area by clicking the Publishing Targets link if it is not already open.
  8. Click the Add Publishing Targets plus (+) button.
    The Add Publishing Targets to Presentation dialog displays.
  9. Select the publishing target(s) from the list to include in the current design presentation.
  10. Click Select.
    The name of the publishing target(s) you choose populates the Publishing Targets list.
  11. To apply your configuration to Presentation Properties, click the Apply checkmark () button.
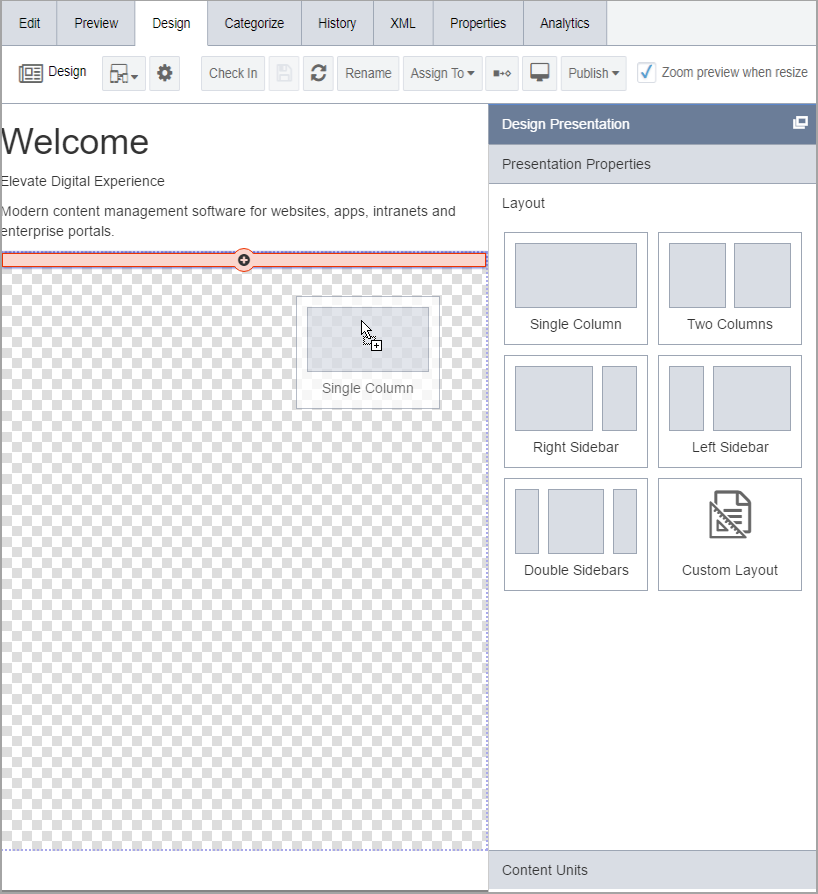
  12. In the Layout accordion area, drag the appropriate layout unit to the blank container.
    Responsive design layouts are split into rows and columns. Up to 12 columns are allowed per row.

    Design Presentation Layout

    Note
    The Custom Layout option allows you to choose how may columns you want within the layout.
  13. Optional: Select any of the columns or the row within the chosen layout to add padding and class properties within the Column Properties or Row Properties accordion areas.

    See Adding Layouts for details and screen captures.

Task 2: Add the Visual Form Builder and Form Fields

To add a Visual Form Builder - Form component unit:

  1. Click the Content Units tab.
    Note
    There are two types of content units: 1) field and 2) component. Field units can only represent a single field; whereas, component units represent a group of fields and/or components. When complete, multiple units combine into a single component unit, which can be dragged intact. Component units enforce the order and type of the contained content units. See Adding Content Units for details.
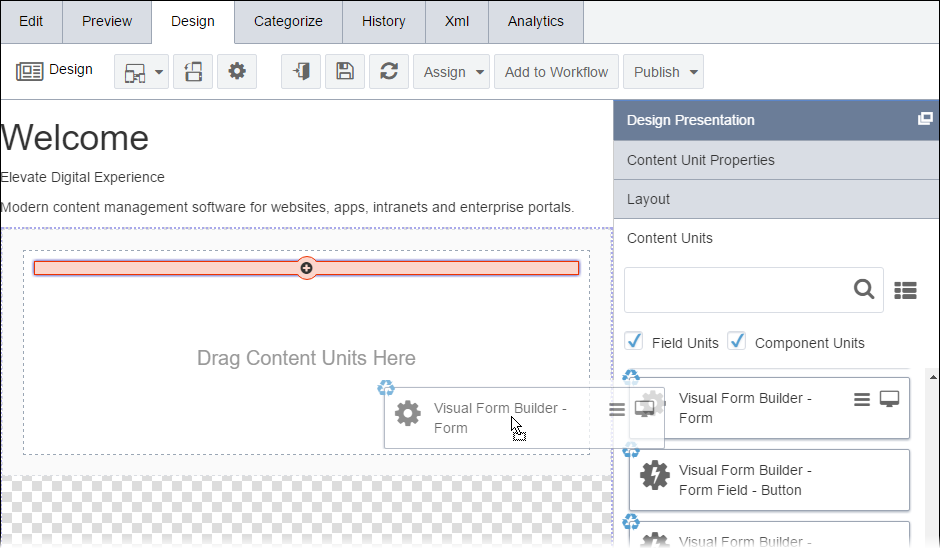
  2. Locate Visual Form Builder - Form, which is a component unit, and drag it to the layout.

    This is the content unit that will contain the rest of the form content units.

    ef-design-presentation-content-units-1.png

    After dragging the form into the layout, the Use Existing Component and Add New Content buttons display:

    ef-design-presentation-content-units-1.png

  3. Choose one of the following options.
    • To insert a preconfigured form component:
      1. Click the Use Existing Component button. The Select a Component dialog displays.
      2. Choose the appropriate component from the Component Type drop-down list.
      3. Provide a name for this form component is the Name field.
      4. Select the appropriate language from the Language drop-down list if necessary.
        Note
        Click Advanced to dynamically update this component reference and provide the name of the query string in the field provided.
      5. Click OK.
    • To add new content to the form:
      1. Click the Add New Content button.
      2. Provide values for the following required fields in the Edit In-Context dialog.
        FieldDescription
        NameThe form's name.
        MethodThe HTTP method (either GET or POST) by which the form submits data.
        Action URLThe URL of the page that processes form data. This is usually an internal page written in a server-side language like PHP or ASP.
      3. Optional: Provide values to any applicable advanced options.
        FieldDescription
        TargetThe HTML attribute that determines where to display the form.
        AJAX RequestWhen enabled, the form submits through AJAX. Because the page's URL doesn't change, the value of the Target field has no effect.
        Hidden FieldsA component picker for selecting Visual Form Builder - Form Field - Hidden component content units.
        Form Class A custom CSS class can be added here.
        Form DescriptionA short description of the form for internal use.
      4. After completing the content unit, click Apply Changes.

Next Steps: Add child form elements to the form.