Uploading Zipped Assets
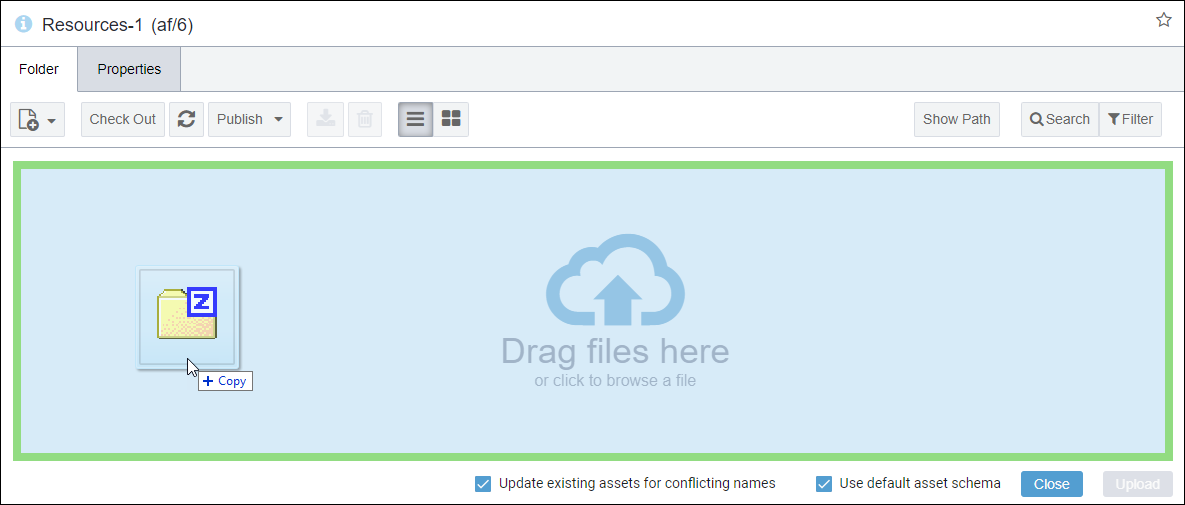
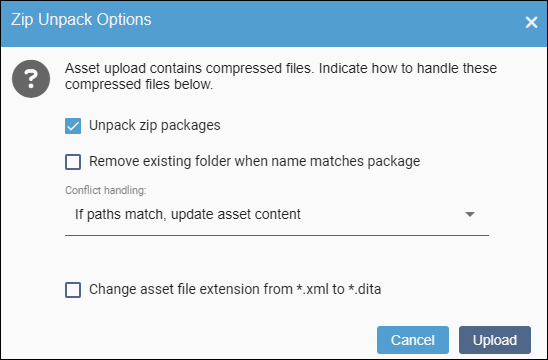
You can upload compressed (.zip) files to Ingeniux CMS Assets Manager. During the upload process, you can extract the contents from .zip files to the Assets Manager.
Keep the following in mind:
In CMS 10.x, the Assets Tree context menu action only uploads .zip files. To upload and extract .zip file content at the same time, use the asset toolbar Create New Asset action.
In CMS 10.6, if you choose not to extract .zip file content during the upload process, you can still extract content from the existing .zip file at any time after upload. See Extracting Zipped Assets in CMS 10.6 for details.
In CMS 10.0–10.5, you can only extract content from .zip files during the upload process.
To upload and extract a .zip file in Assets Manager:
This section includes:


